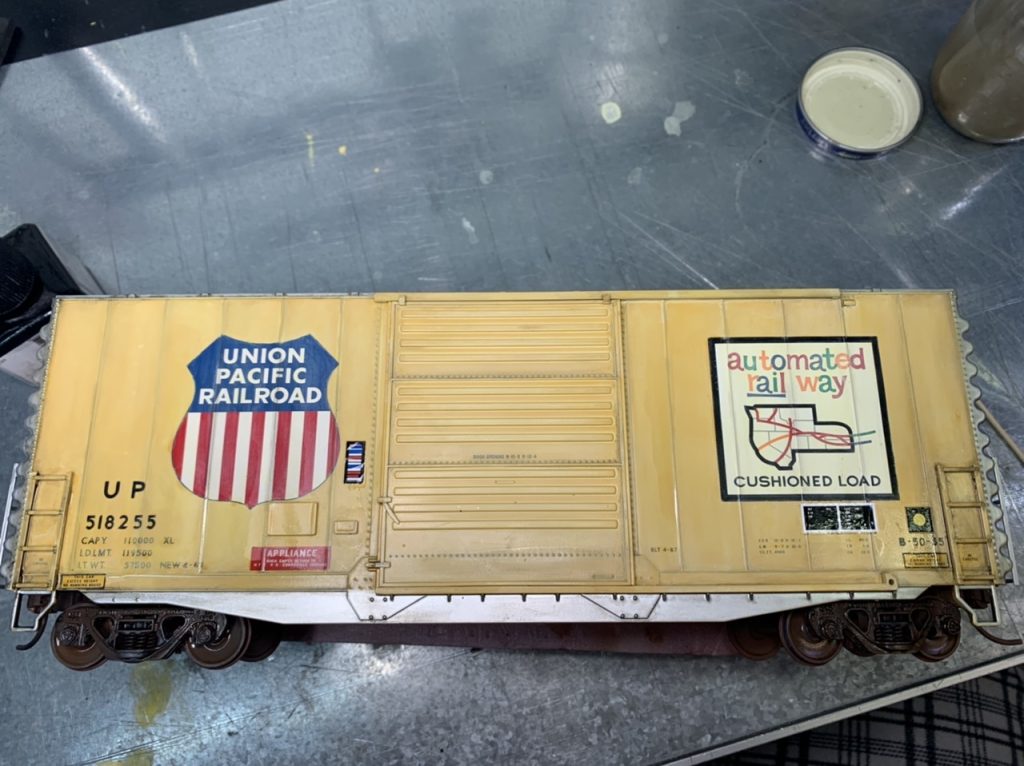
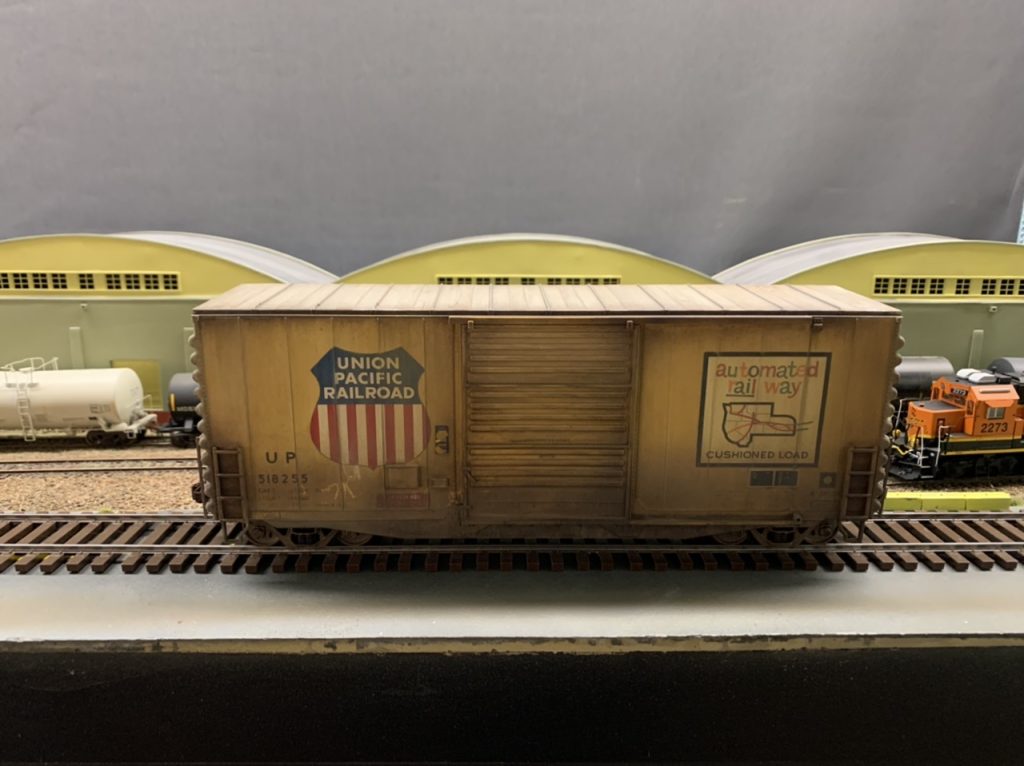
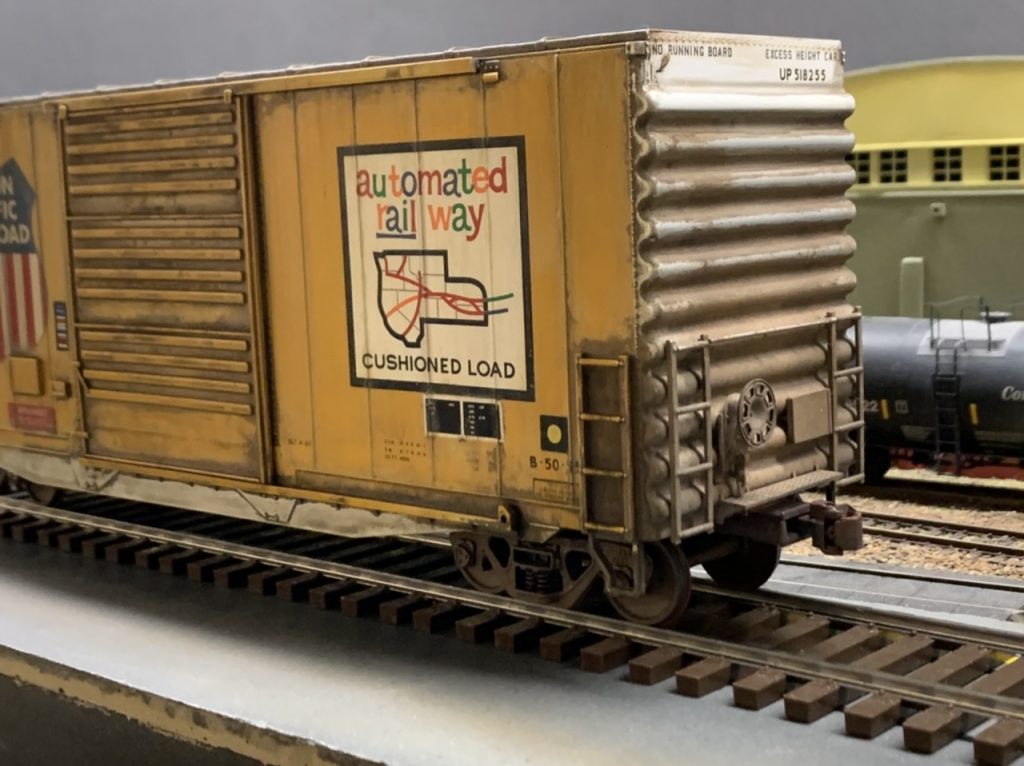
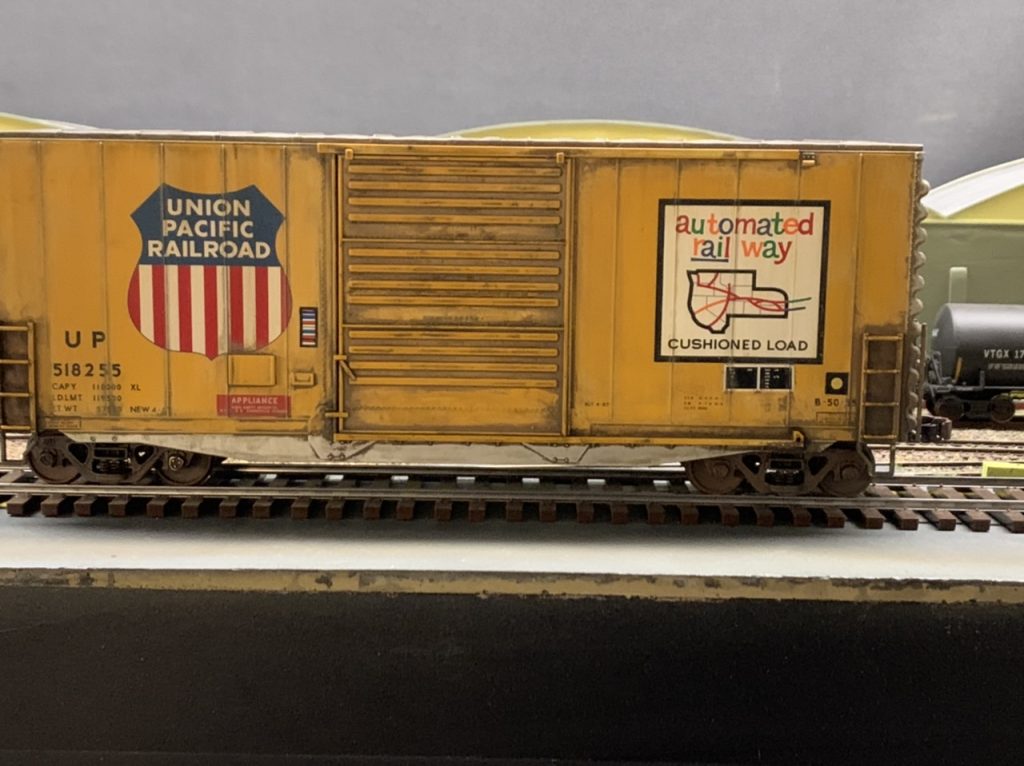
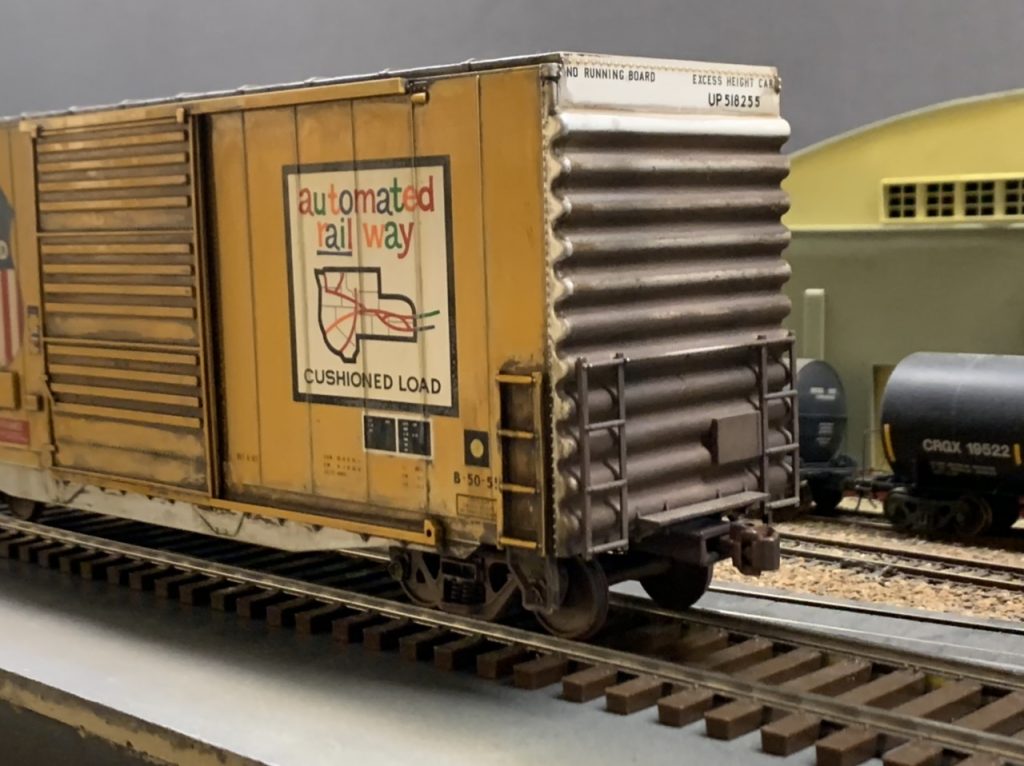
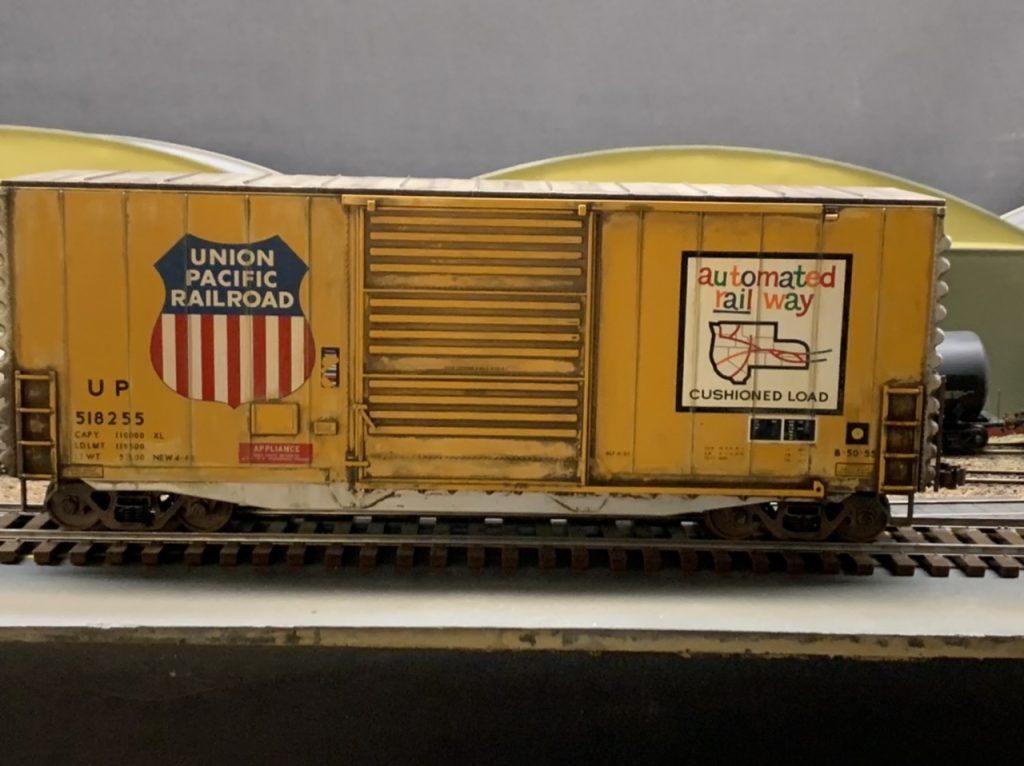
I recently weathered my Atlas O Trainman 40′ Hy Cube Box Car. I converted the car from 3rail O scale to P48 last April . See my previous post – P48 Conversion – Atlas Trainman 40’ Hy-Cube Box Car
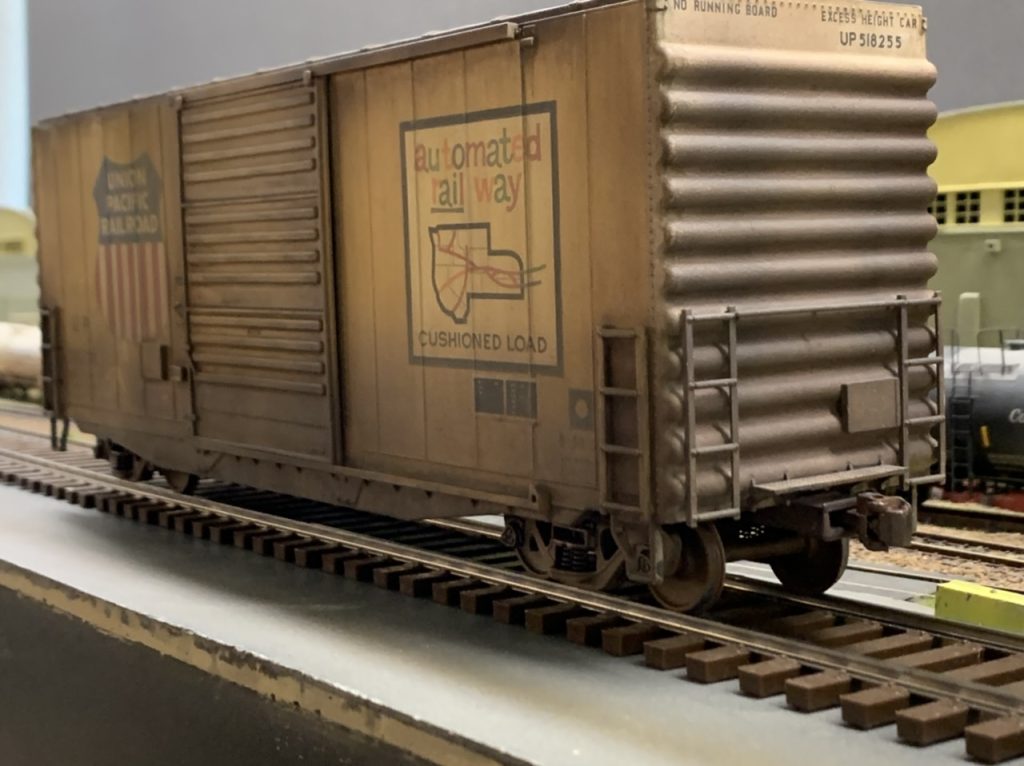

I searched for a prototype photo of this car or even a similar car, but couldn’t find one. My research leads me to believe that this is an NP prototype and the UP probably never had a car like this. In fact I believe the cars in this number series were plug door.

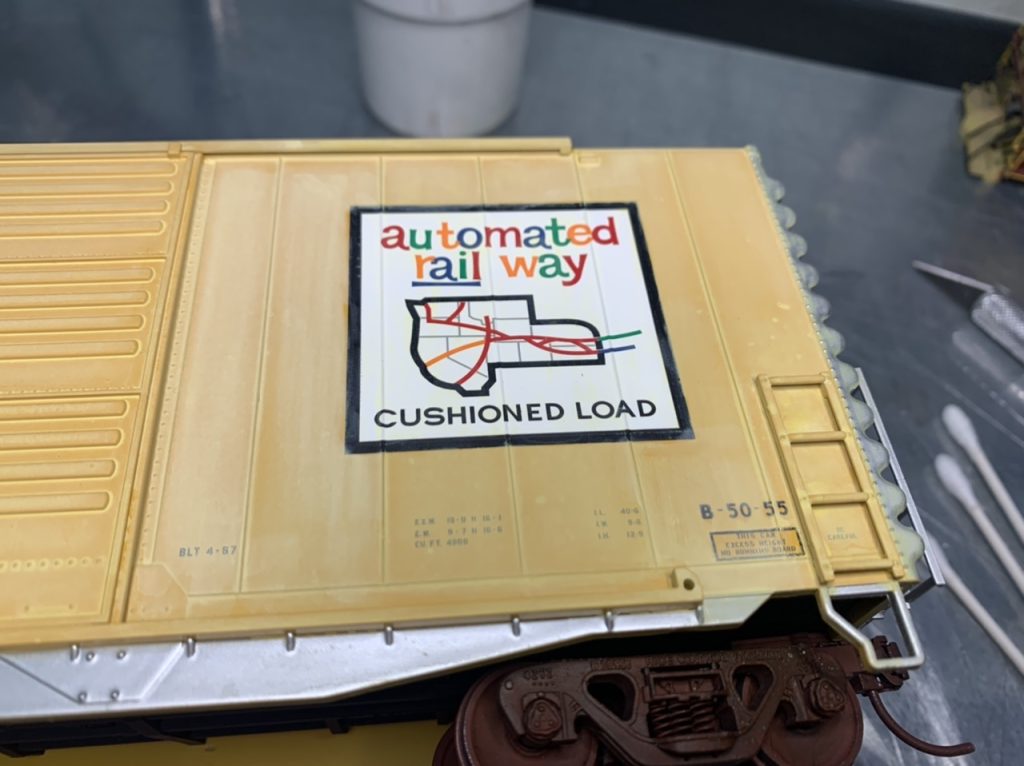
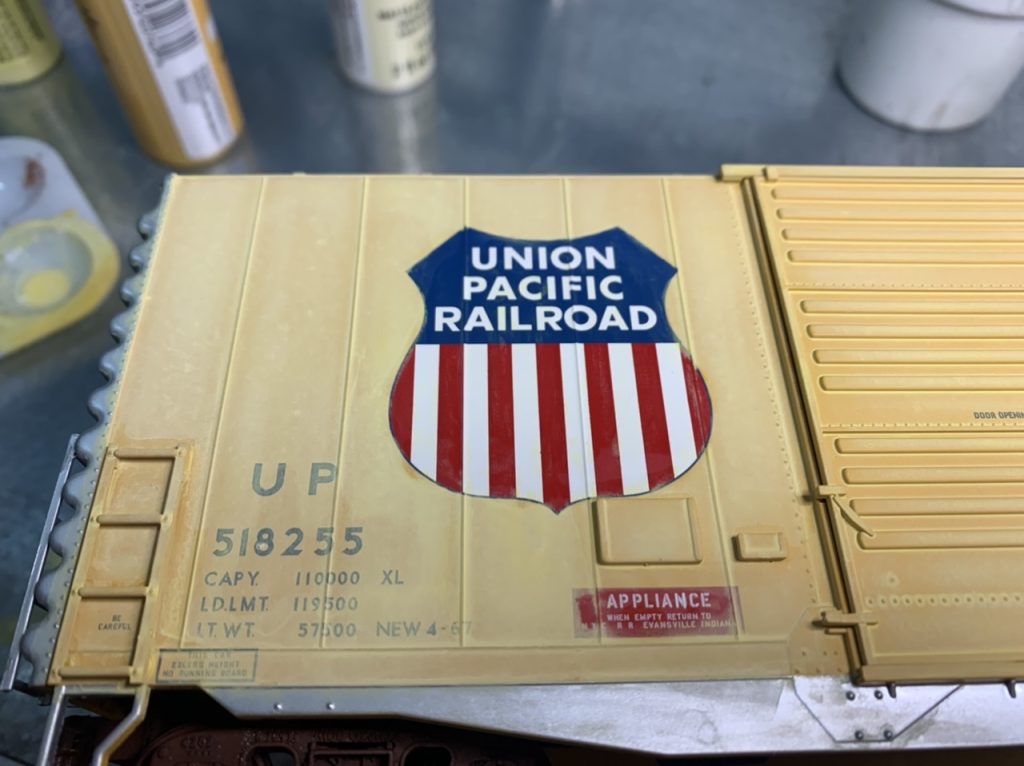
Although the car type is different, these reference photos were helpful in determining where the COTS, Wheel Inspection and ACI Tag decals should be placed.
For weathering references I studied UP 40′ and and 50′ UP sliding door box cars. Most of the reference photos were taken in the mid 70’s. I wanted to weather the car as it might appear in the 1986 so I added a little extra grime to get the late in life look. One particular photo that attracted my attention was UP 519120.

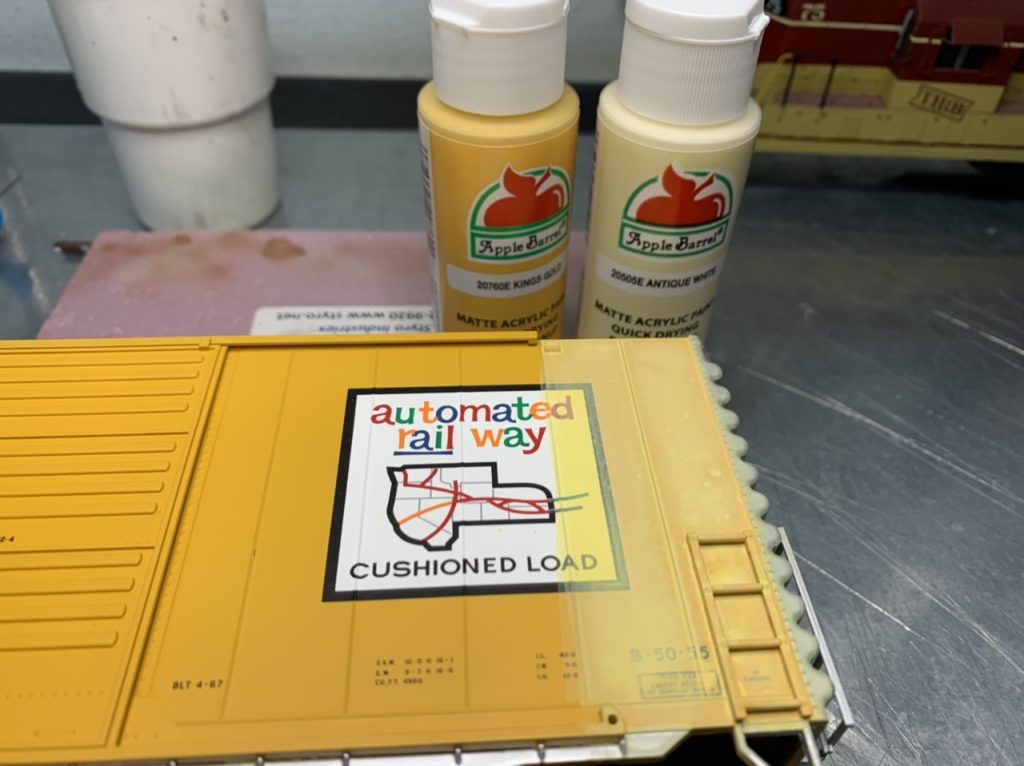
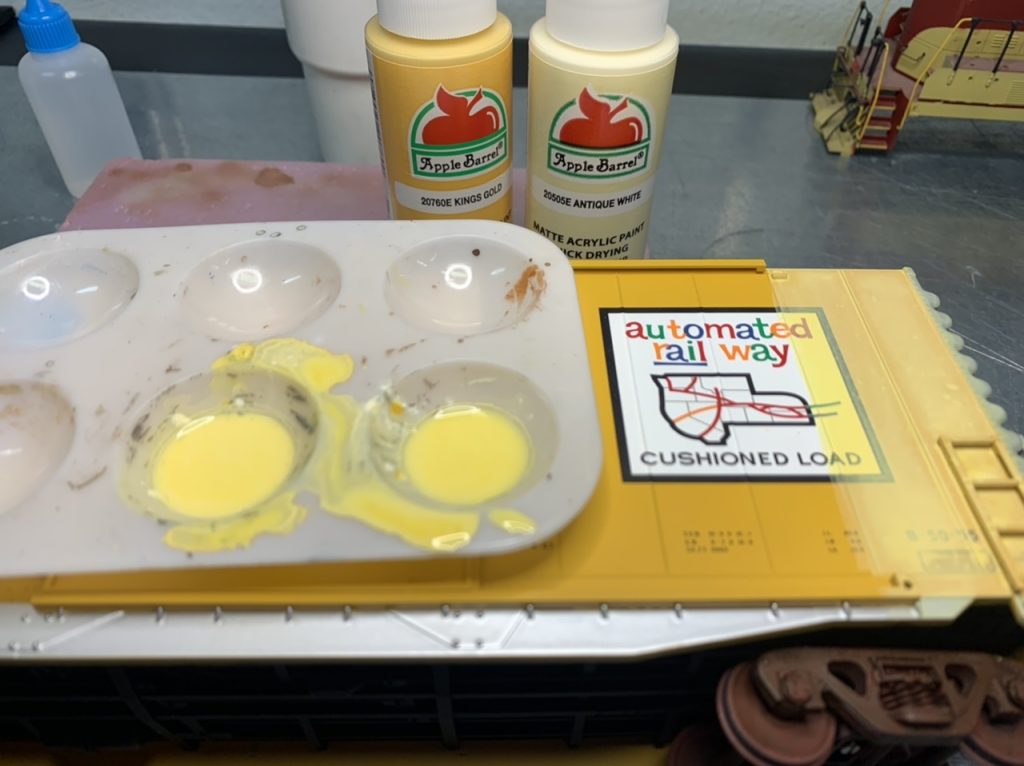
I started this weathering job with an acrylic fade. Then used cotton swabs and water to remove the paint from the UP Herald and Automated Railway Logo.
I followed the fade with Tamiya Pin Wash
Then I started with oil paints.
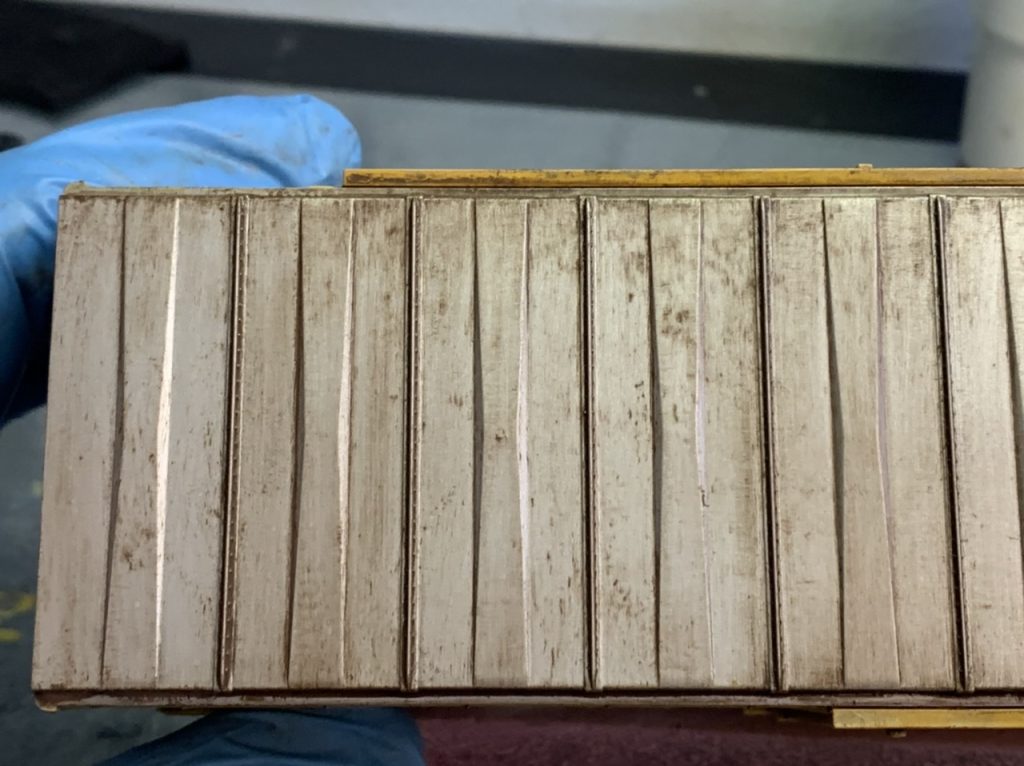
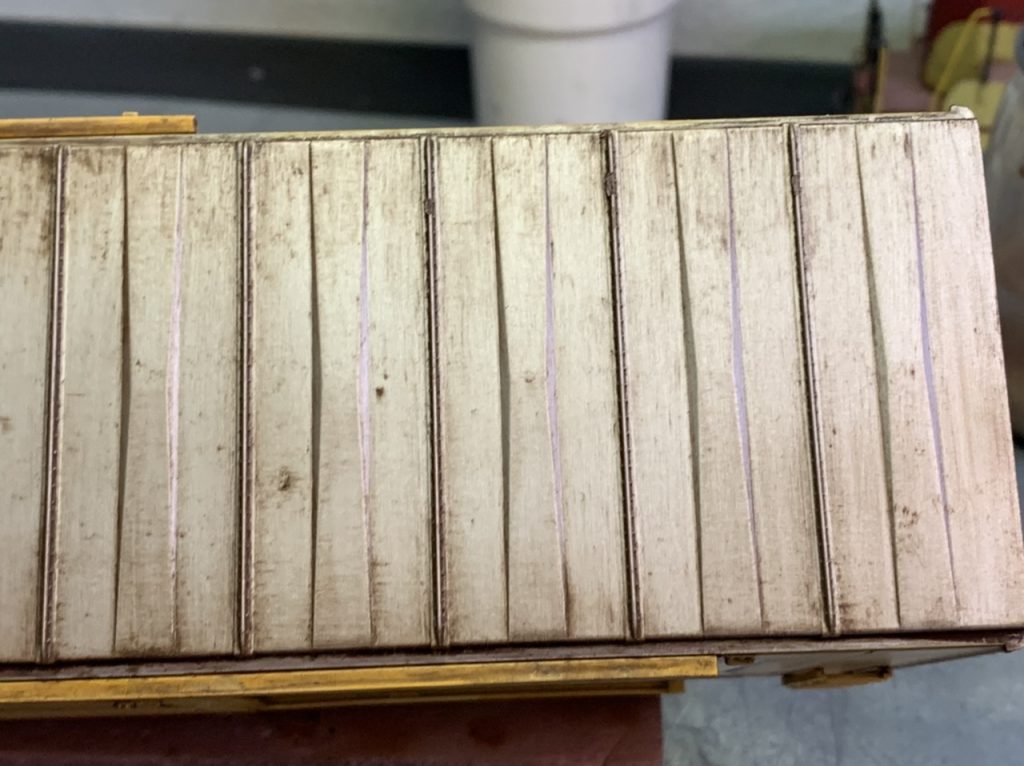
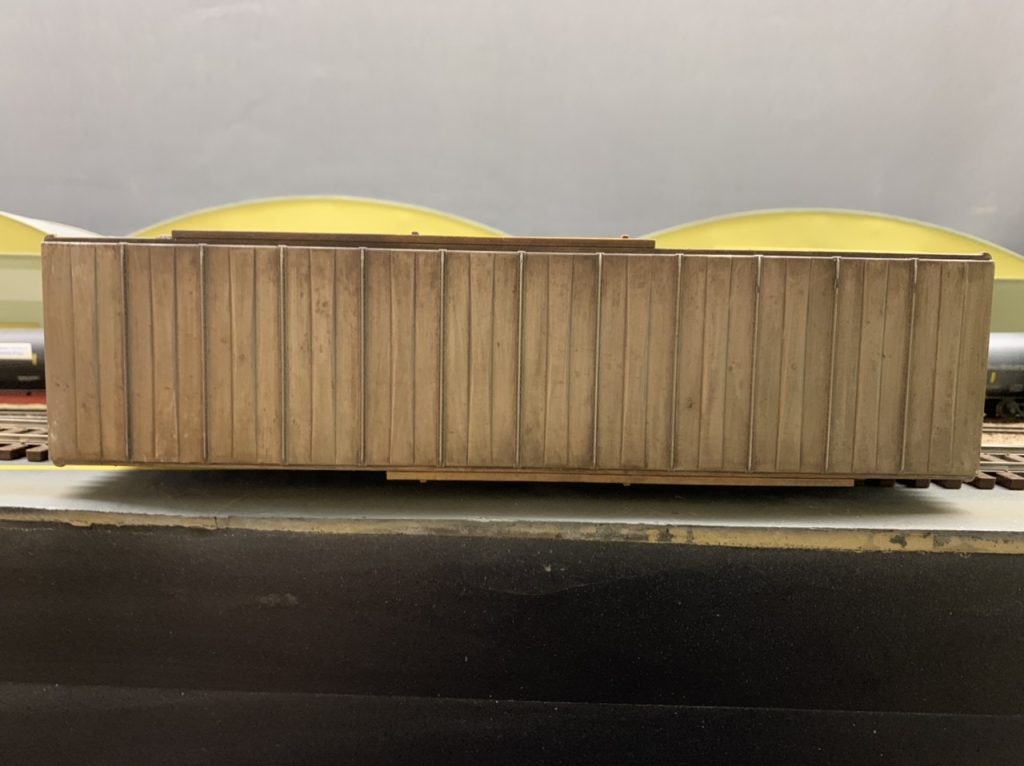
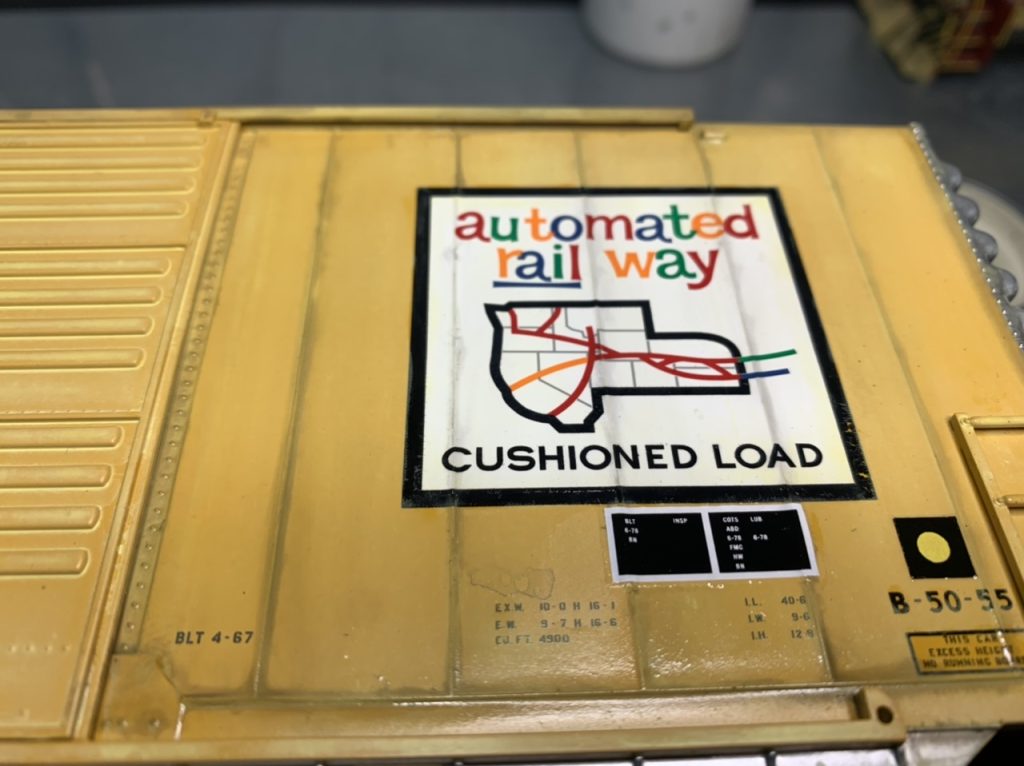
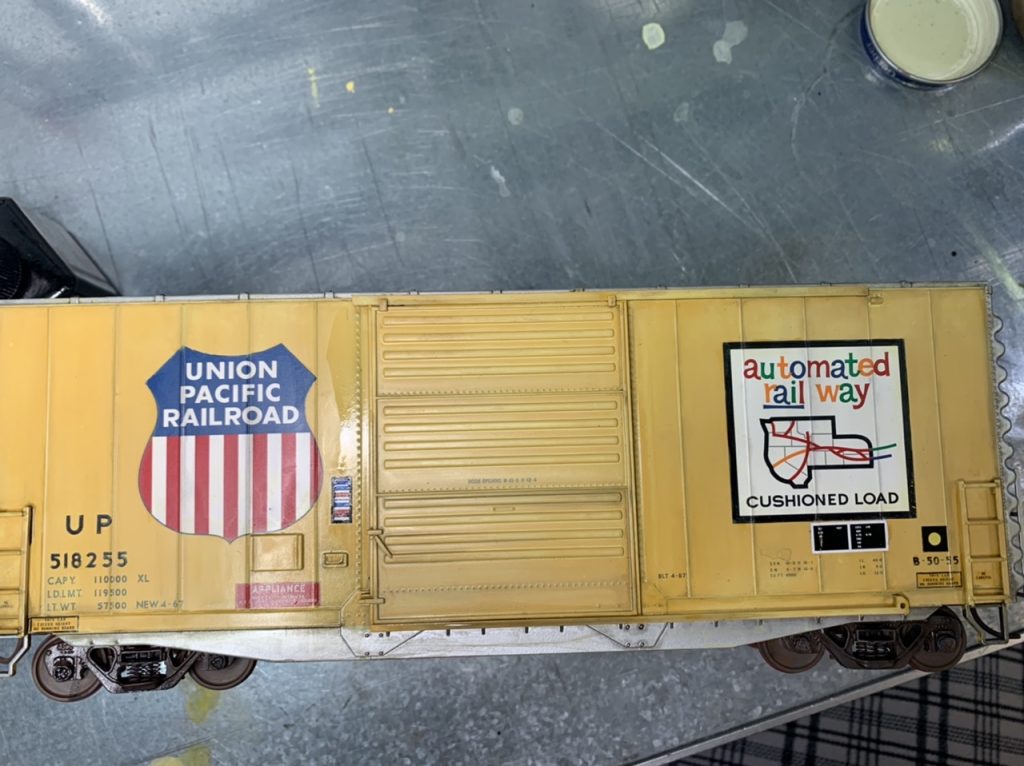
Unfortunately I stopped taking photos at this point, but I airbrushed the dusty grime layer on the lower portion of the car and used enamels for streaking from the roof line.

I think this car started out really good, but I ended up taking it too far, fortunately I know how it happened.
Lessons learned
- Craft store acrylic fade in very faint layers work well.
- Stippling oils worked well on the roof.
- Tamiya Panel Line Wash works great.
- Apply oils sparingly. I got a heavy handed and had to use lots of mineral spirits to remove them which contributed to the muddied effect).
- Airbrush dust only to lower portion. I brushed one side pretty liberally and that really added a clouding effect.
- Mind the decals. I started out good, but ultimately ended up muddying up the decals
Update 5/11/22
I wasn’t really happy with the frosted cloudy look of this weathering job so I decided to try to strip some of the layers away. I used paper towels and cotton swabs misted with alcohol to roll back most of the weathering. I then redid the panel lines and added a light enamel grime wash. I’m much happier with the appearance now.
3,433