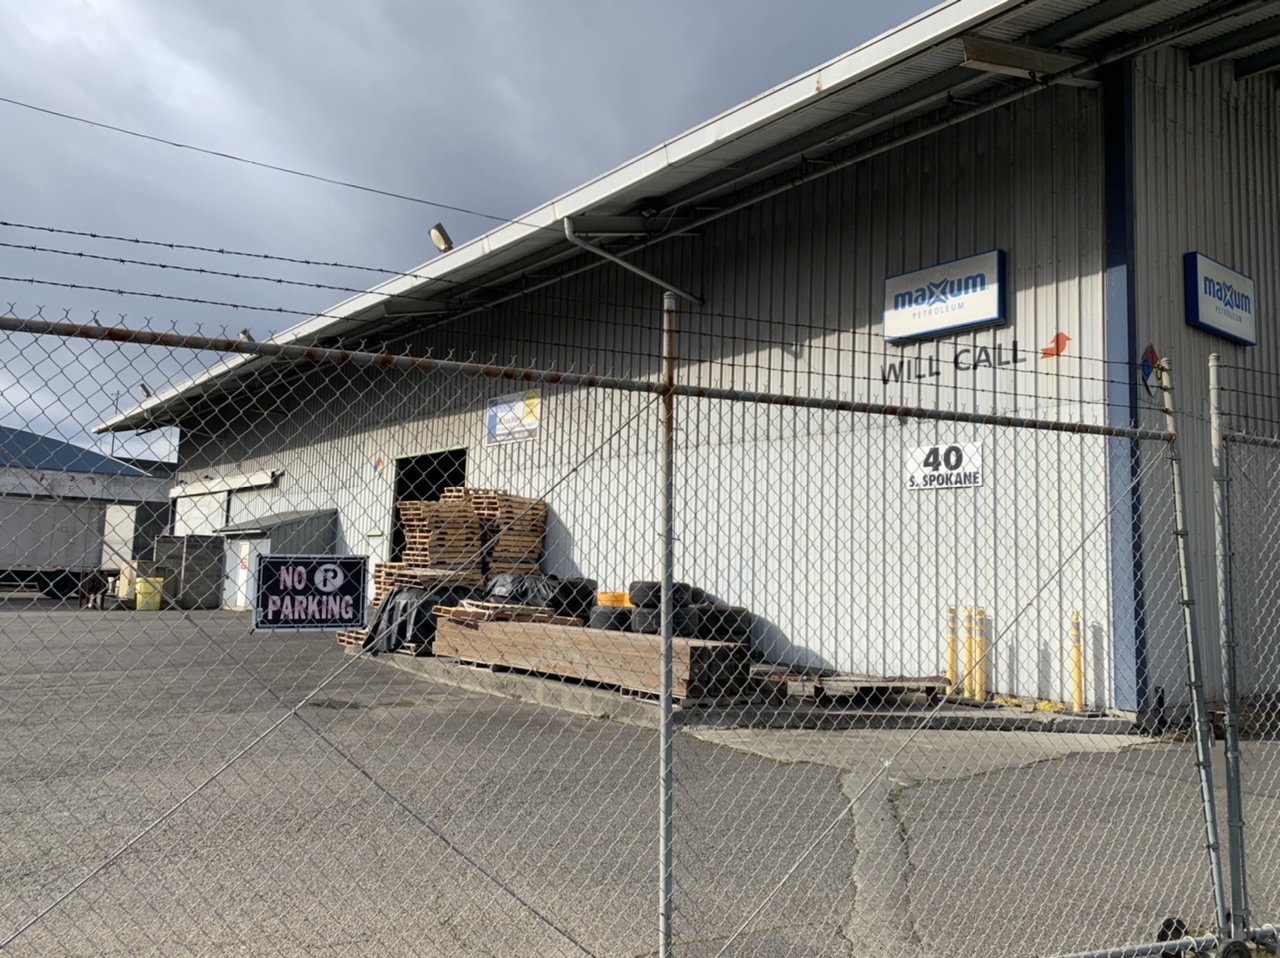
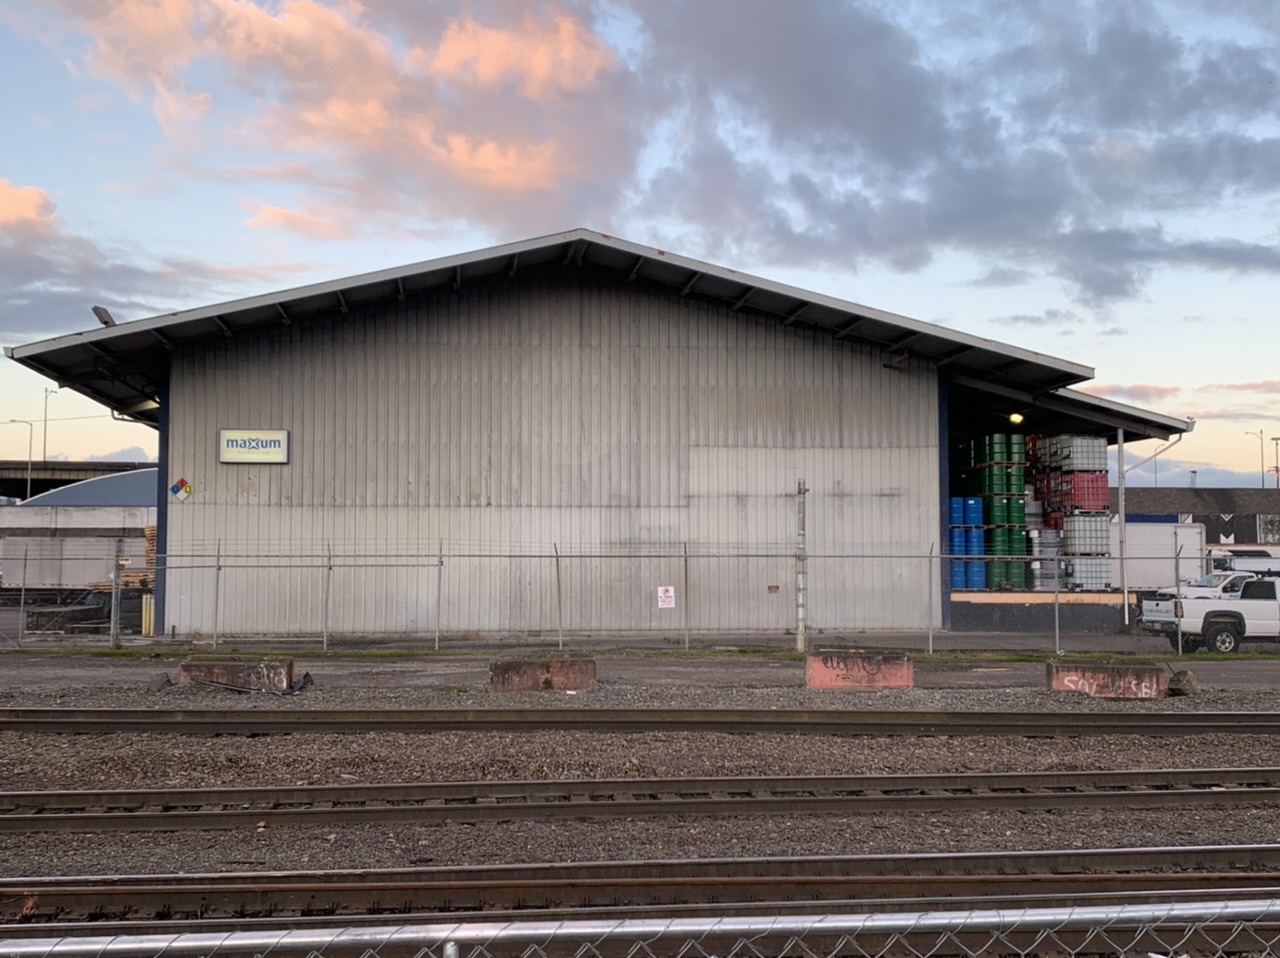
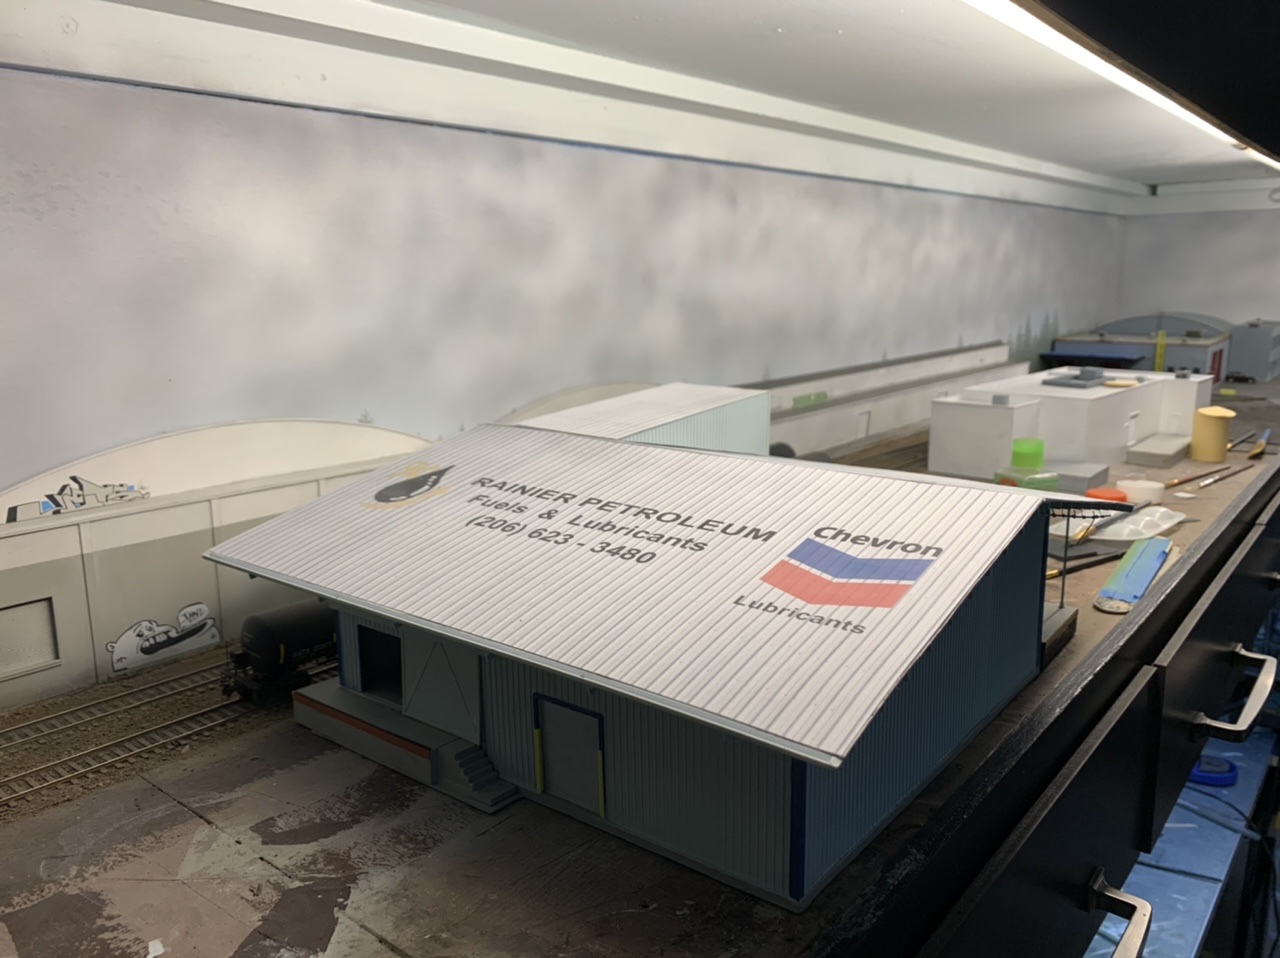
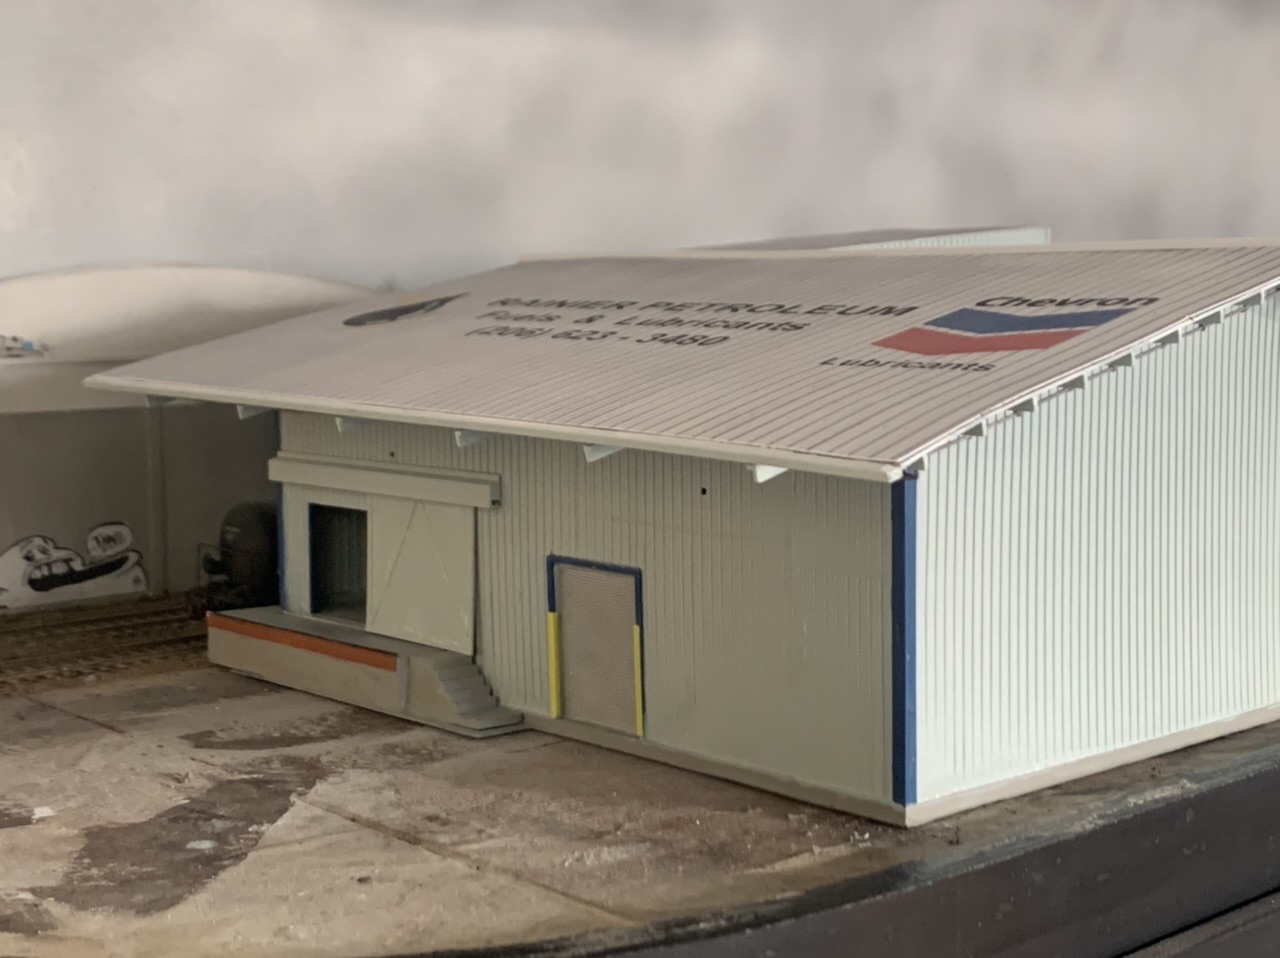
The Rainier Petroleum (now Maxum) facility lays at the corner of South Spokane Street and Colorado Avenue. The business unloads tank cars of lubricants and distributes them via truck and barrel to industrial and marine customers. The facility is served by 3 tracks, but my version only had room for 2.
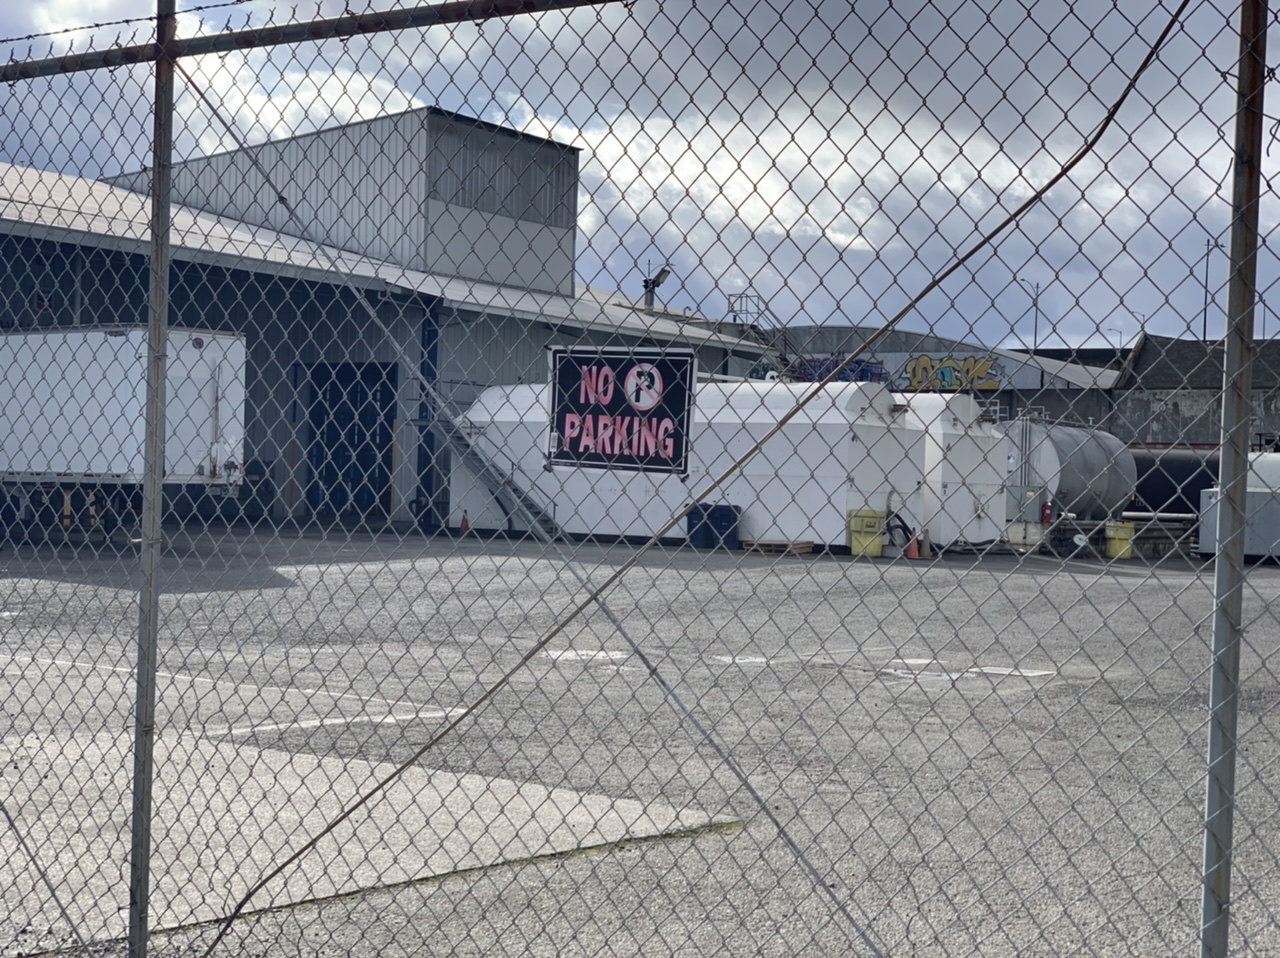
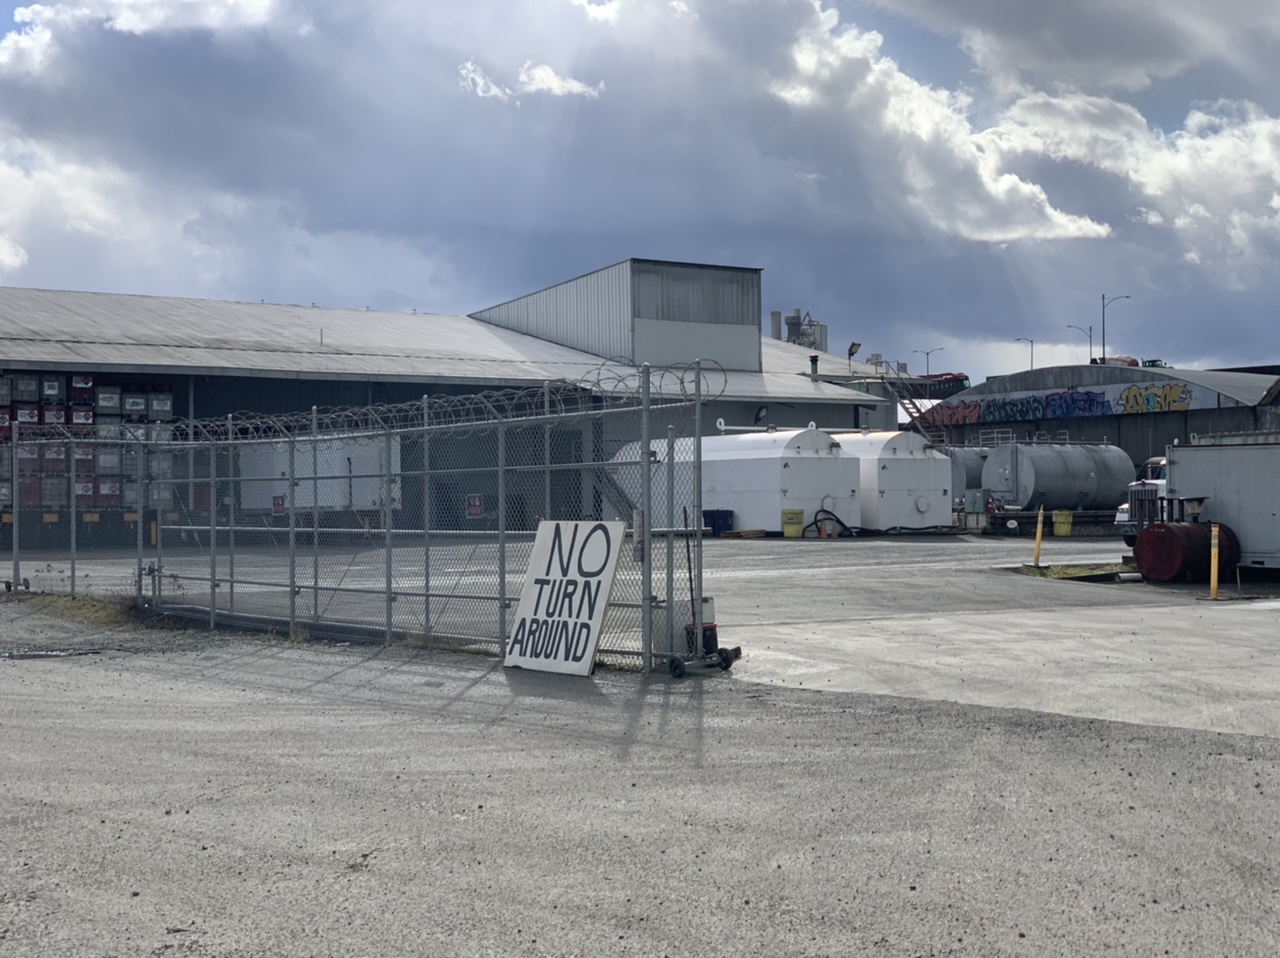
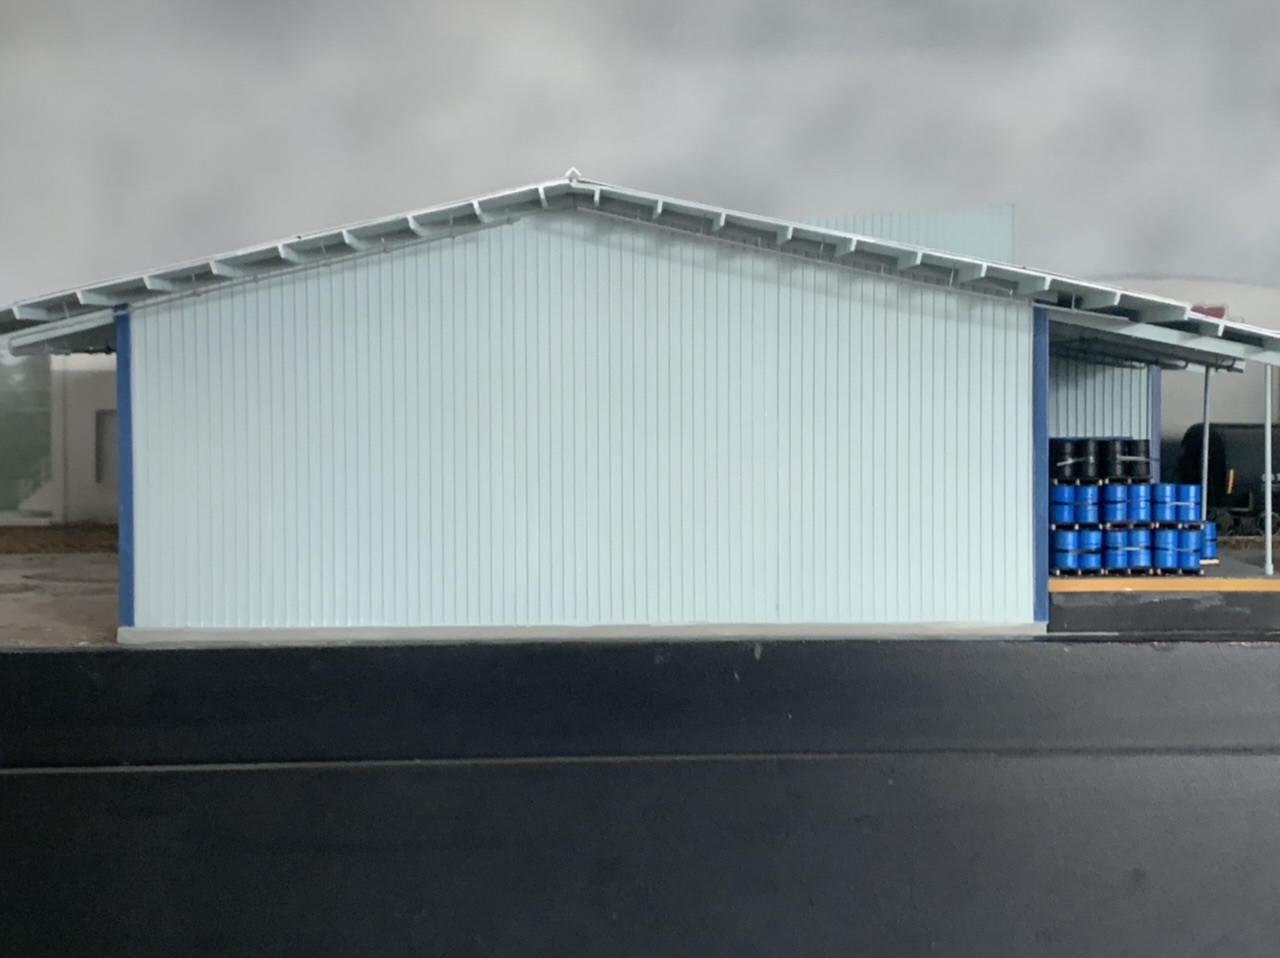
The complex is home to 2 main structures and a large variety of holding tanks.
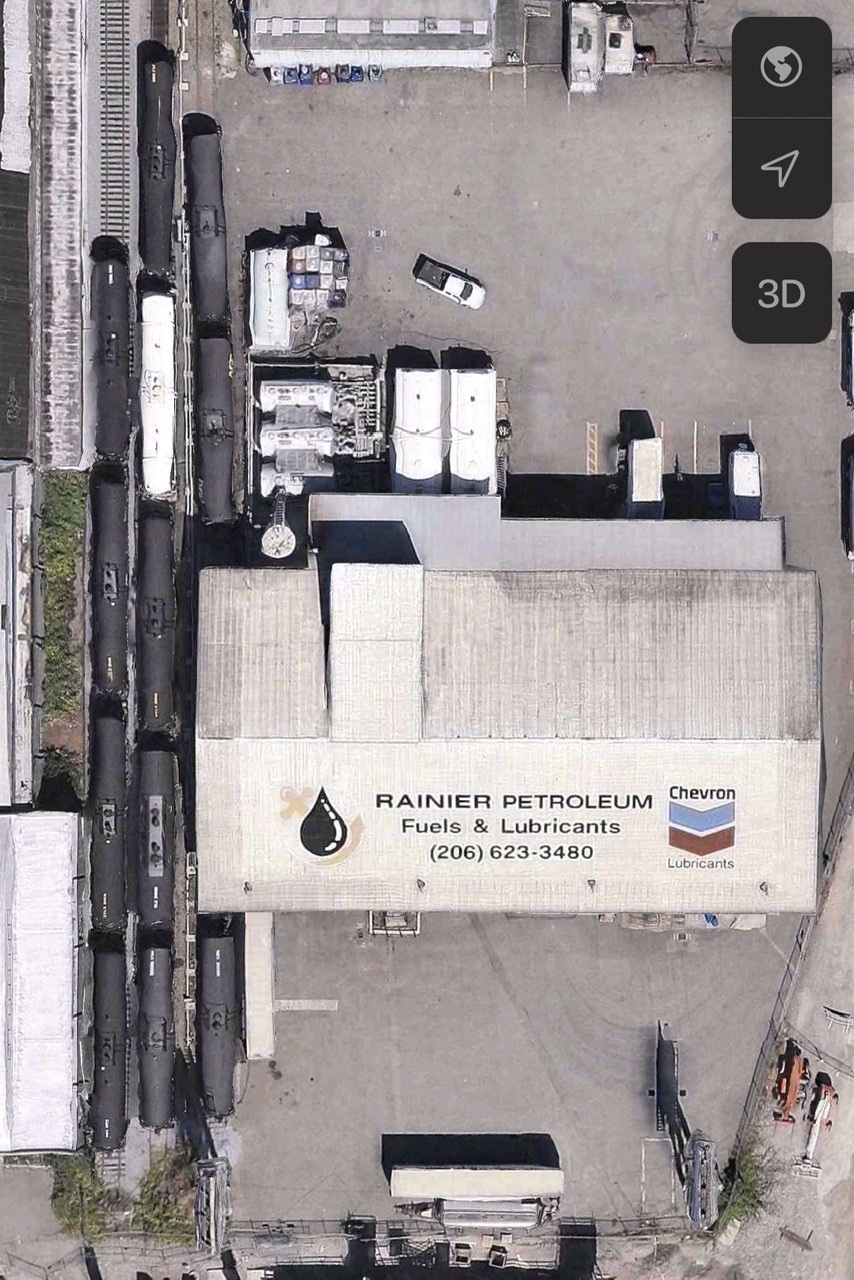
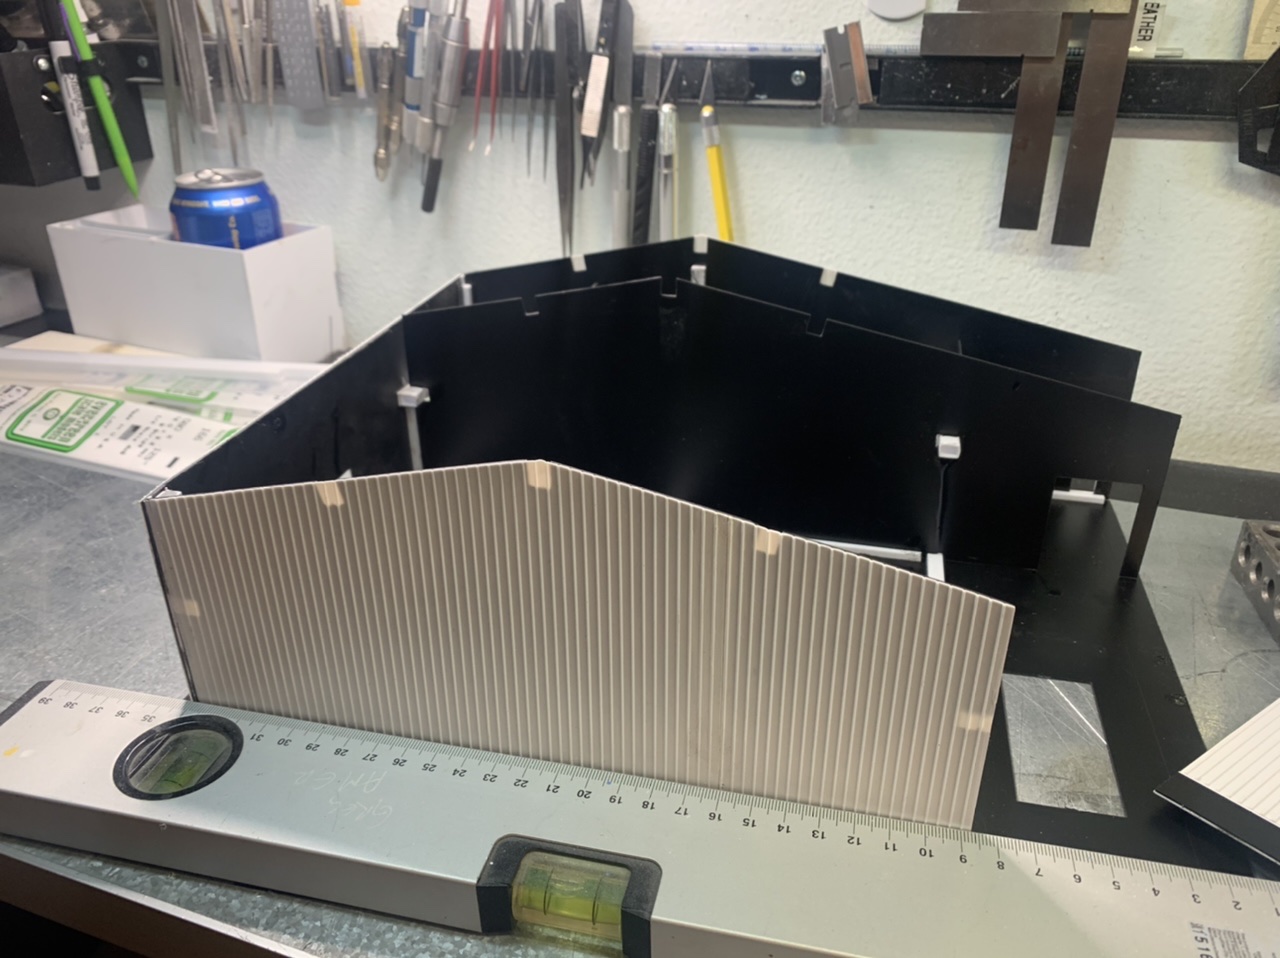
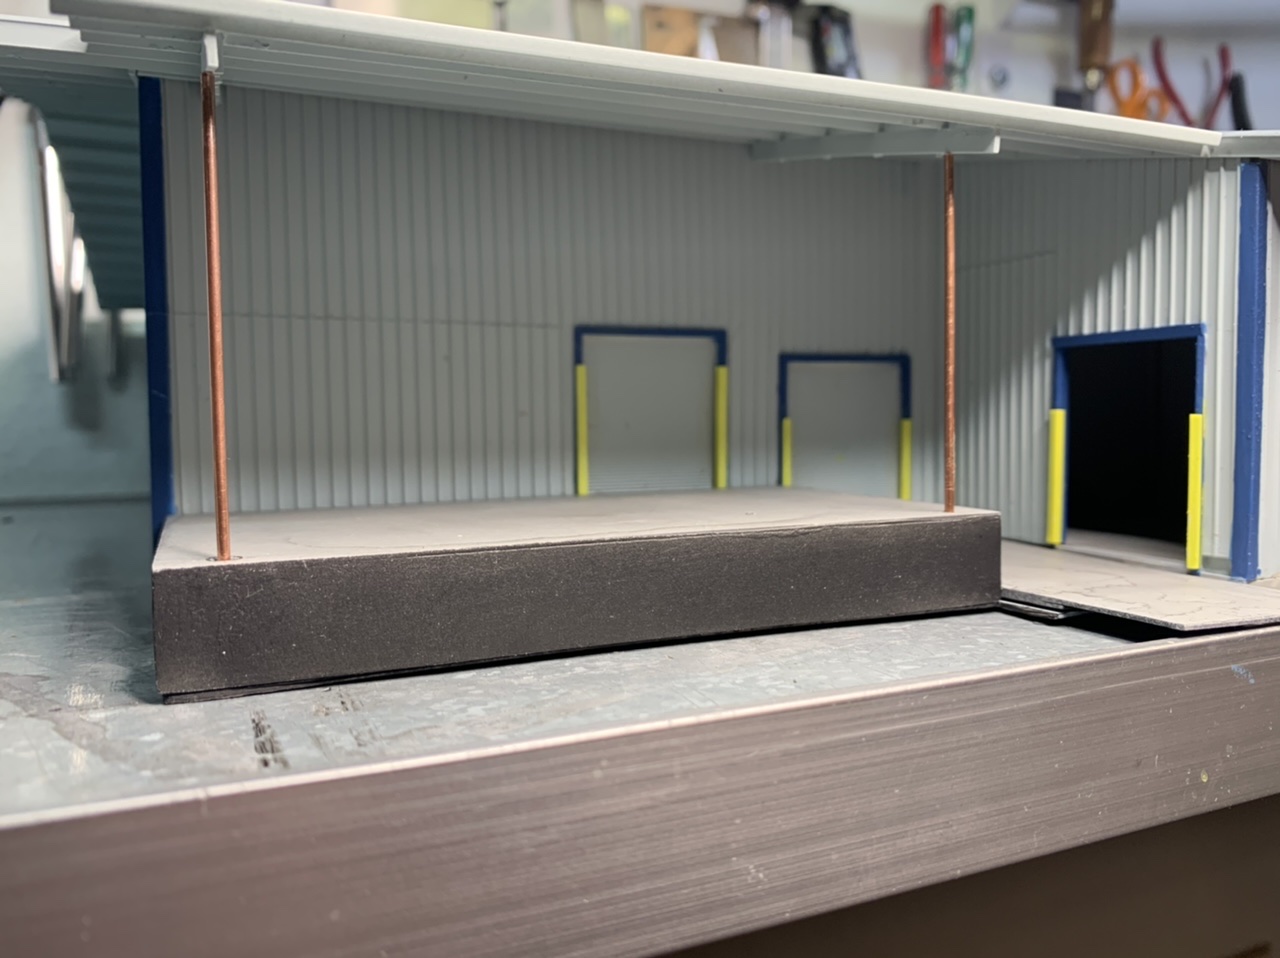
The main warehouse is a gabled roof steel structure with a distinctive advertisement painted directly on the roof.
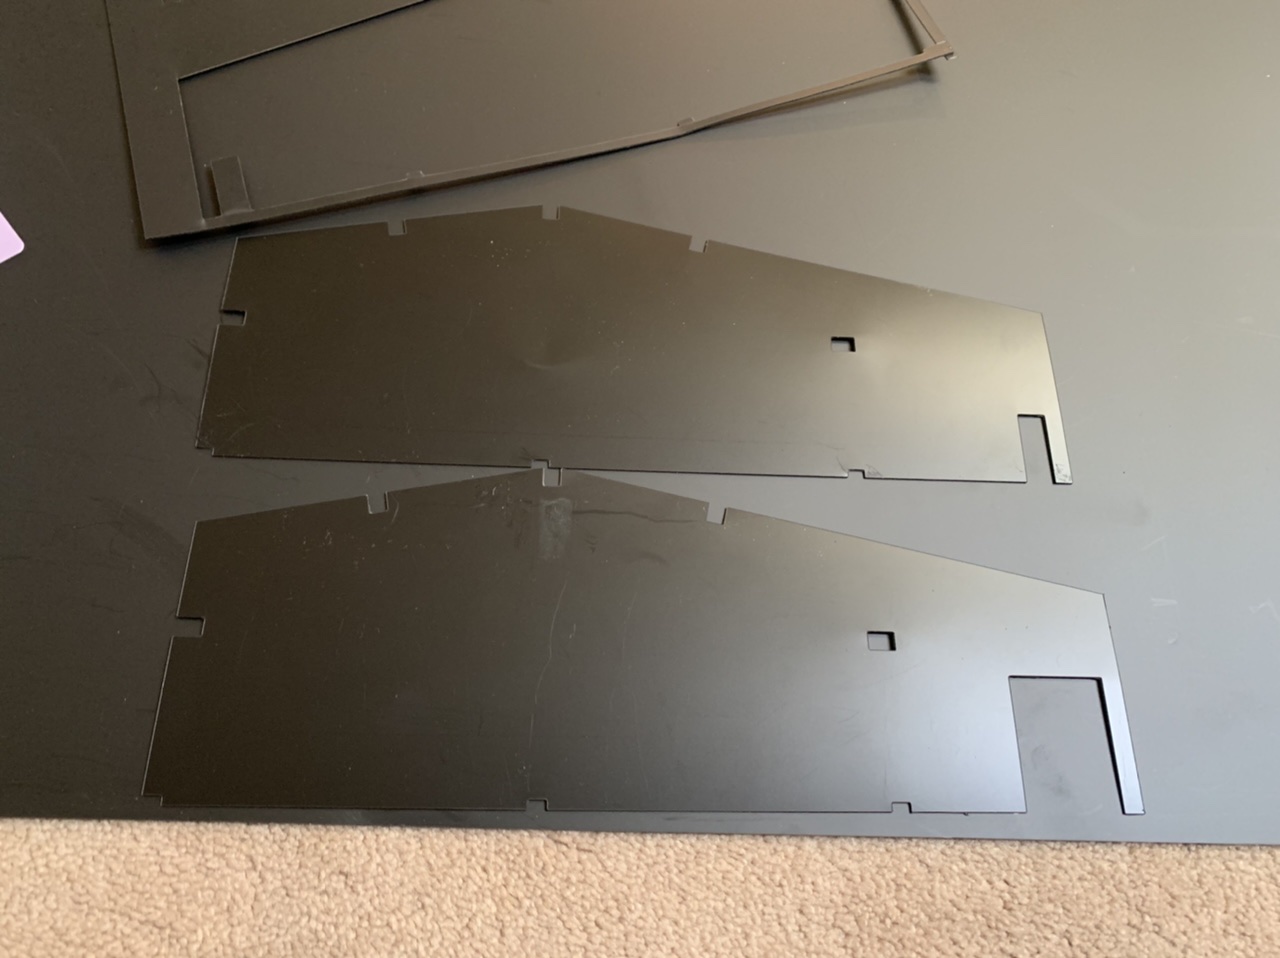
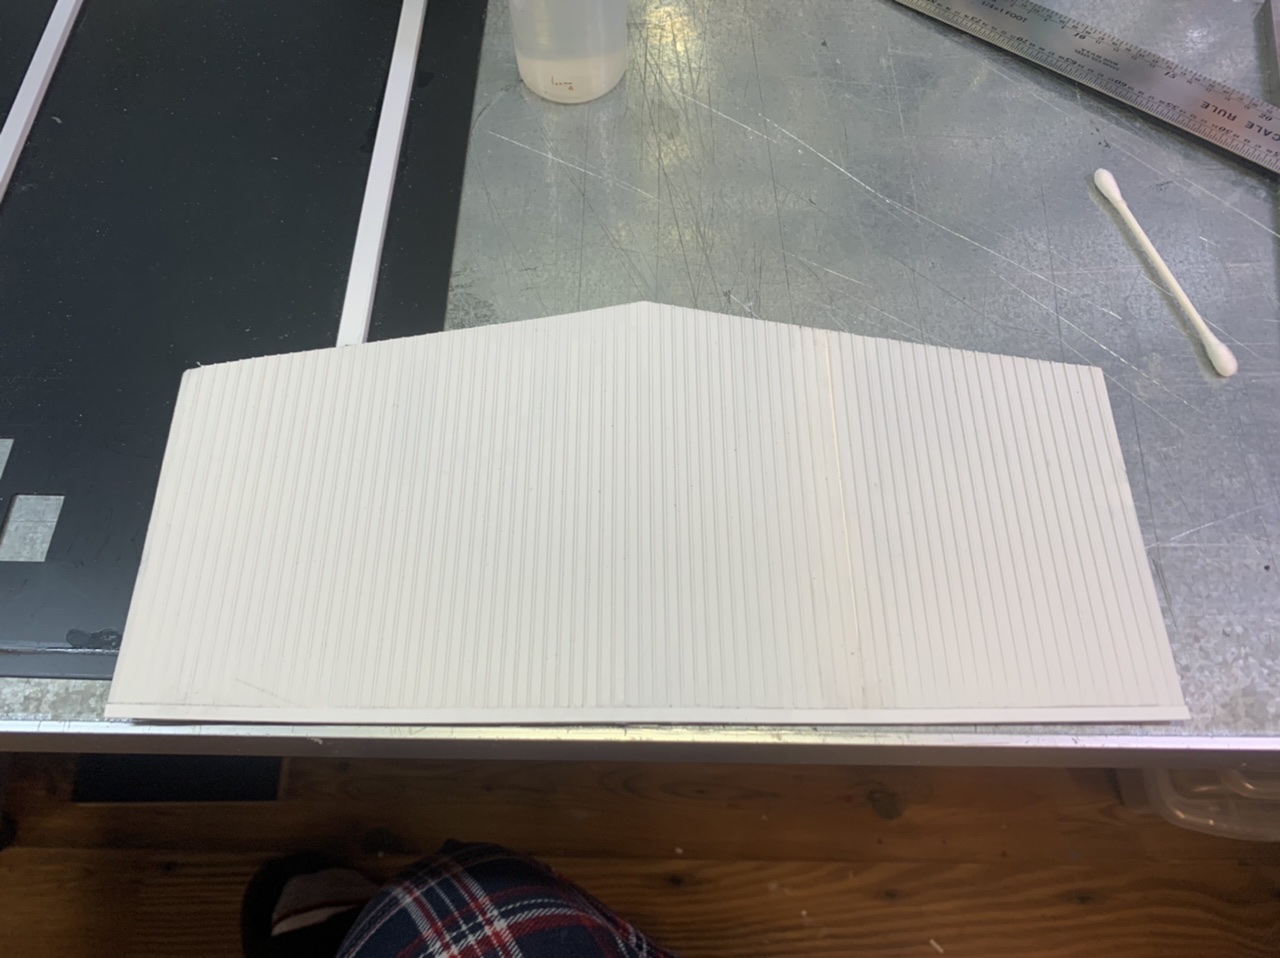
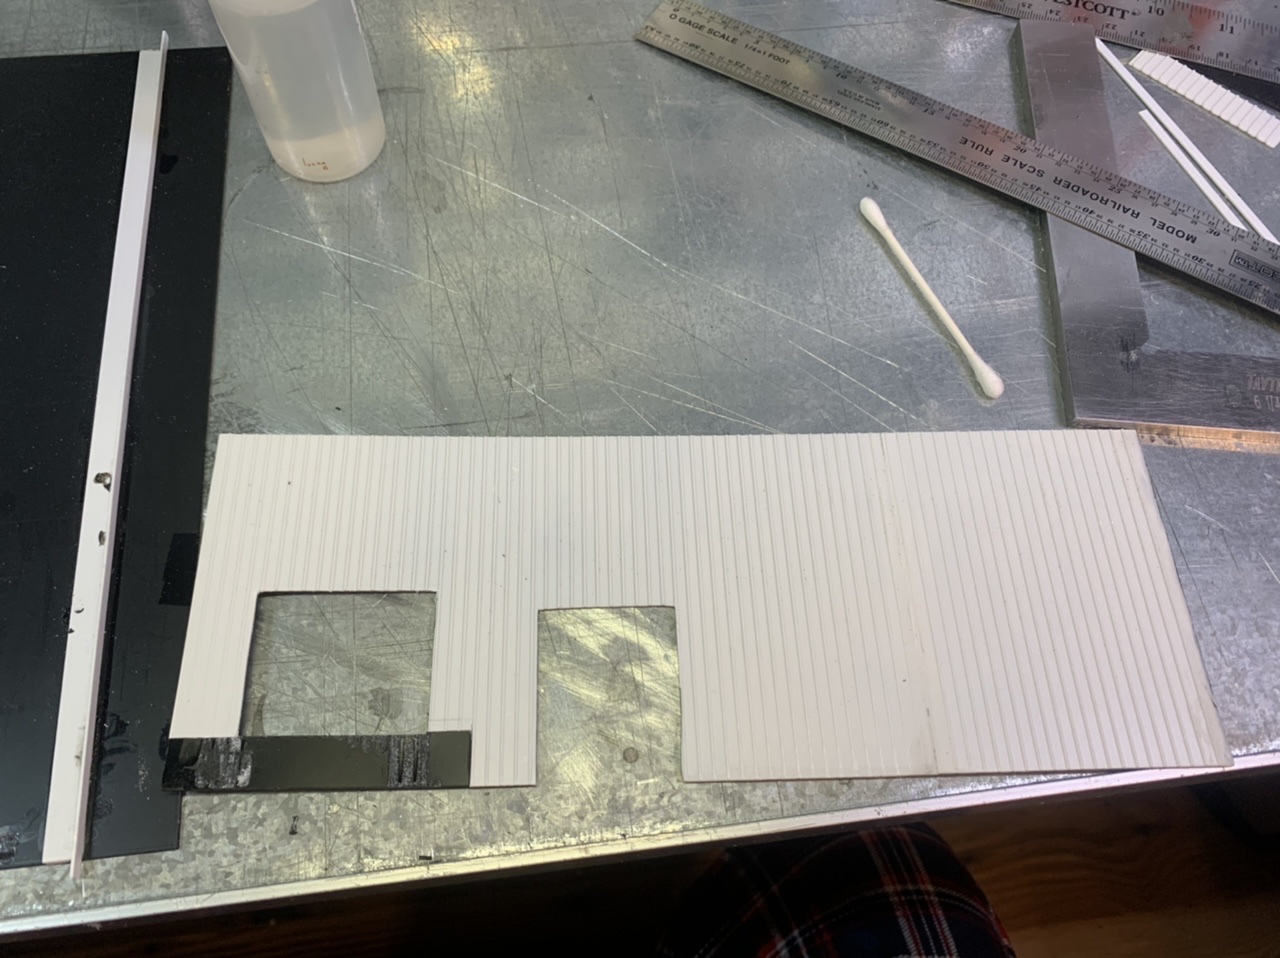
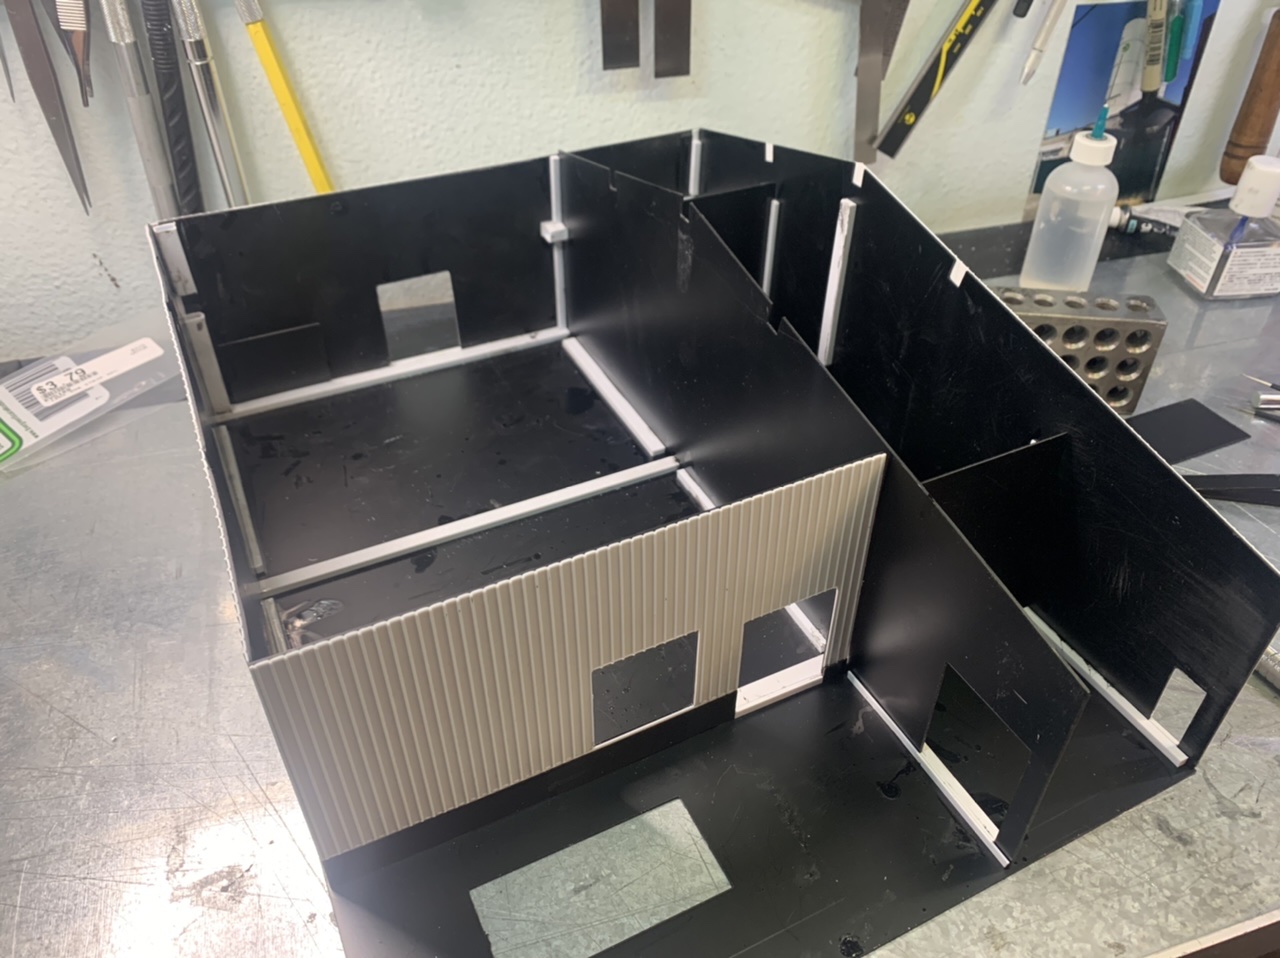
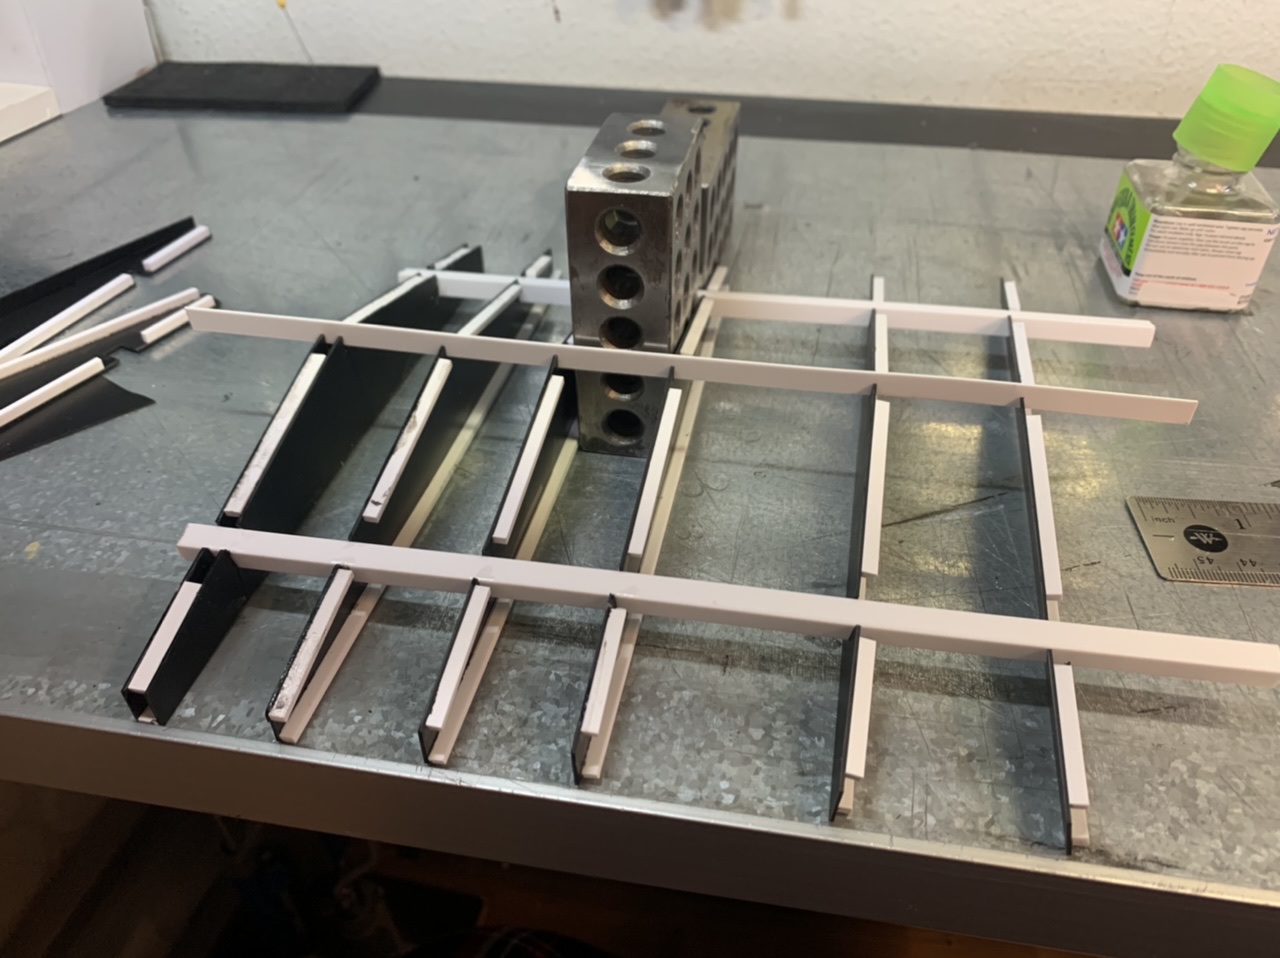
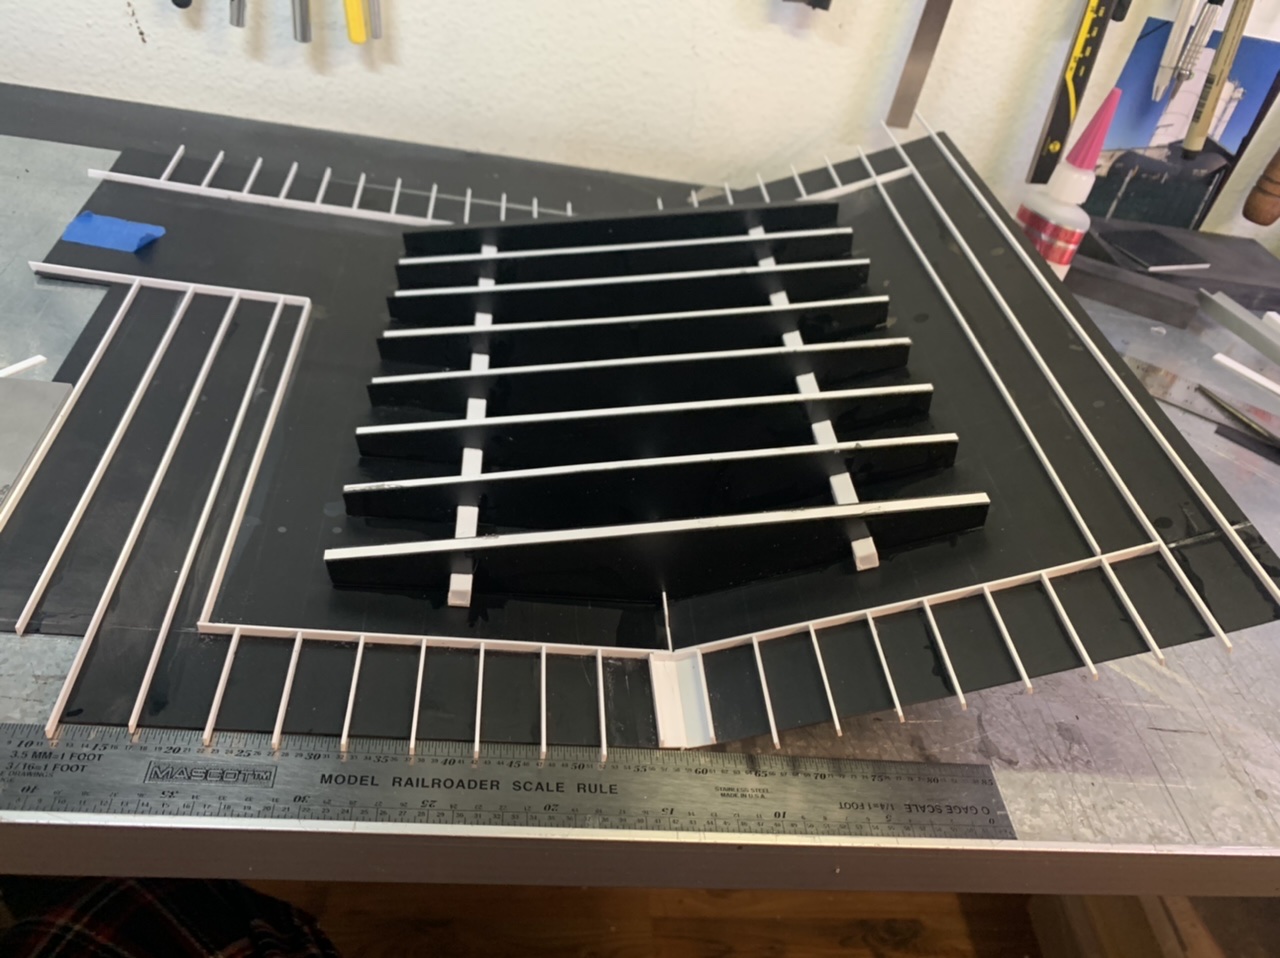
I designed the building structure in Adobe Illustrator and used my Cricut Maker to cut the base structure and laminated JTT scenery corrugated sheets to base structure to the walls.


I started this building in early January hoping it would take me a month, instead it took 3. The experience has helped me sharpen and refine my scratch building skills.
lessons learned:
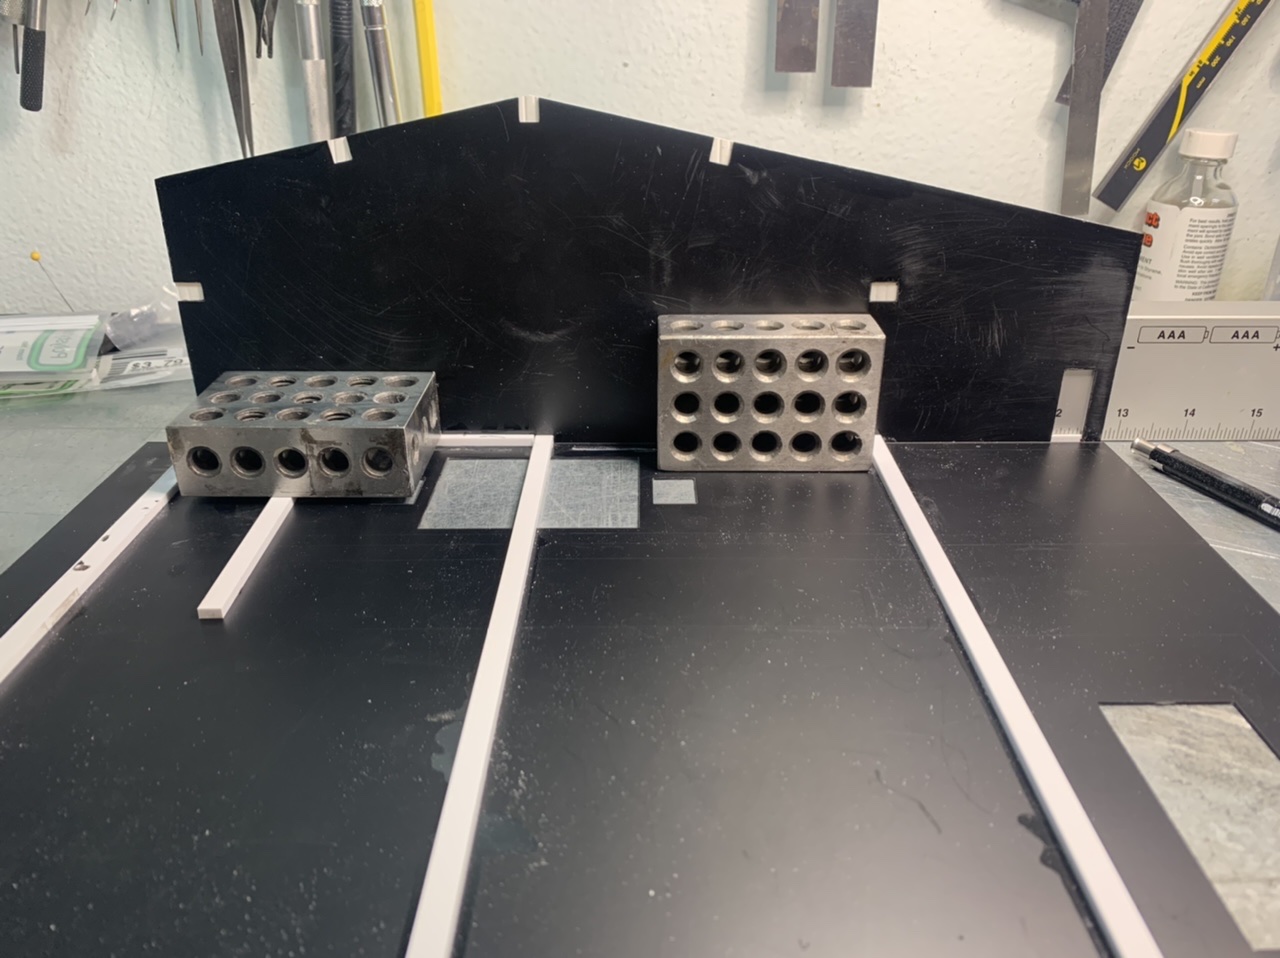
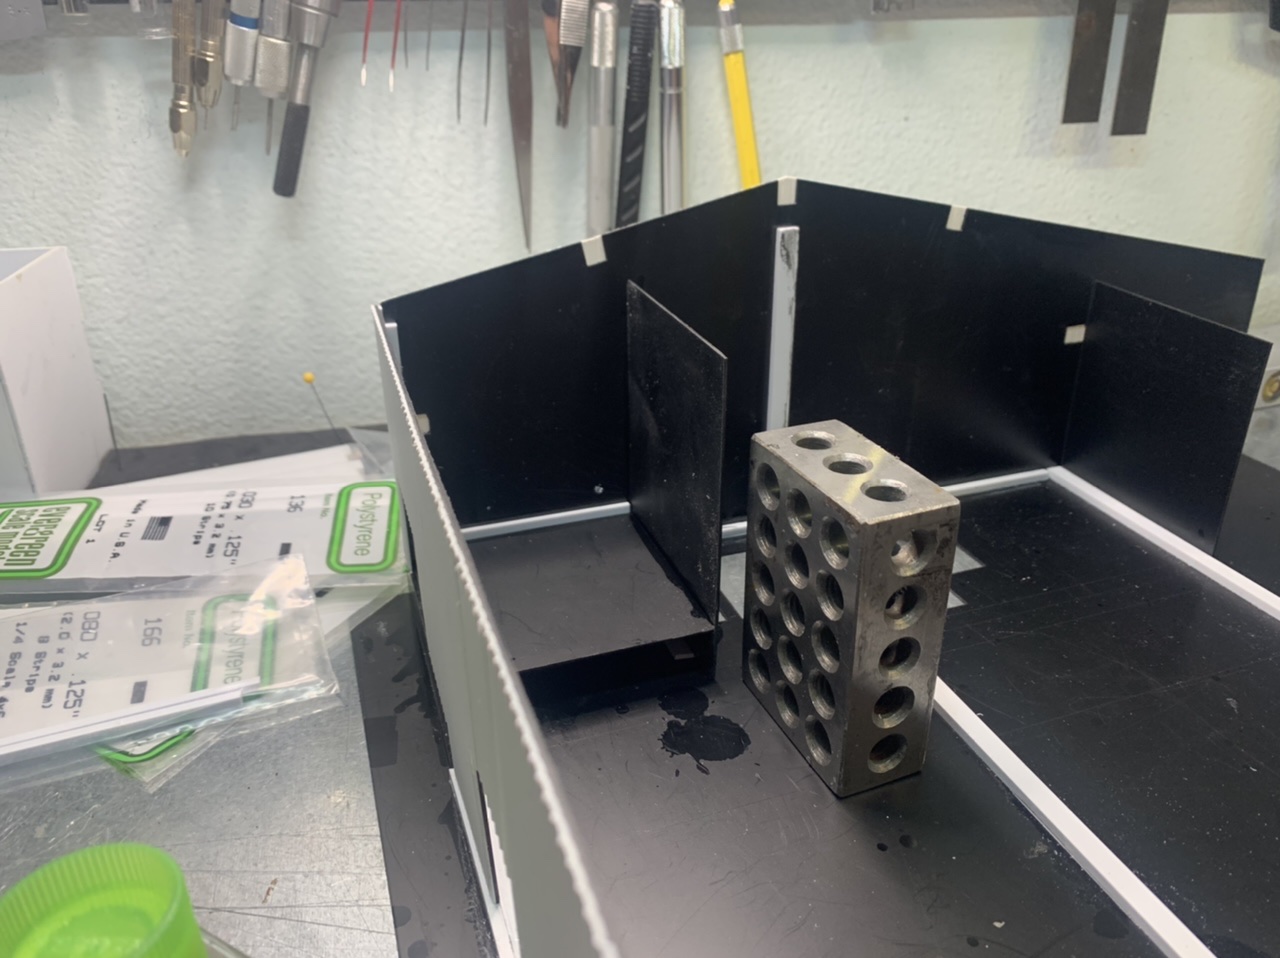
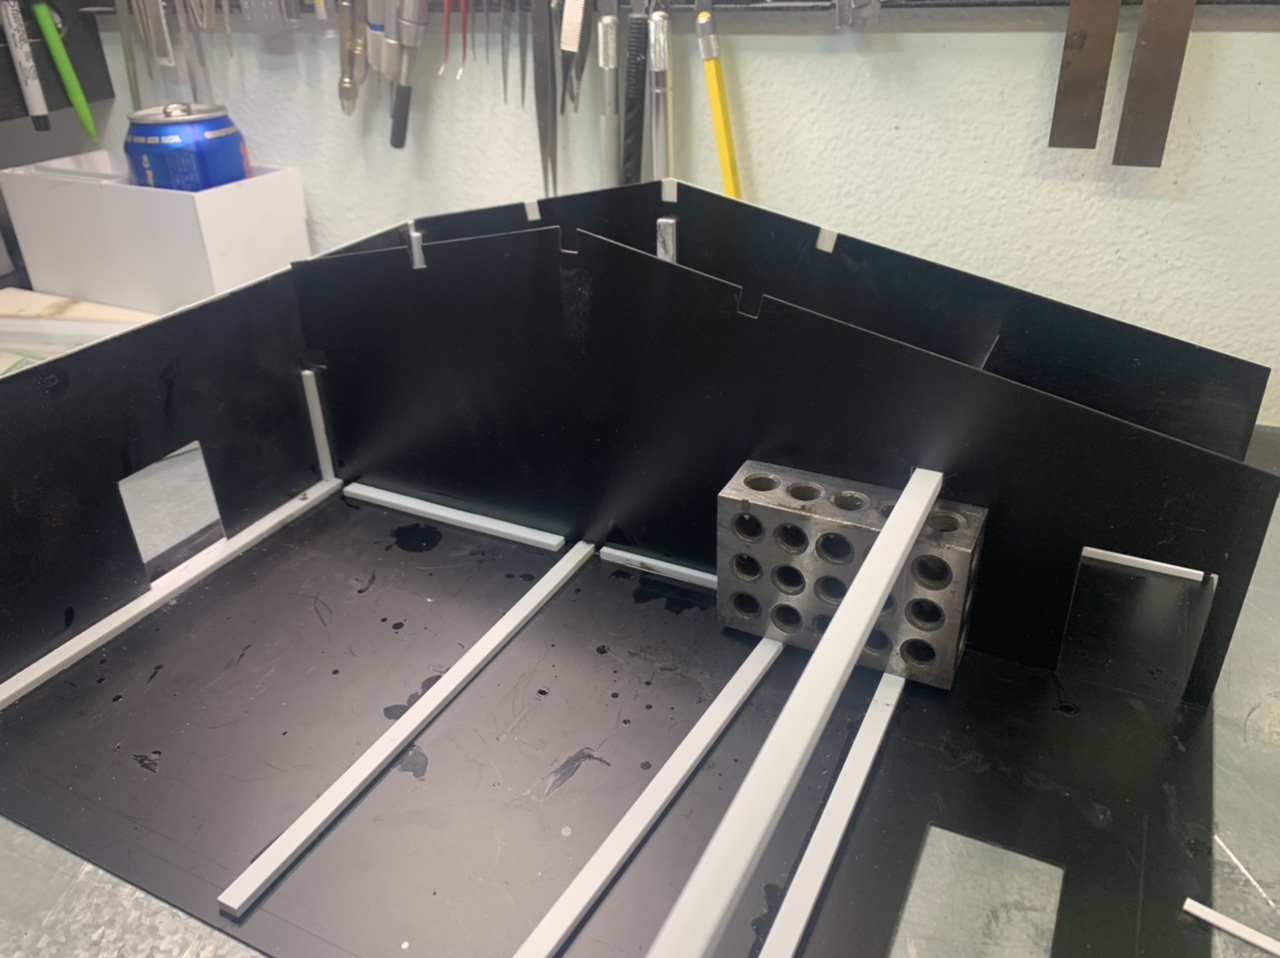
- Having a base. It didn’t quite work how I envisioned because the design was slightly wrong, but the overall concept was helpful. I will continue to refine how I employ a base into my future builds.
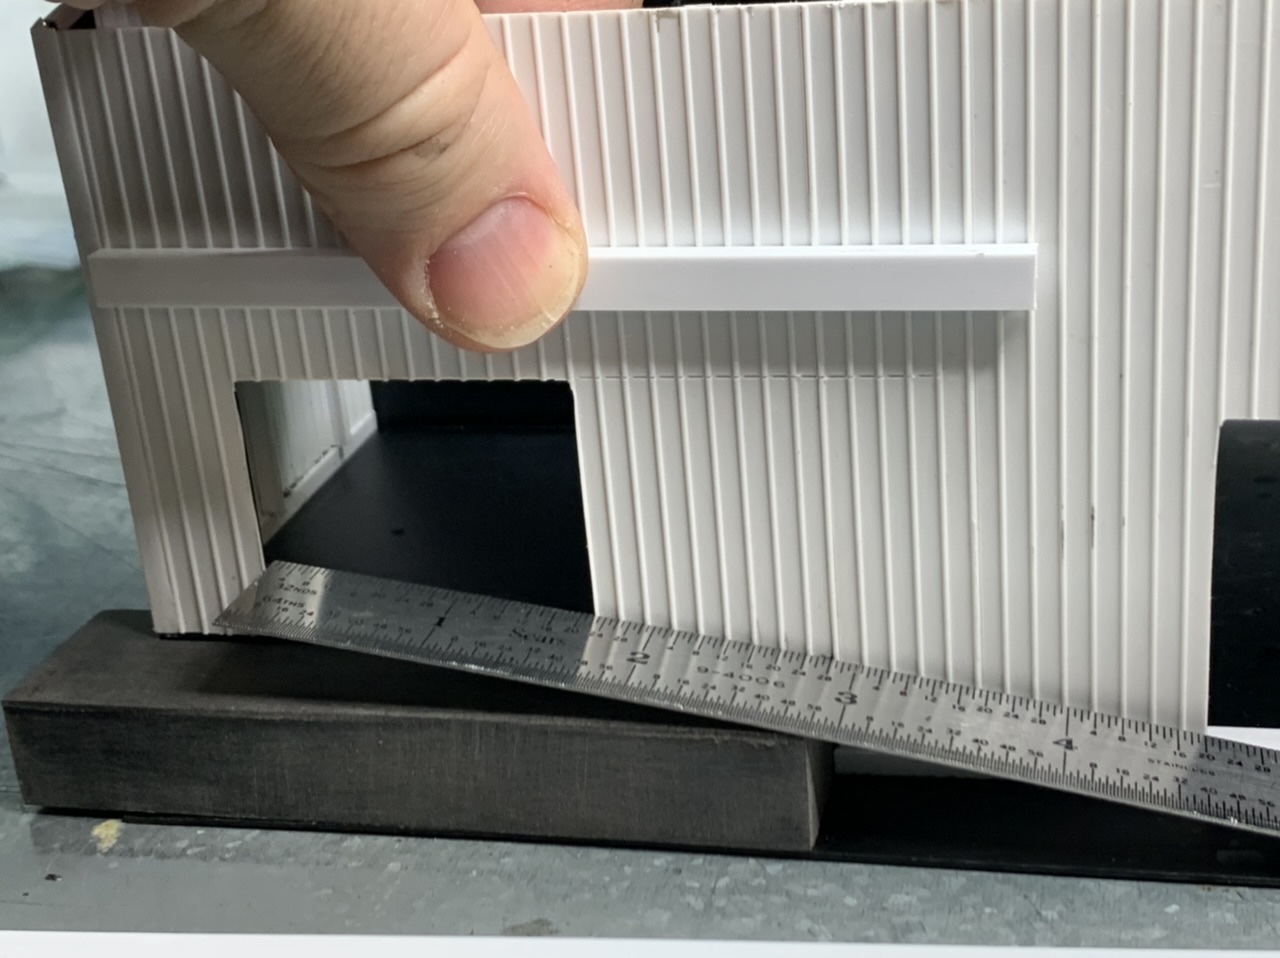
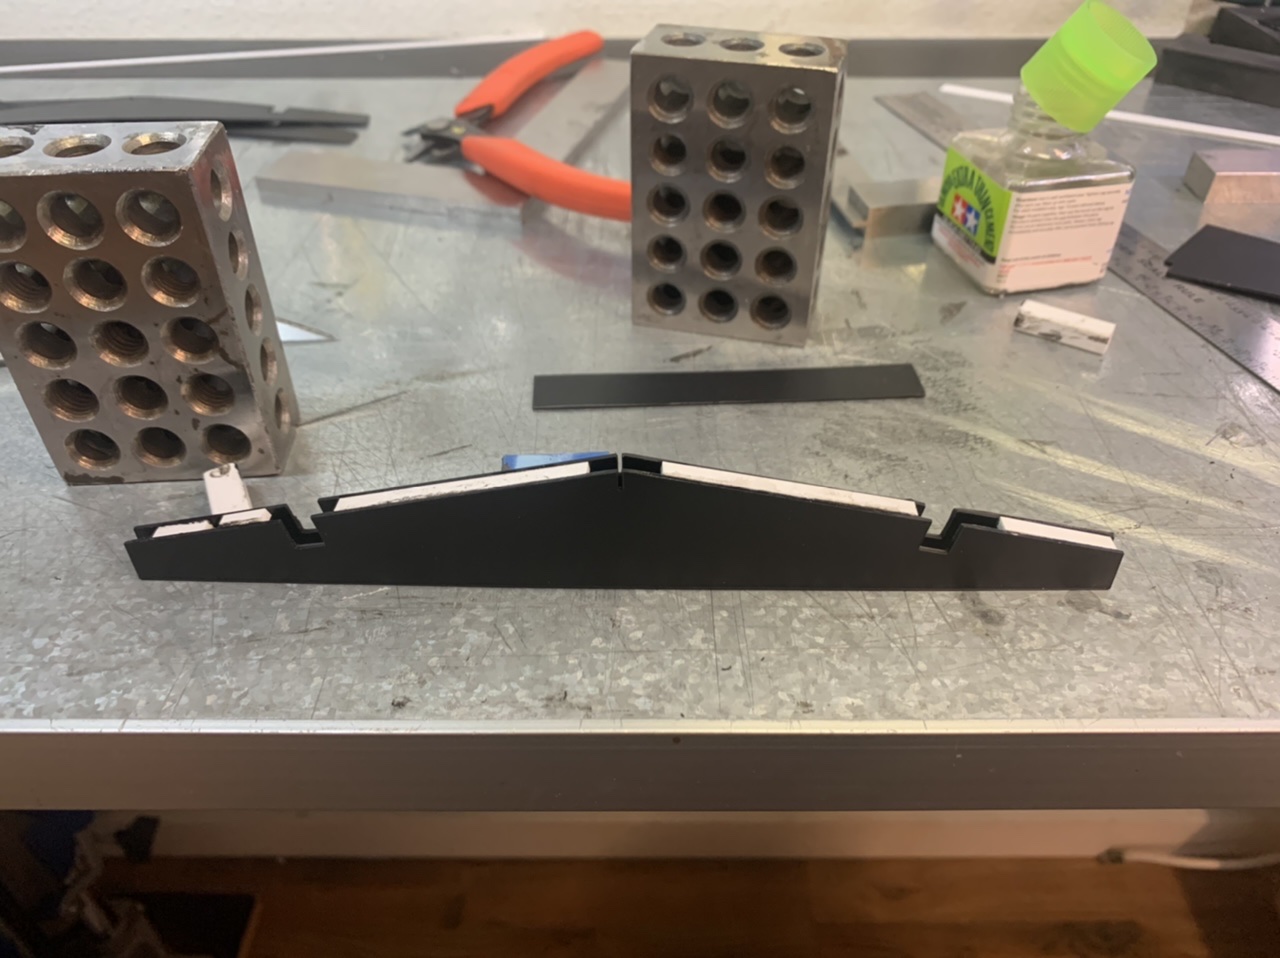
- Keyed support alignment holes work well, One key I stumbled upon when building the roof was using a .020 inch key at the peak of the roof trusses. This allowed me to slot a .020 beam along the roof ridge and press the roof sheathing prices to the peak with great accuracy. This method came along as an afterthought so it didn’t work to its fullest potential, but I will employ this technique upfront in future builds.
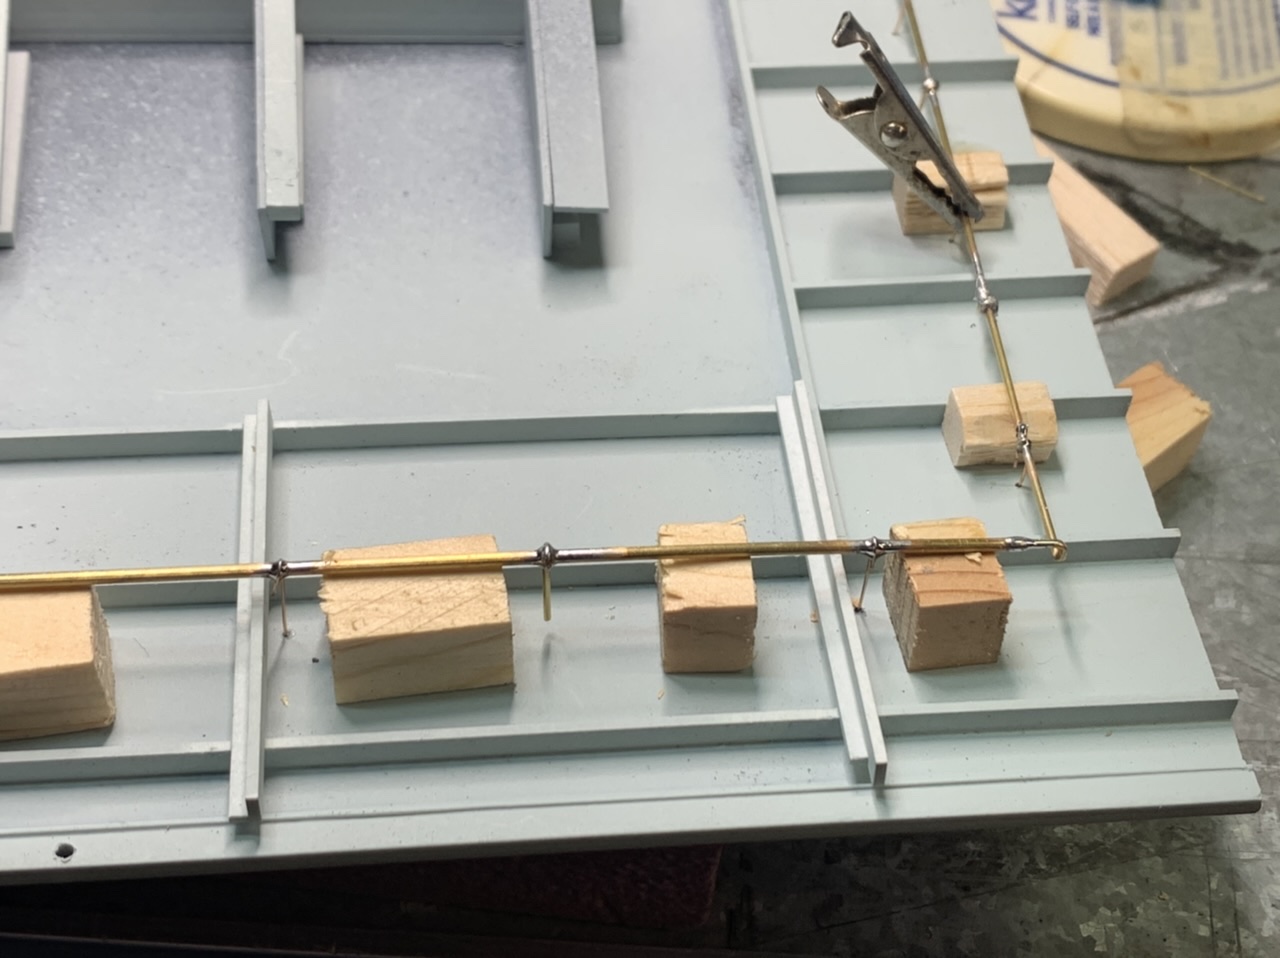
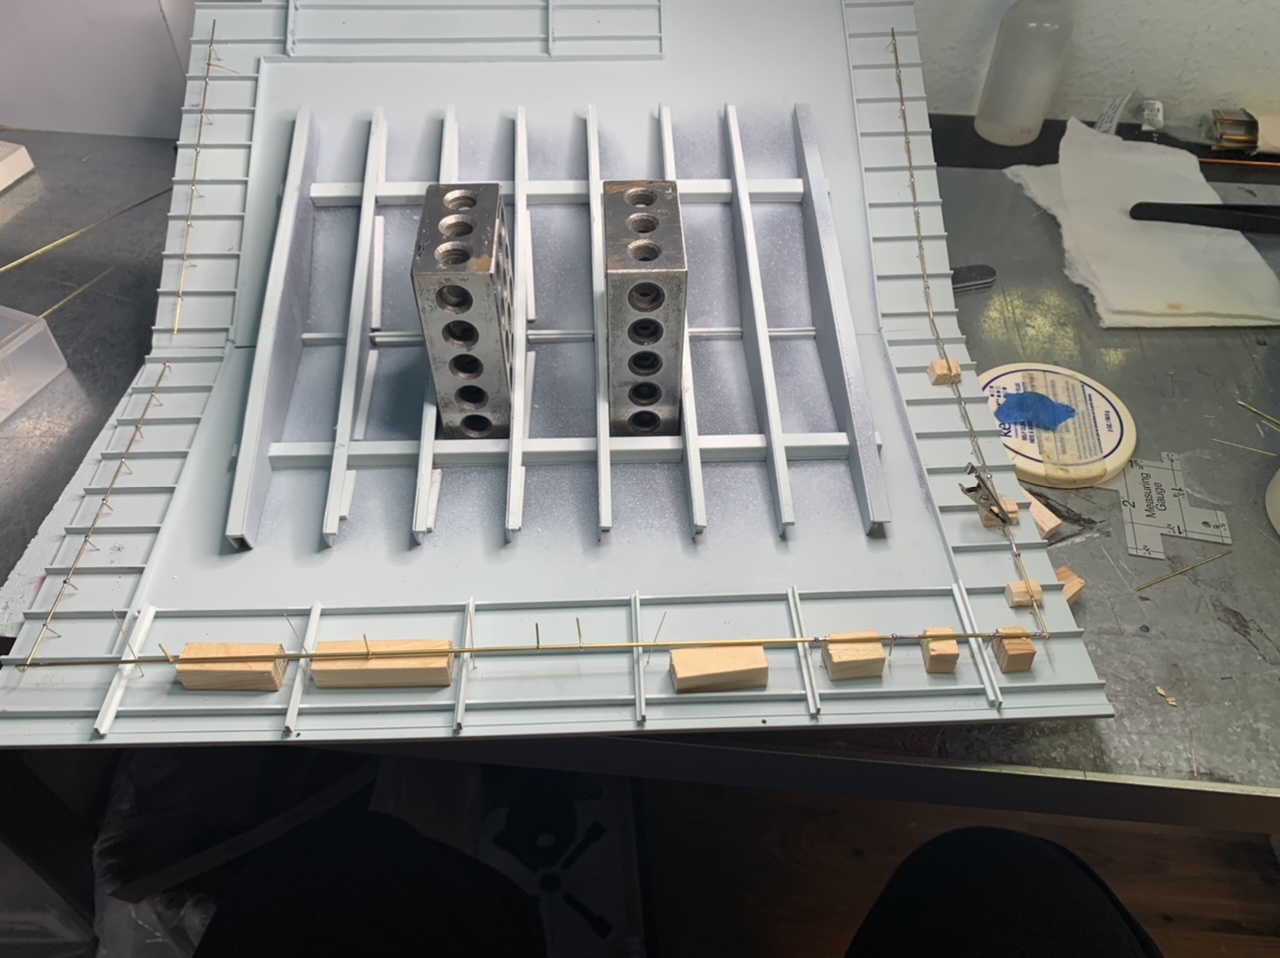
- Metal piping. I didn’t even notice the existence of an exterior sprinkler system until the structure was almost finished. I initially tried to use styrene rods for the sprinklers, but found it much easier to solder brass, copper or phosphor bronze tubes and rods to represent the sprinkler system.
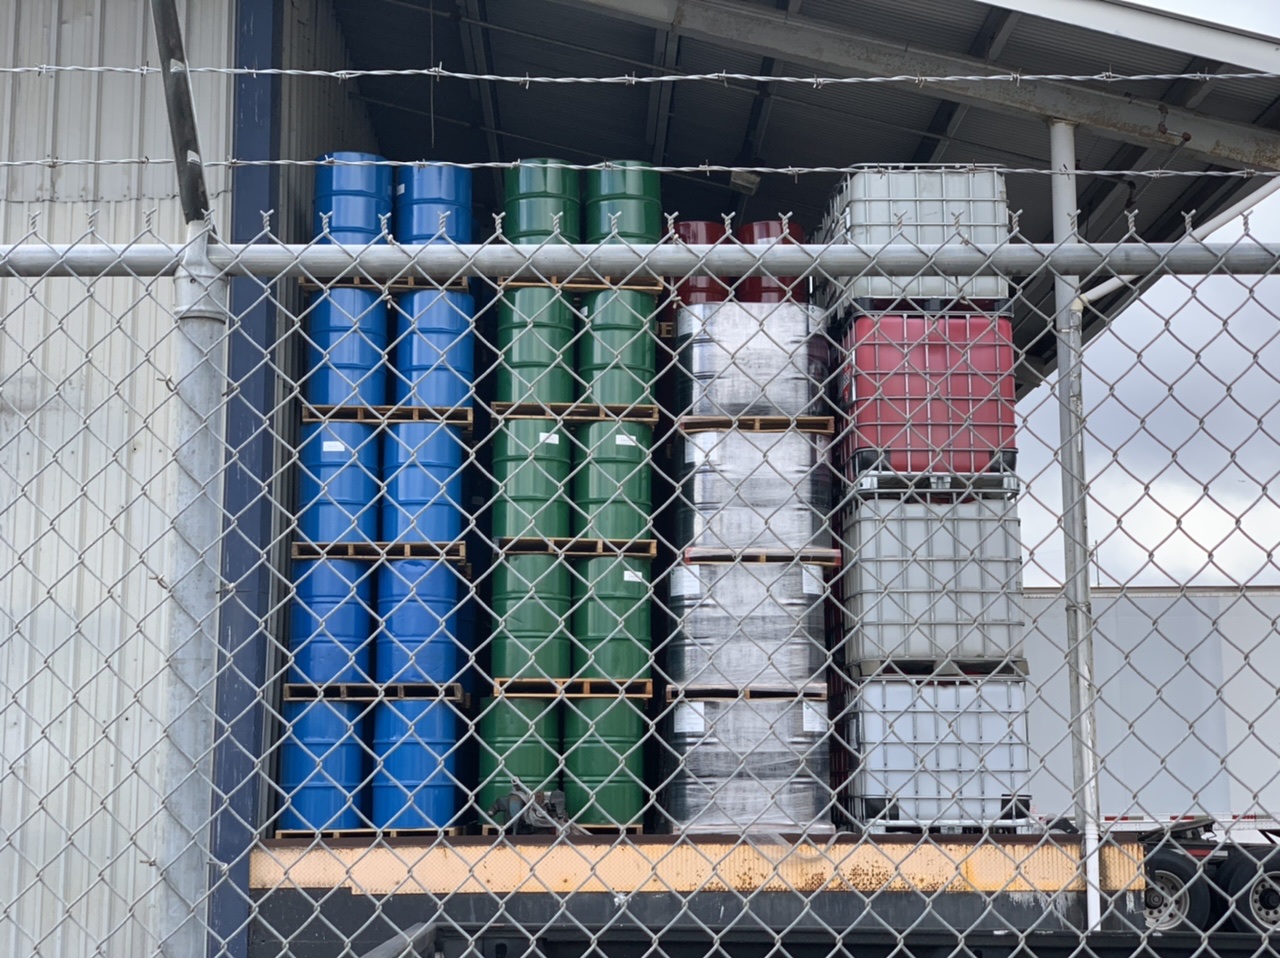
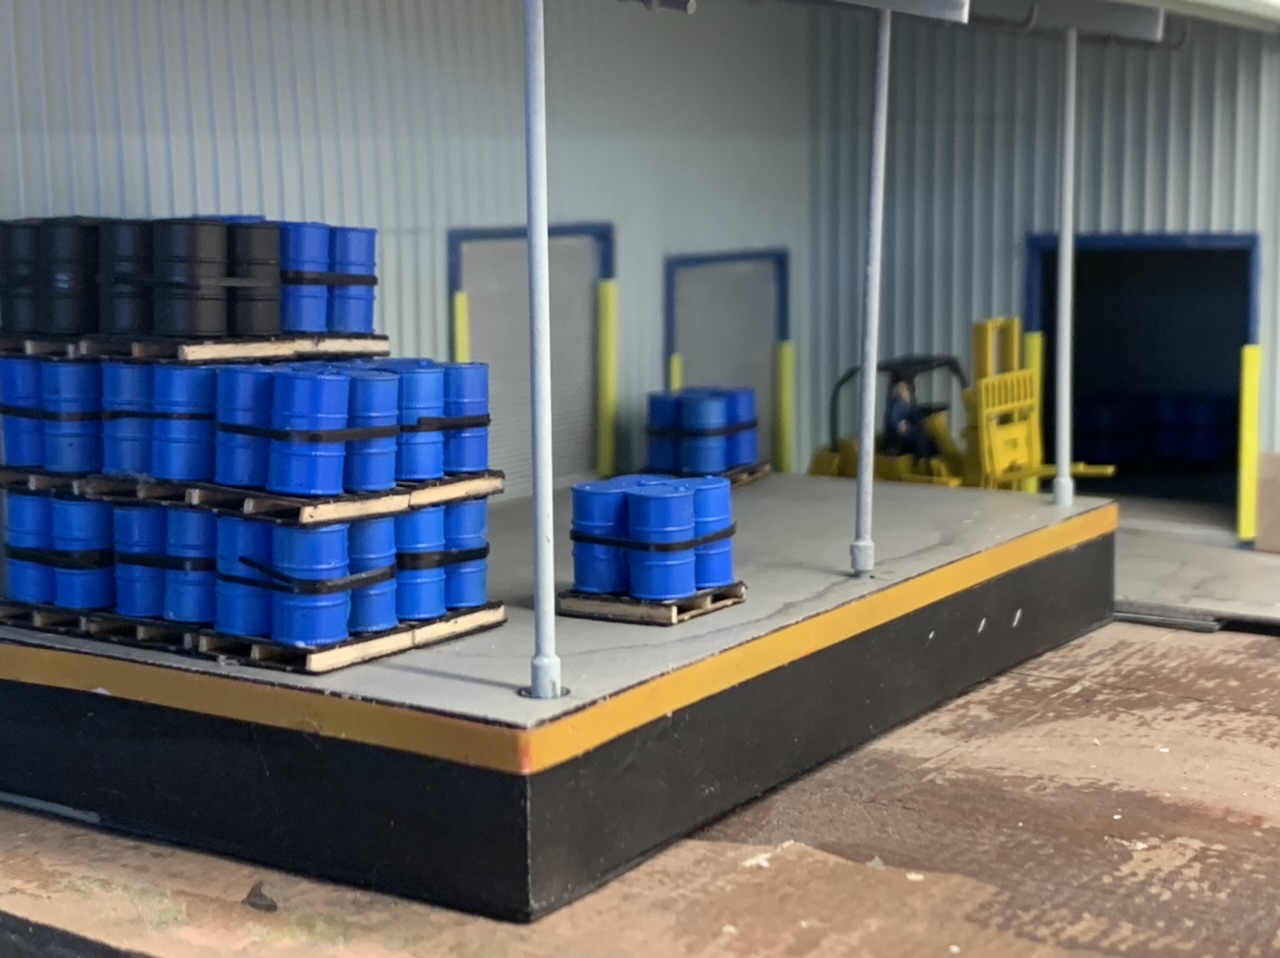
- Interiors. I’m slowly incorporating interior detail into the structures I am building. In this model I added corrugated walls and some pallets and barrels. Eventually I’d like to start adding details and lighting.
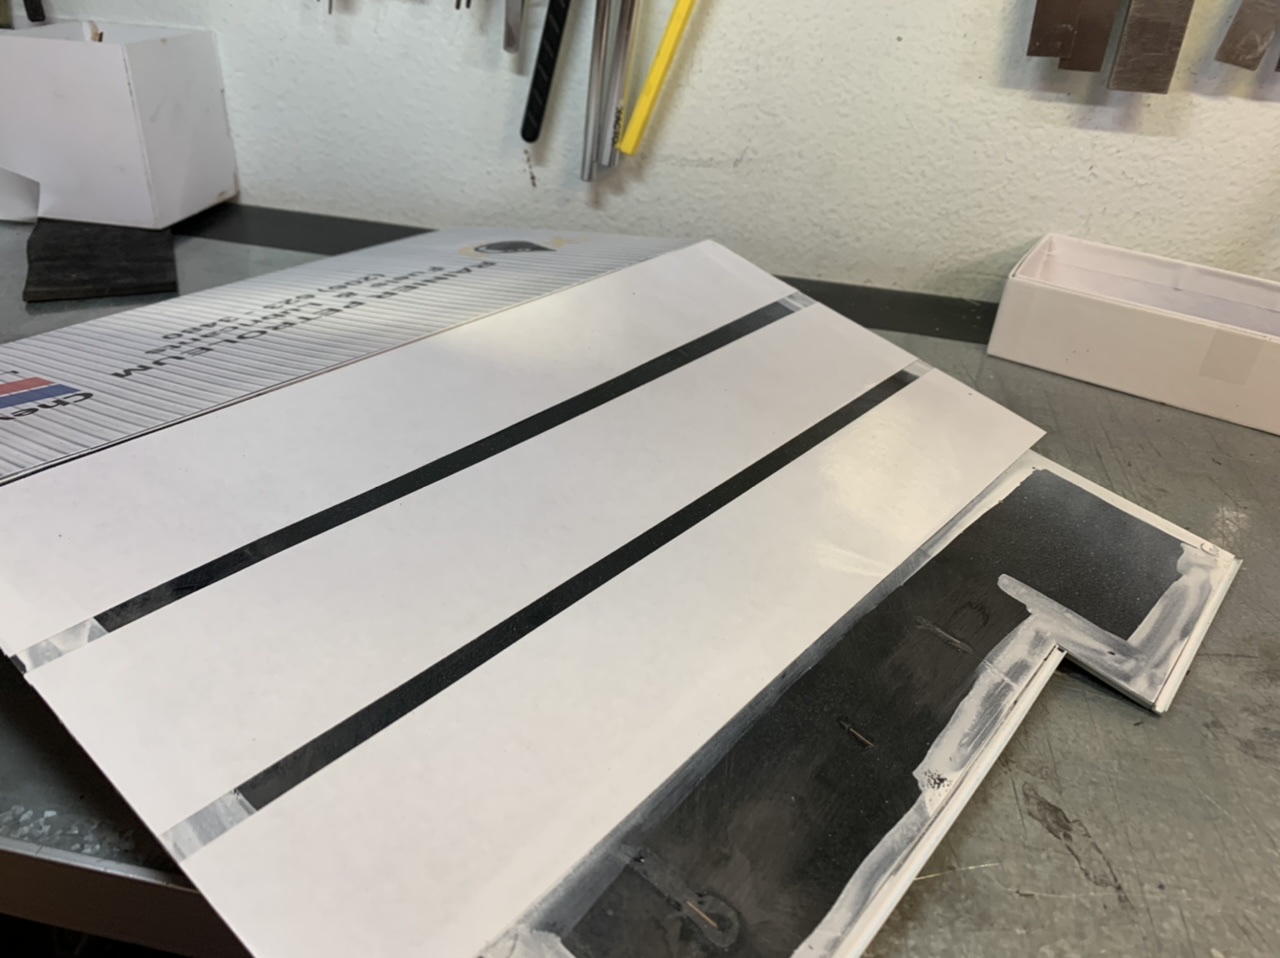
- Printing. I couldn’t figure out how I would paint the Rainier Petroleum and Chevron logo onto corrugated roof panels. But after reading a blog entry by James McNab (J&M Automotive – The Hills Line) I decided to try printing a roof. The roof skin was designed in Illustrator , printed on card stock and laminated to the the plastic roof structure with double sided tape.
3,135
Nice work Greg! Just found your blog and subscribed. Really nice modeling, also thanks for uploading high-res photos, these are essential to enjoying the details both in modeling and prototypes.
Thank you!