A followup to my previous post P48 – SW9 Upgrade.
Pilots
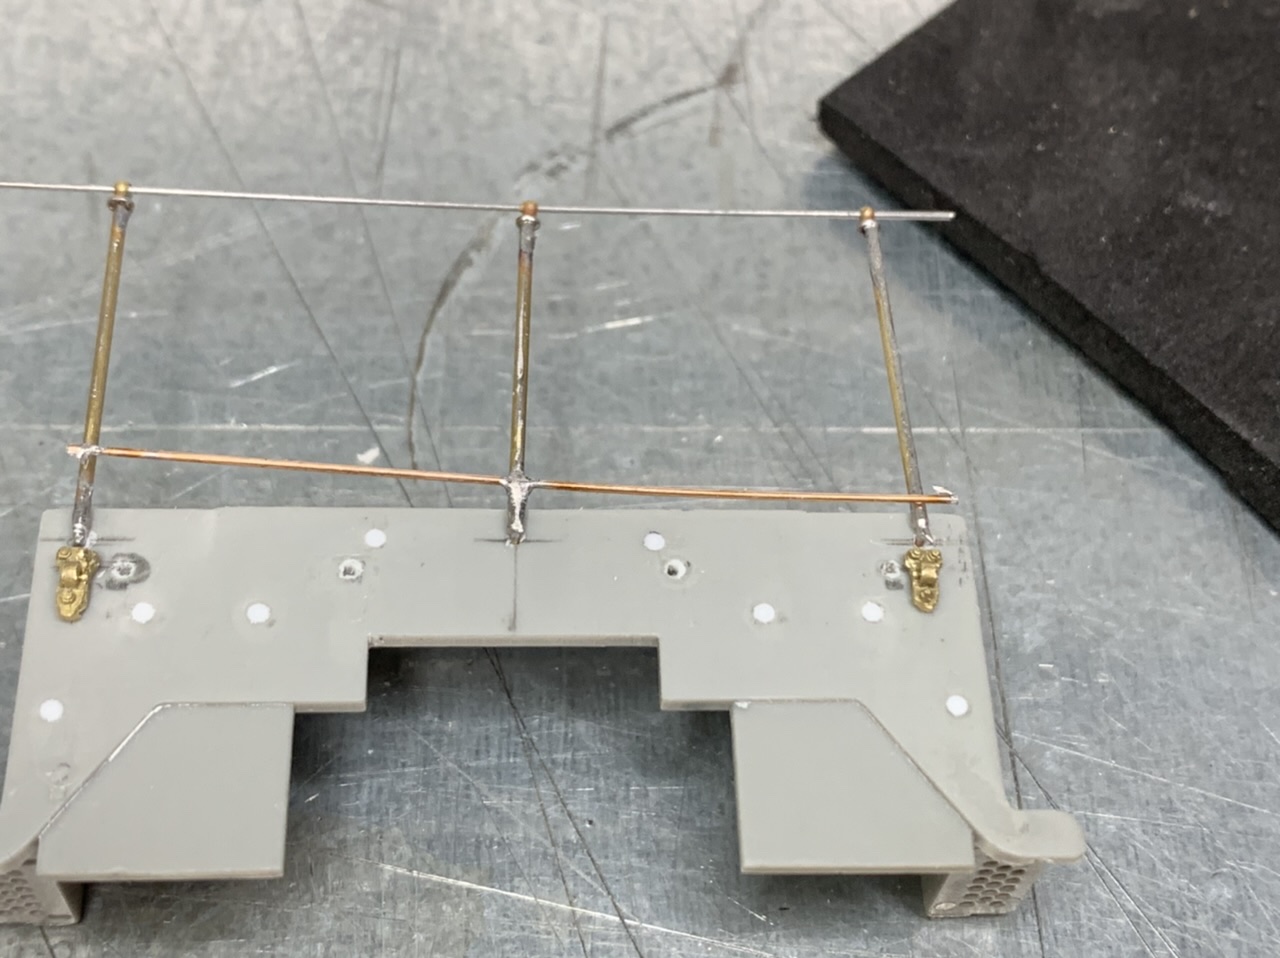
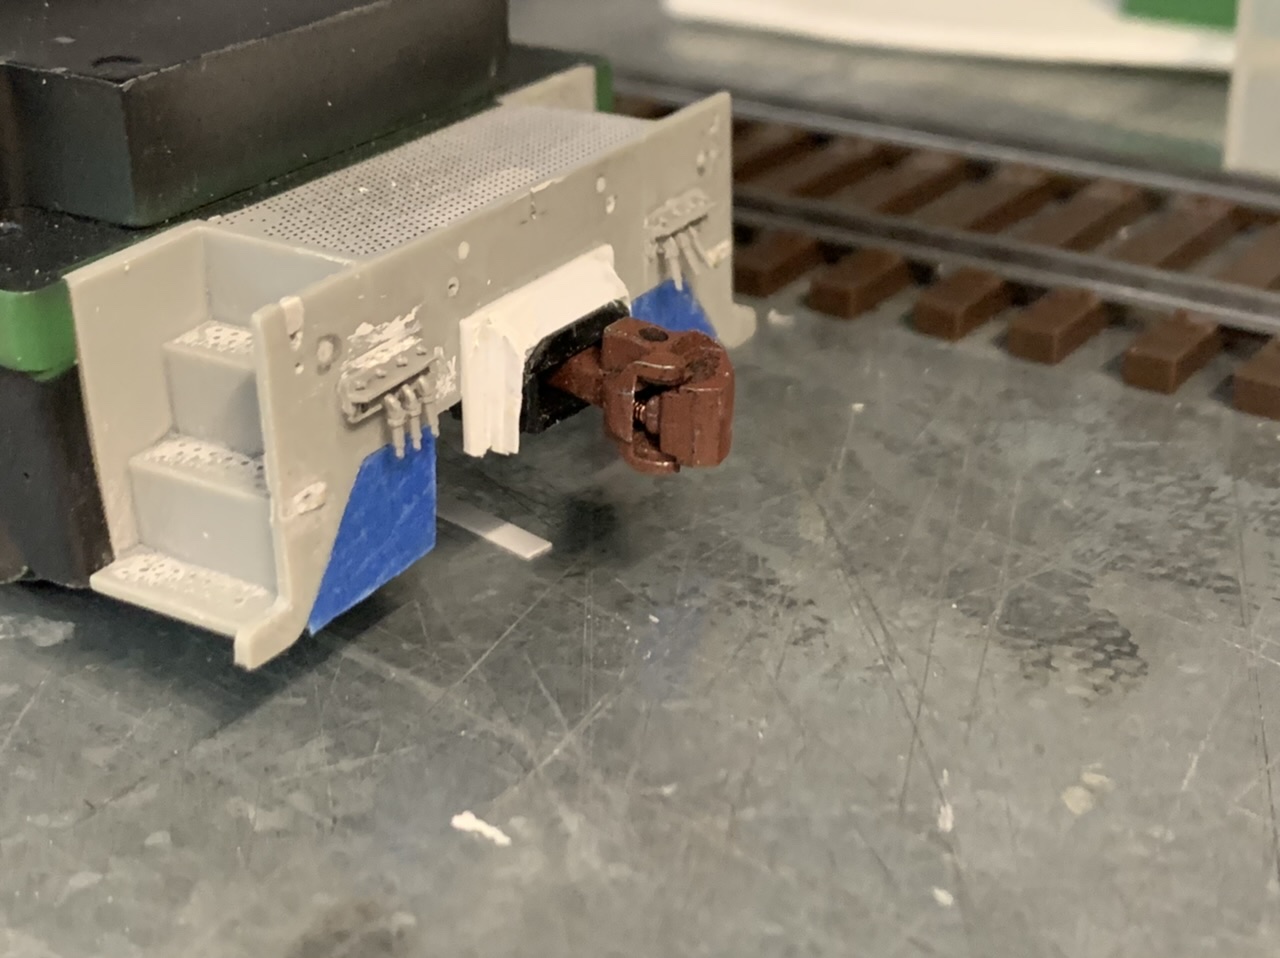
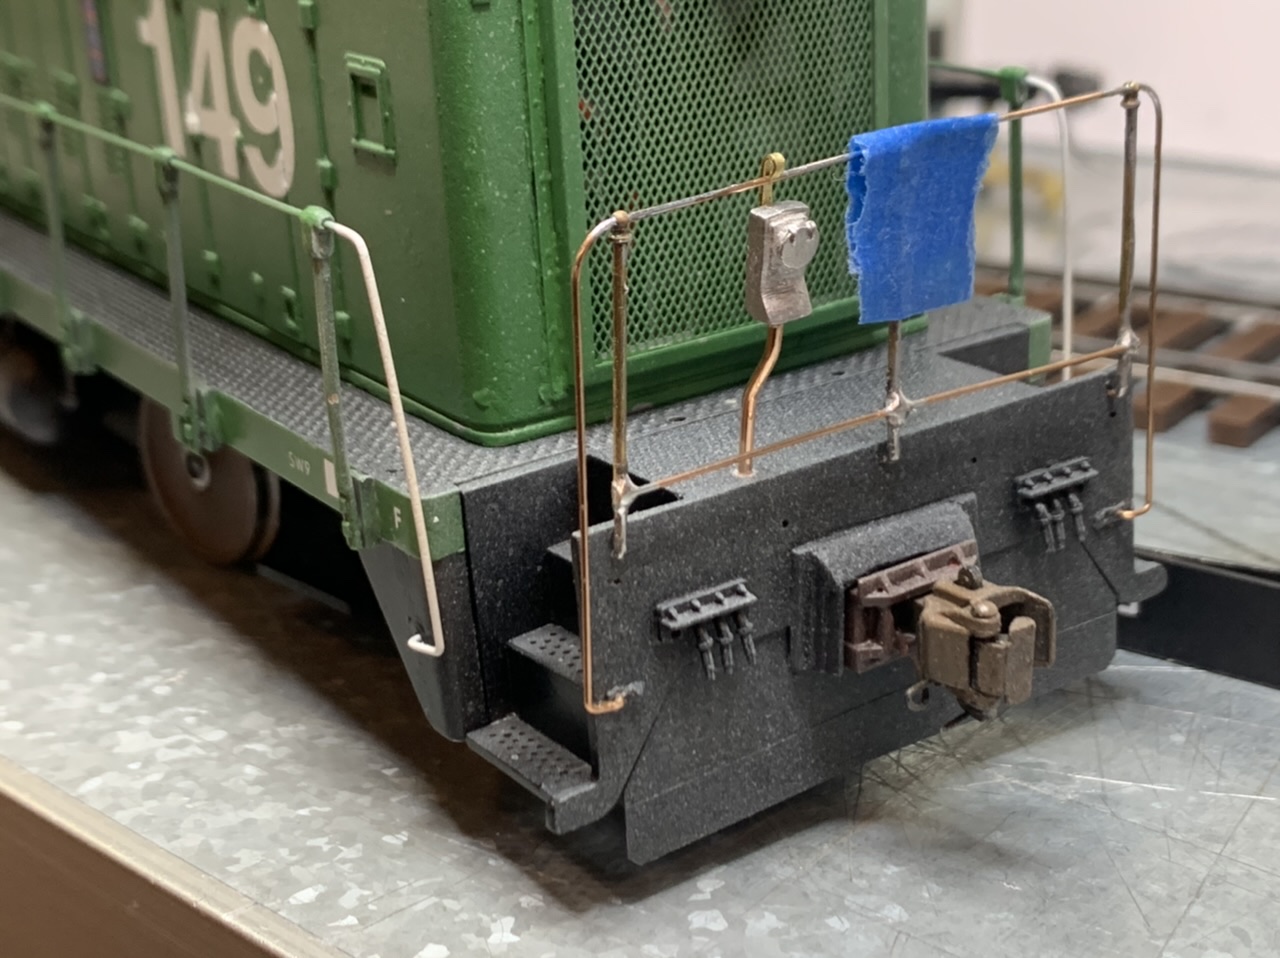
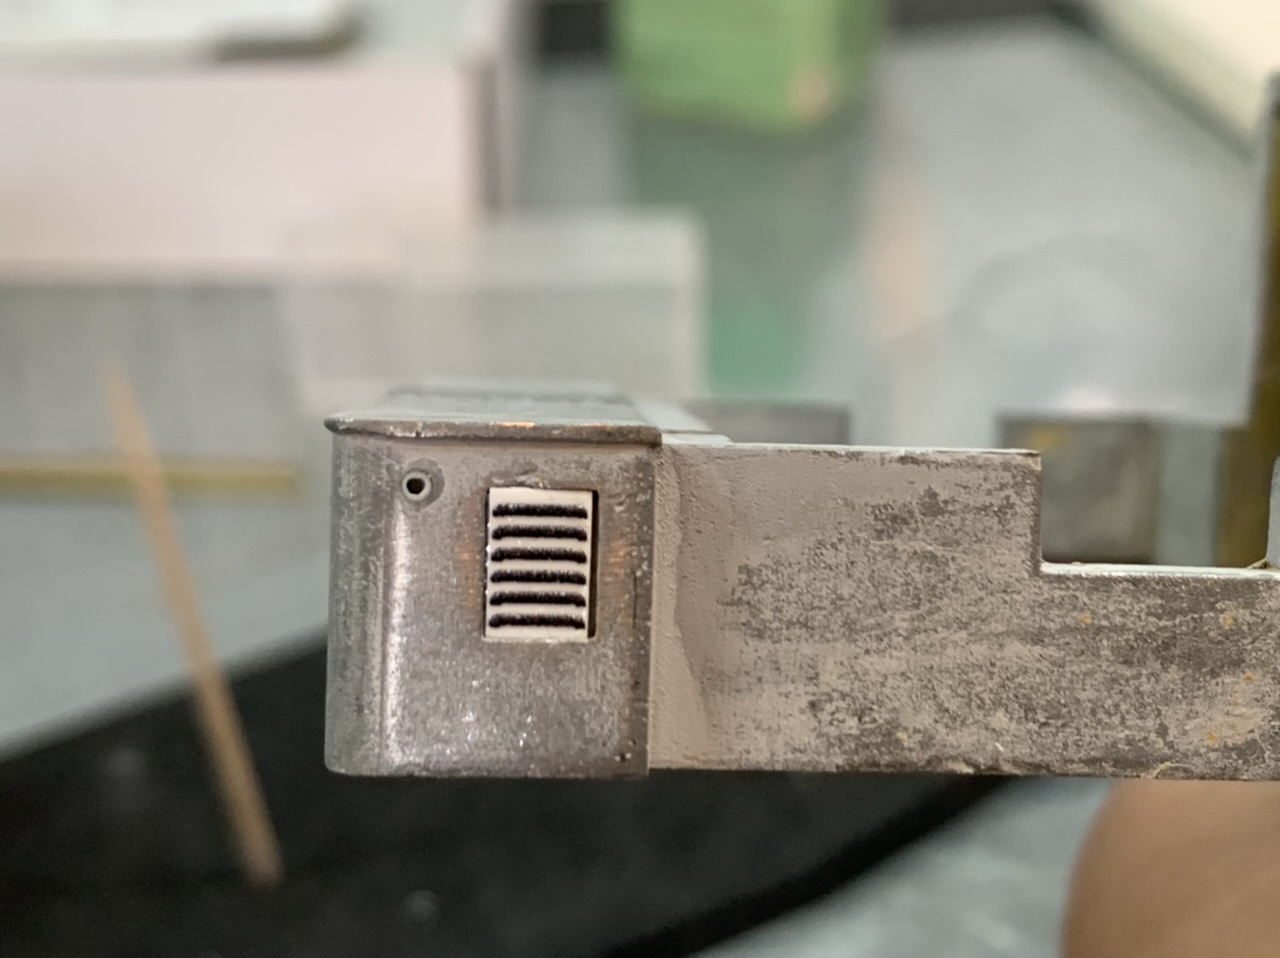
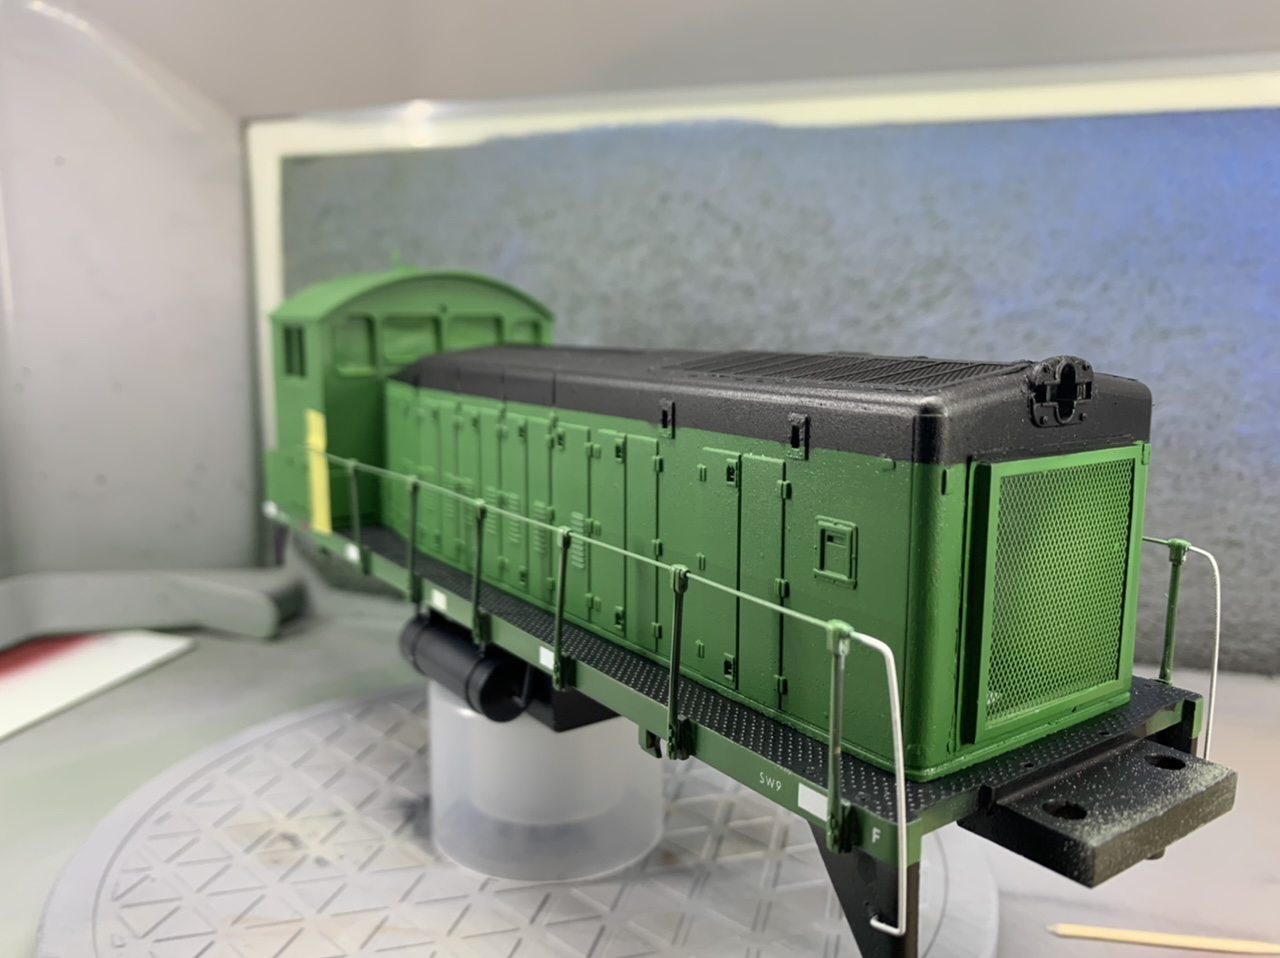
After that previous post I focused on the pilots. by finishing the handrails, working on the coupler pocket, MU attachments and trying to bend a cut lever.
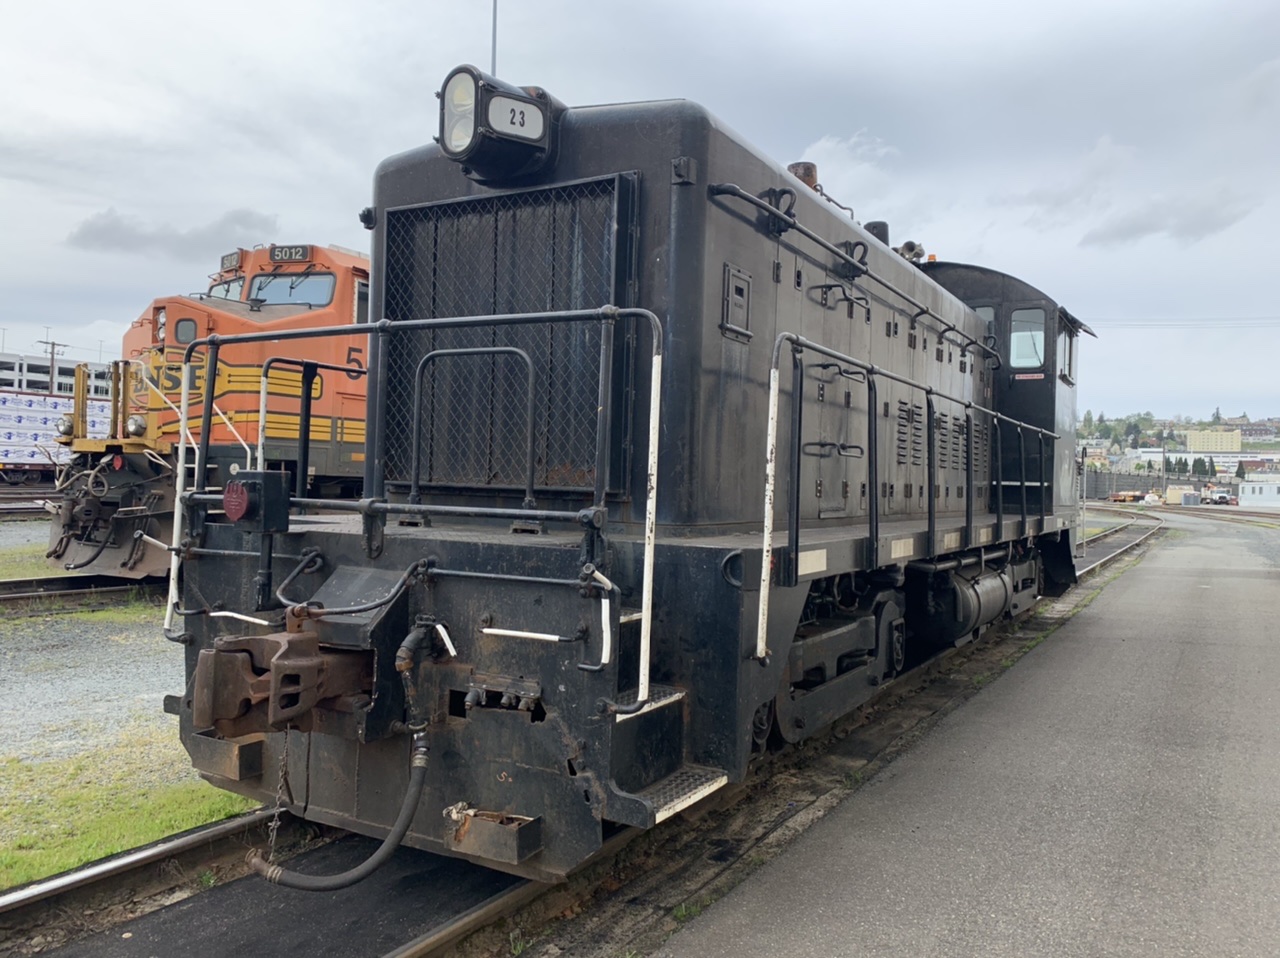
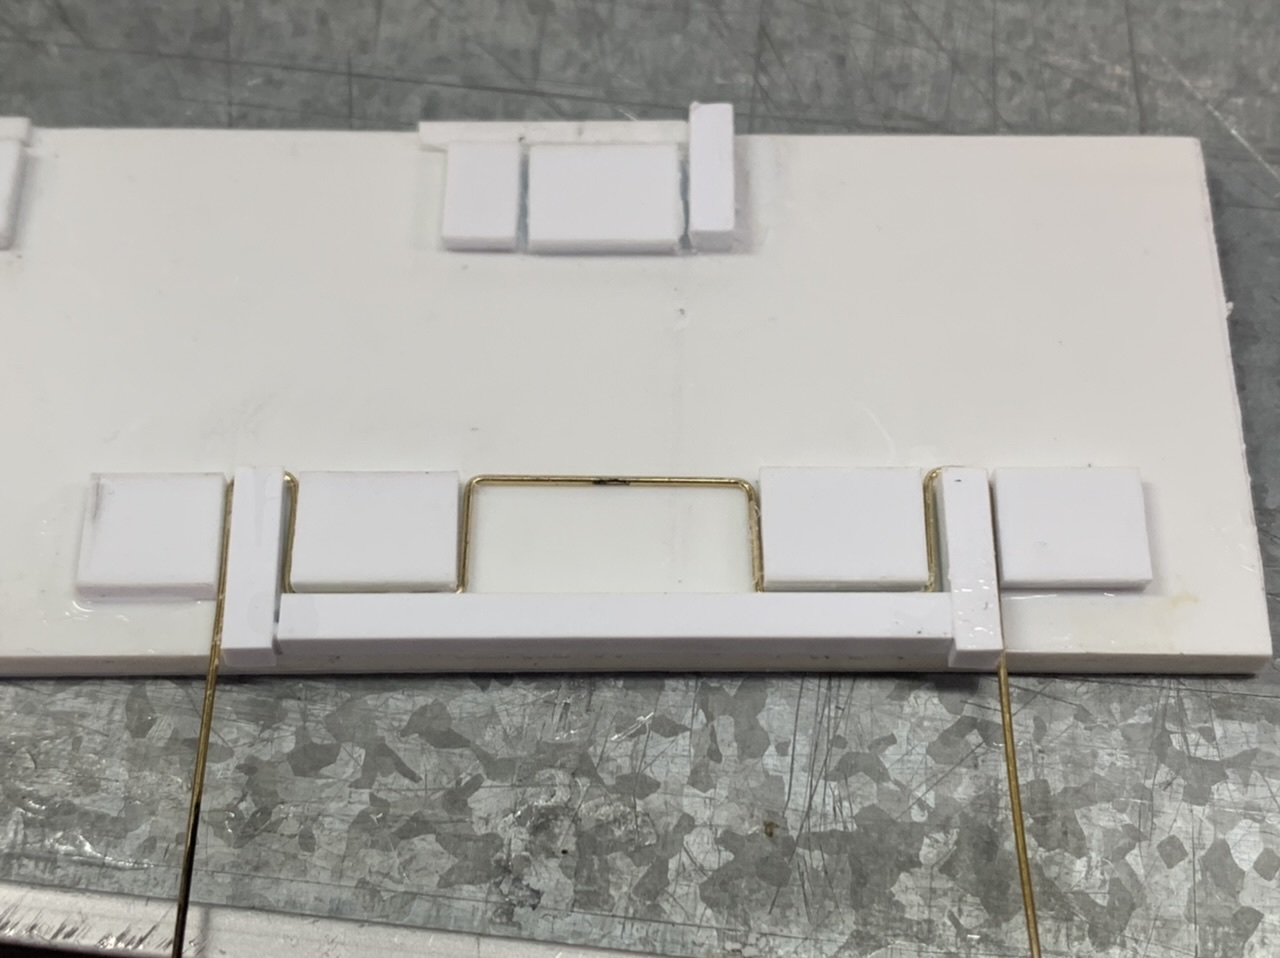
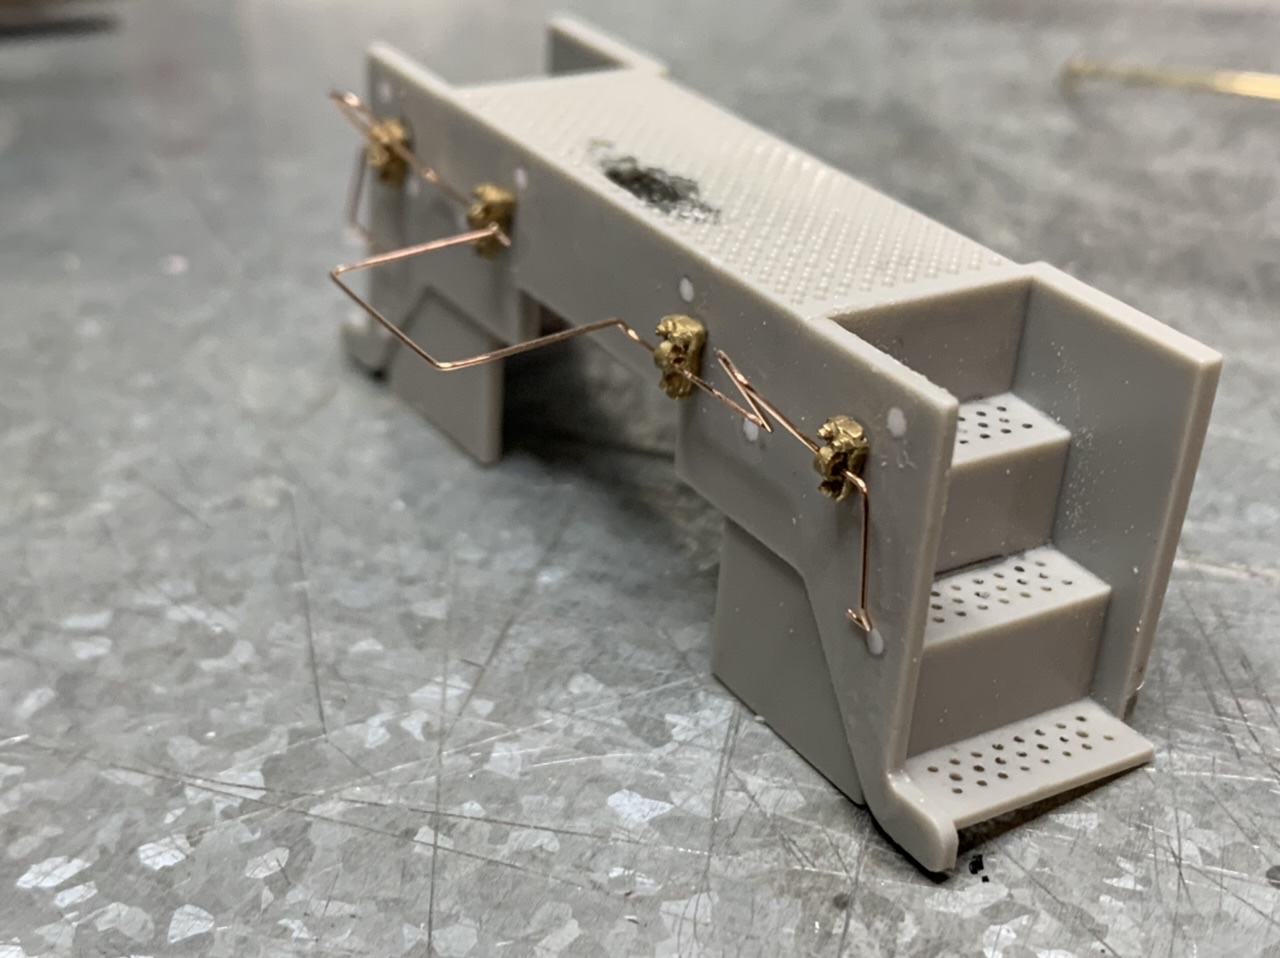
I ordered KV Models photo etch steps for the pilot also, but opted not to use them. I felt that cutting the molded plastic steps out would compromise the strength of the pilot more than I wanted to sacrifice. If I had extra pilots maybe I’d be more comfortable with trying the steps.
Paint & Decal
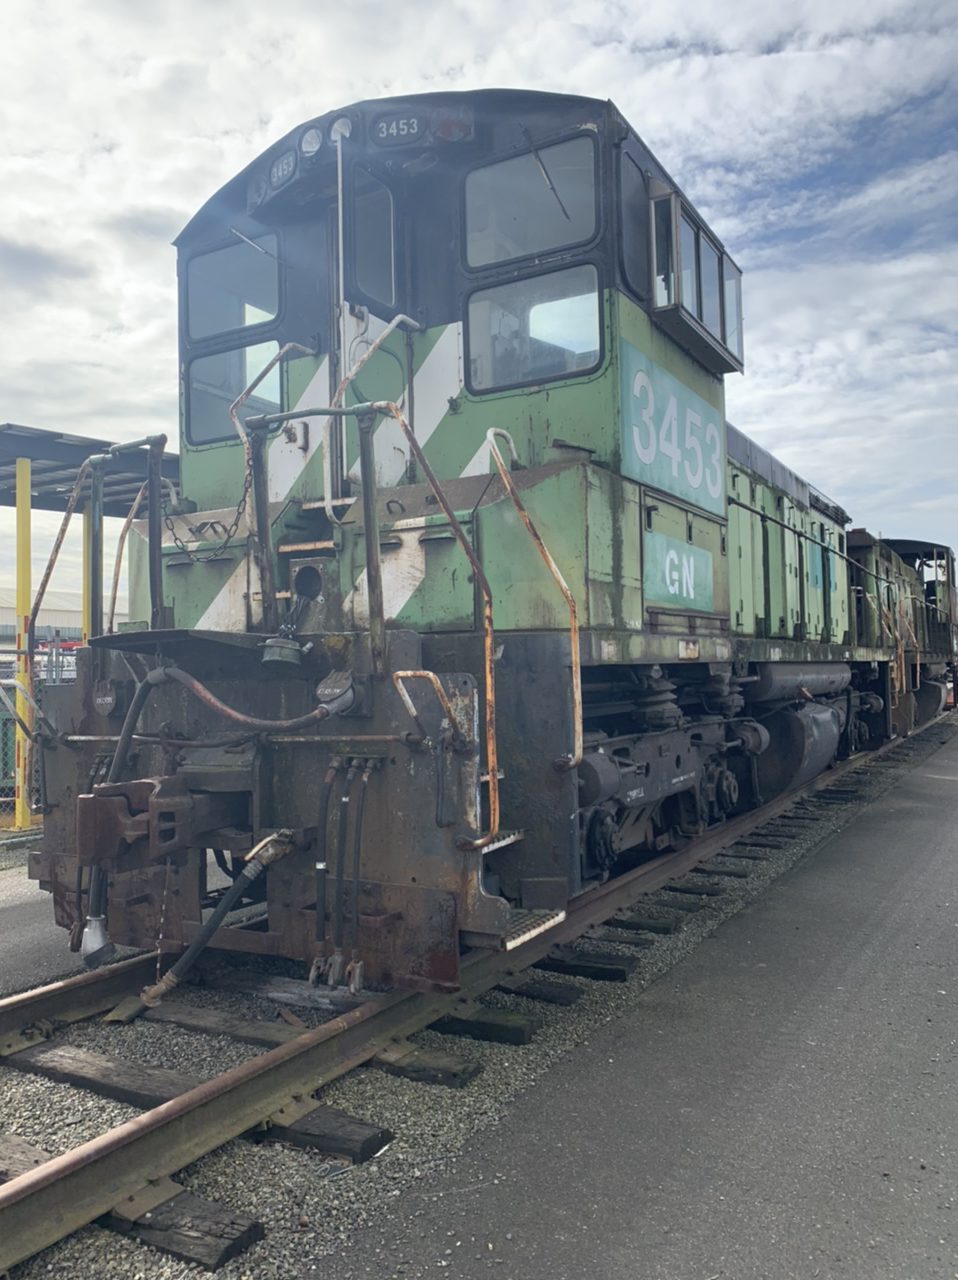
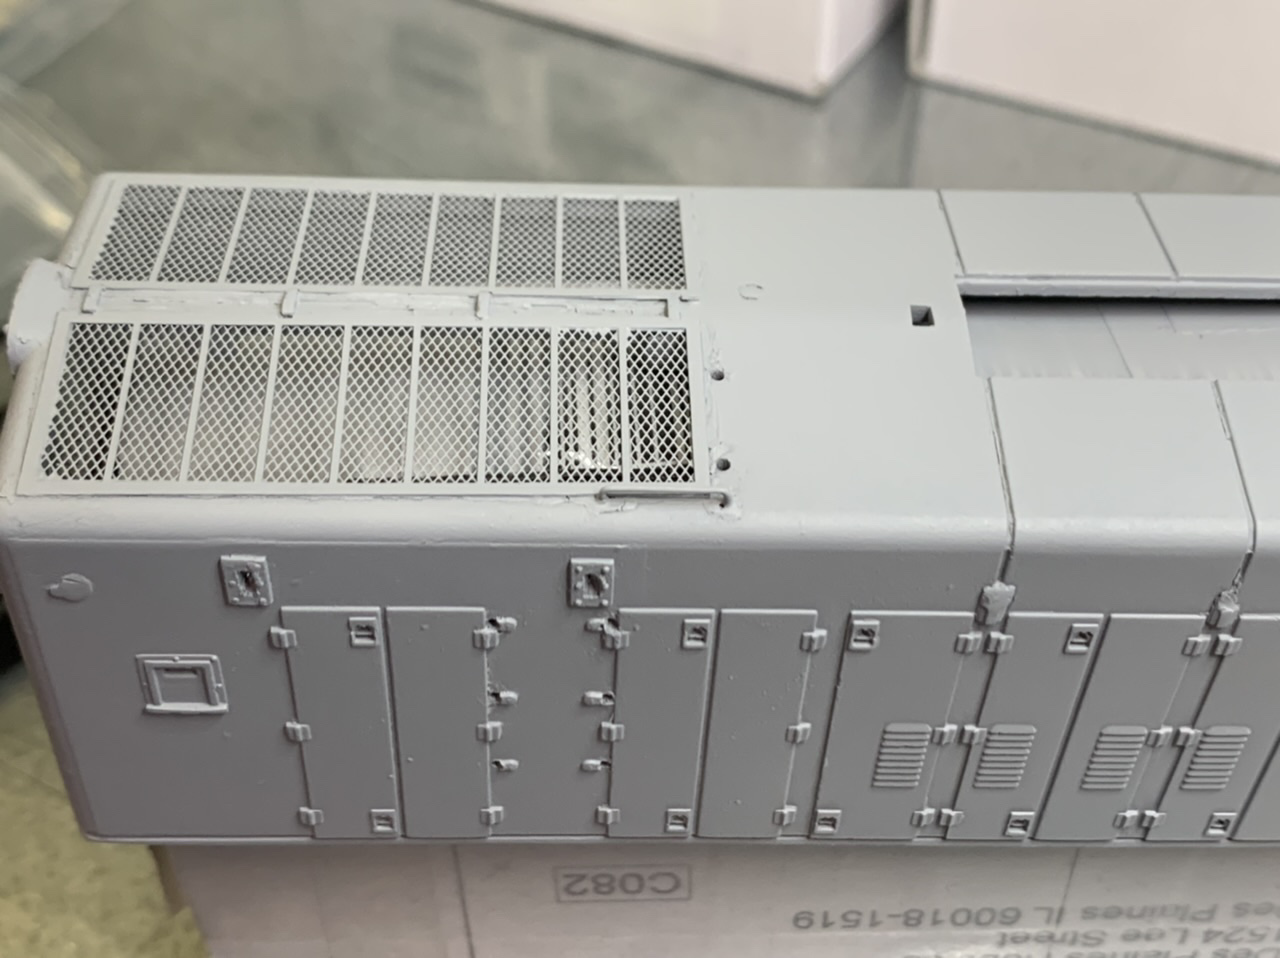
I primed this model with Mr. Surfacer Primer 1200. And painted with Tru Color Cascade Green, Black and White. Mr. Surfacer Primer does not adhere well to the polished metal detail surfaces so I’ve to do a few touch ups on handrails, grab irons and etched metal details. if I were to do this again I would use a different primer.

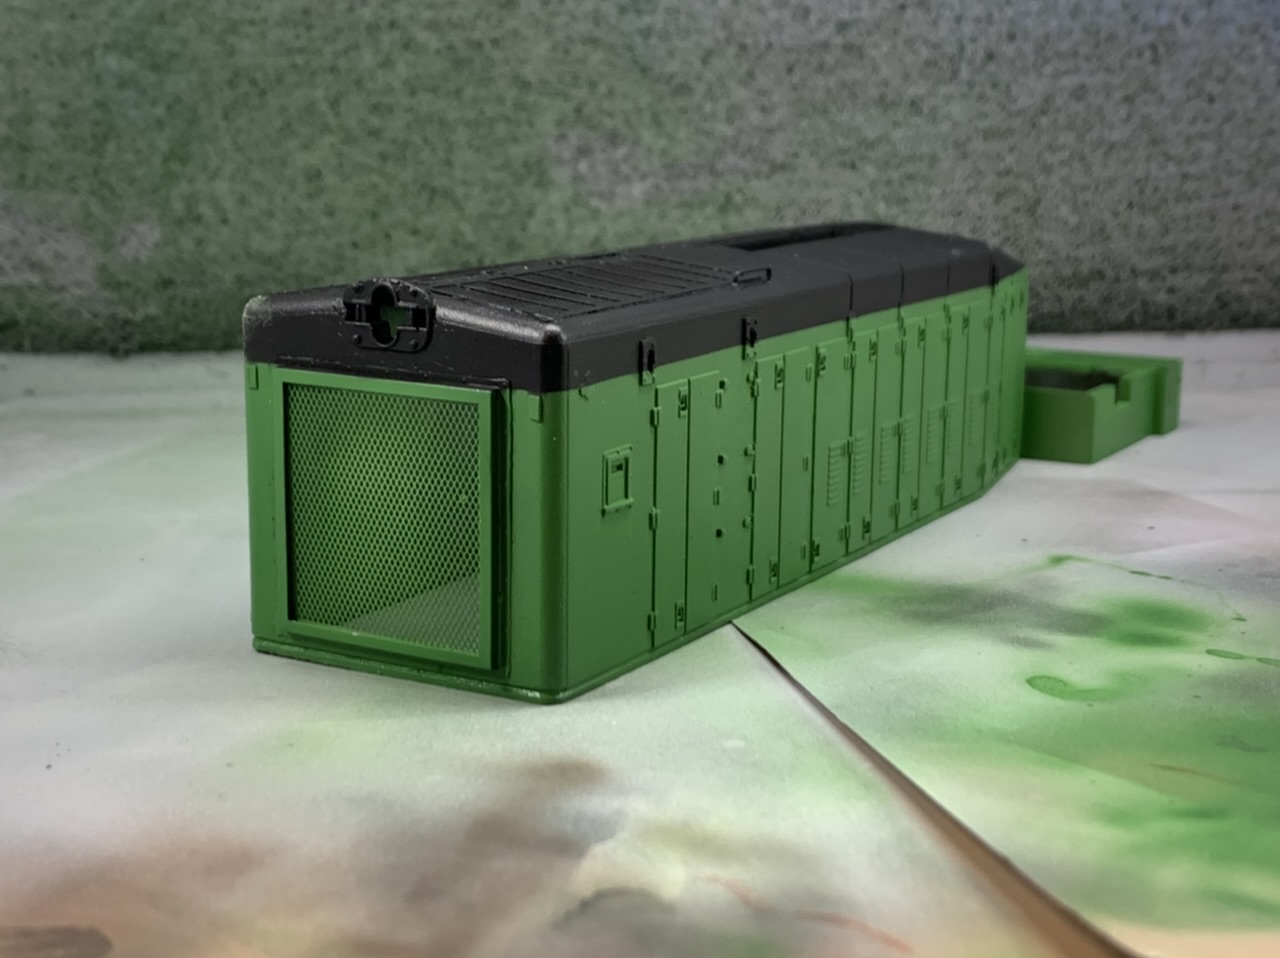
I had very little bleed on my paint job. But where I did it wasn’t so easy to correct. If you try to brush Tru-Color paint on top of try color paint it reactivates the base coat and doesn’t do what you want it to do. I ended up remarking very small portions and respraying to correct the bleeds.
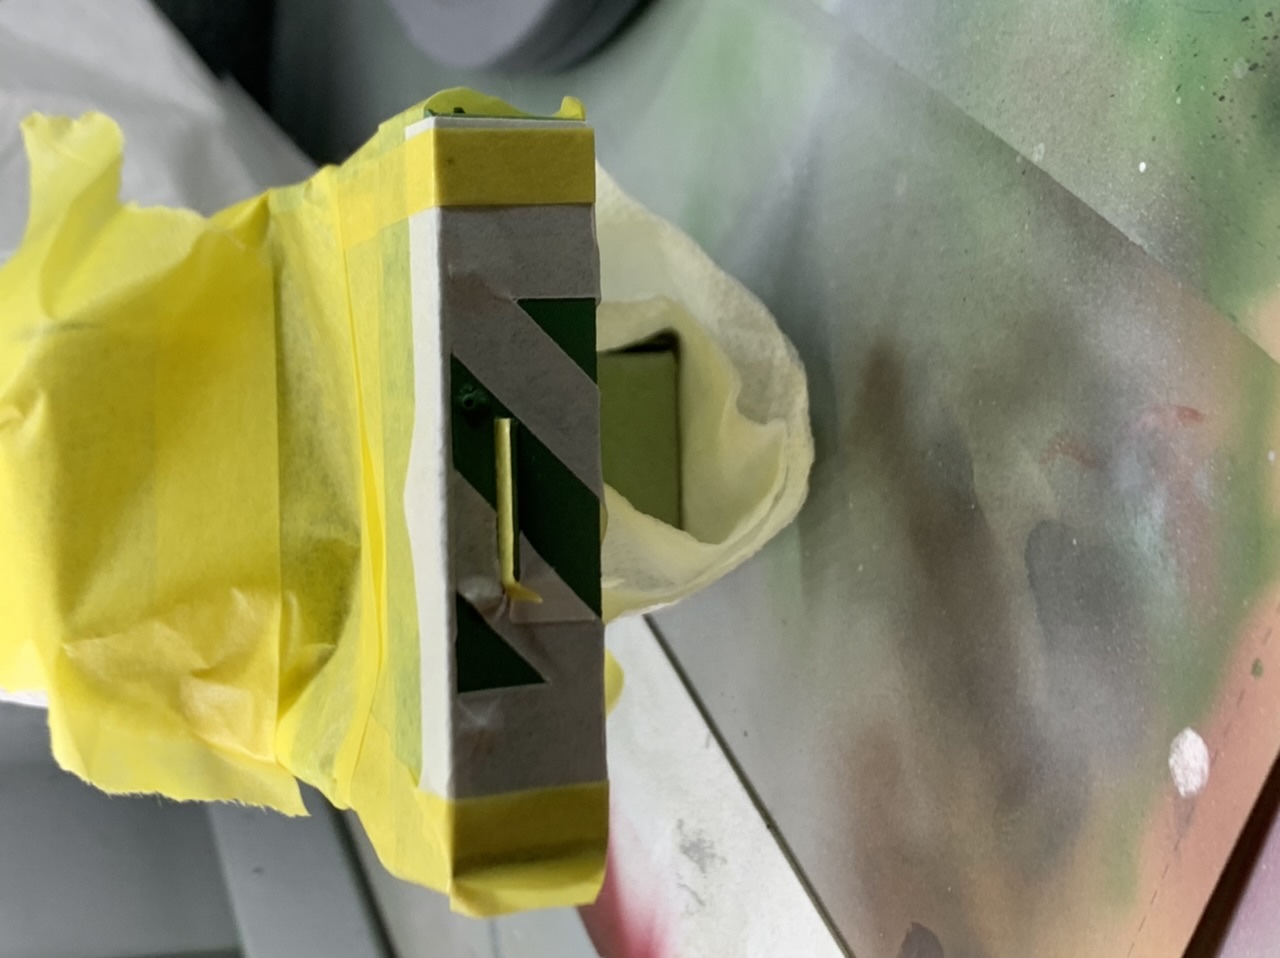
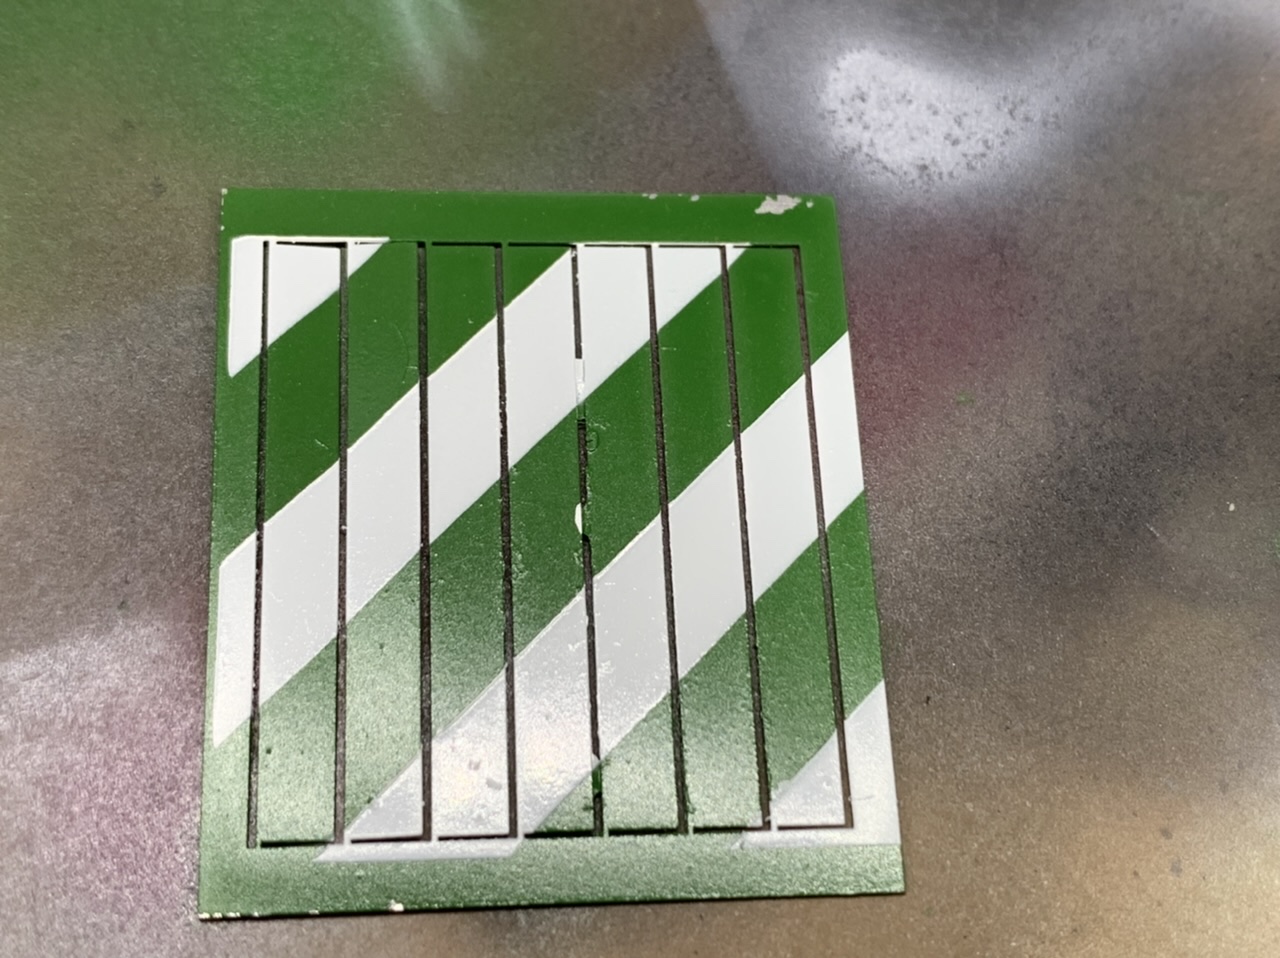
I cut diagonal masks for the cab, cab steps and radiator louvers with my Cricut.

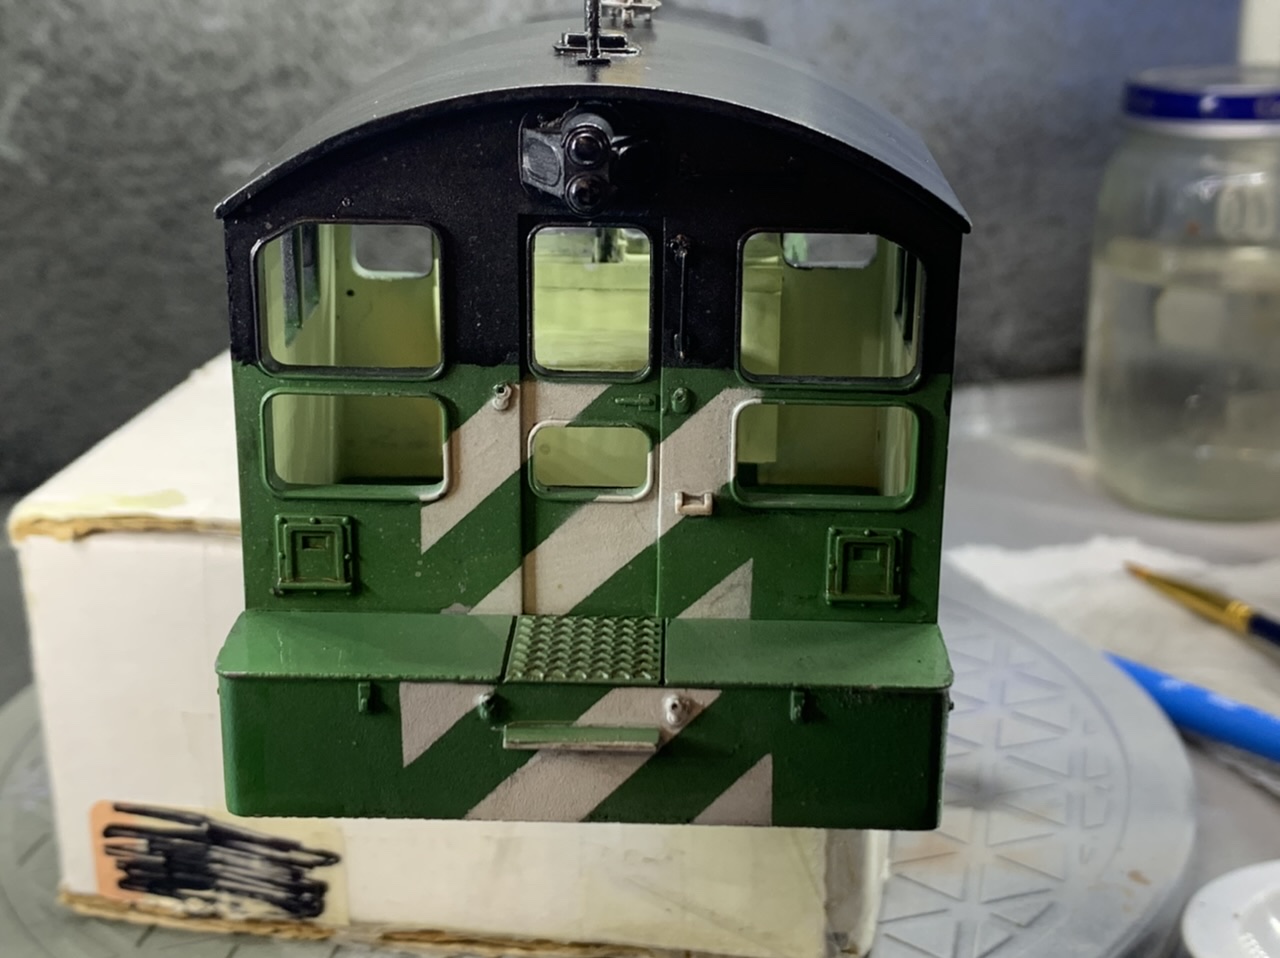
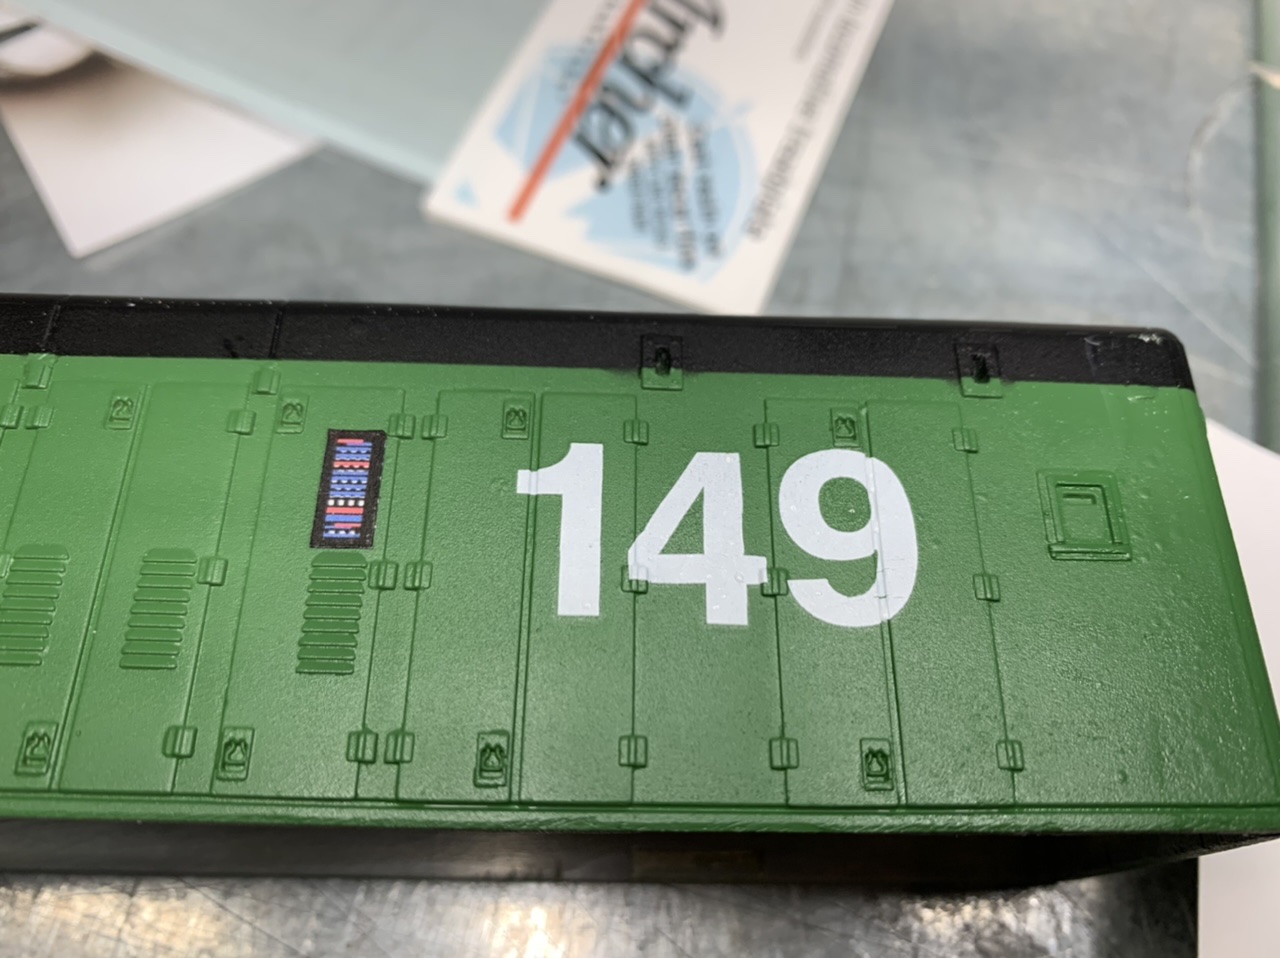
I used Microscale decals for the numbers and BN logos. And custom printed an ACI label to match the prototype (ACI Tag GeneratorACI Tag Generator)
Power, light and sound
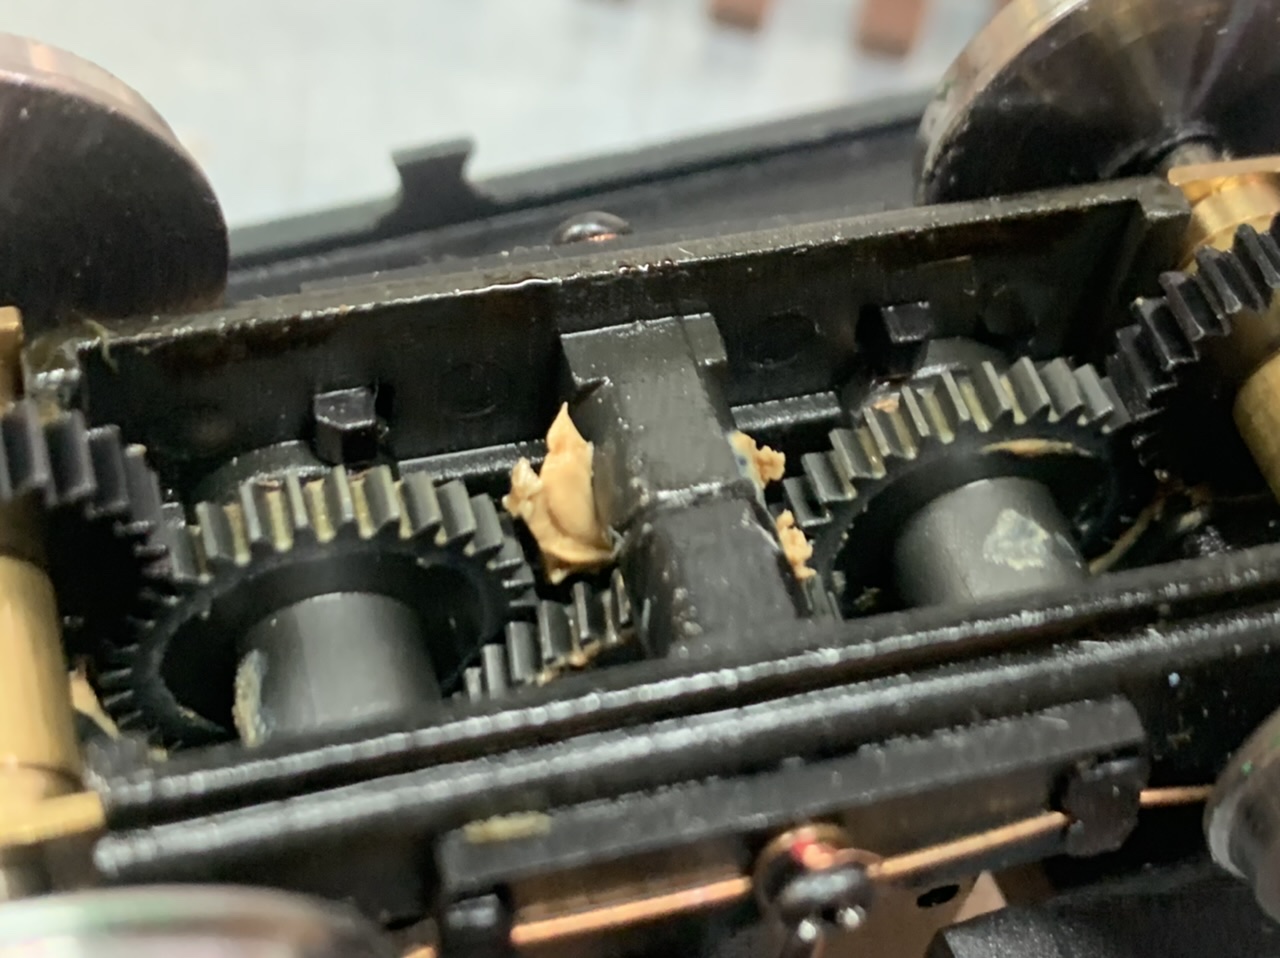
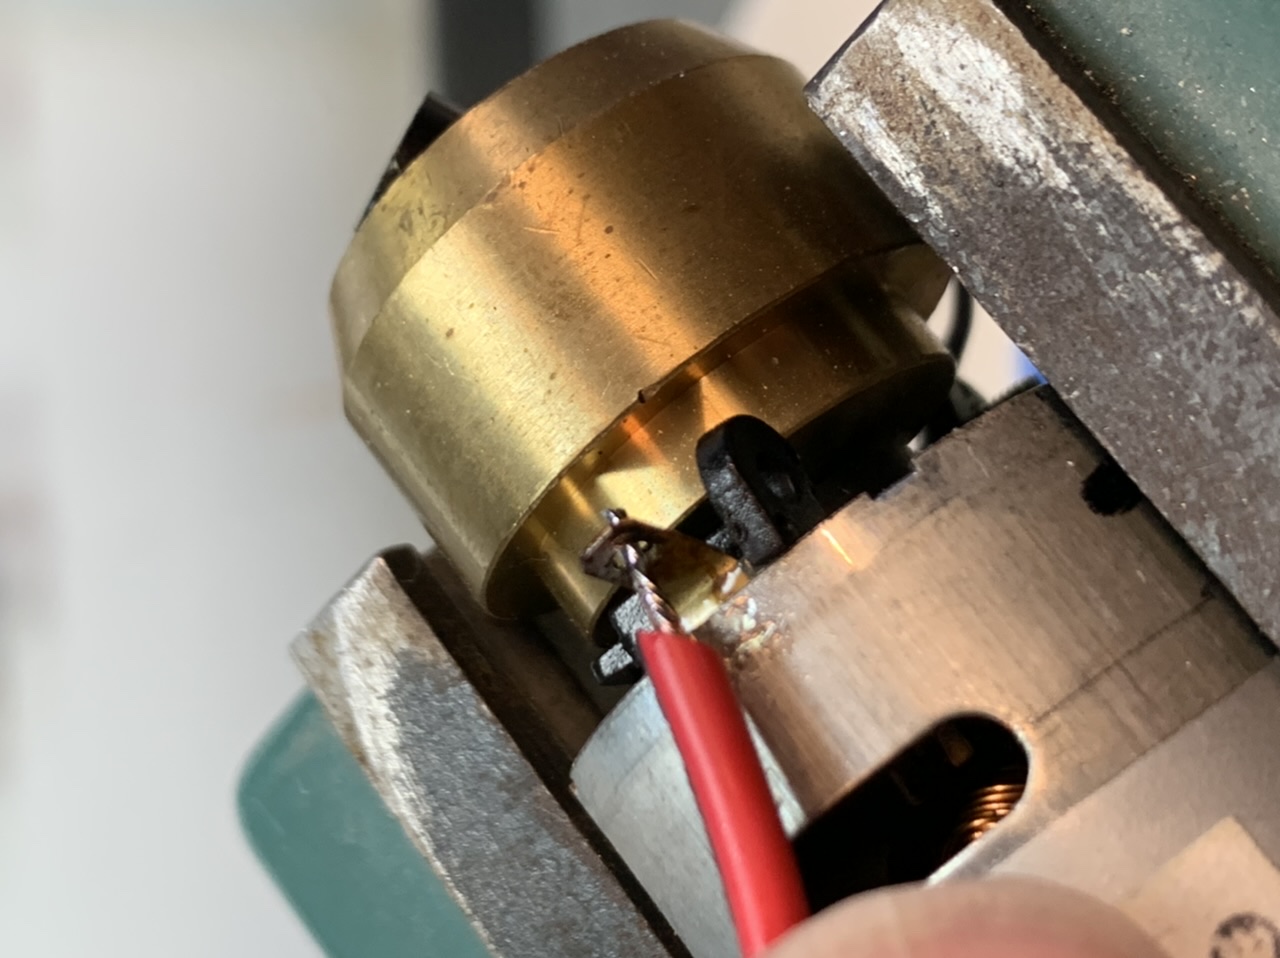
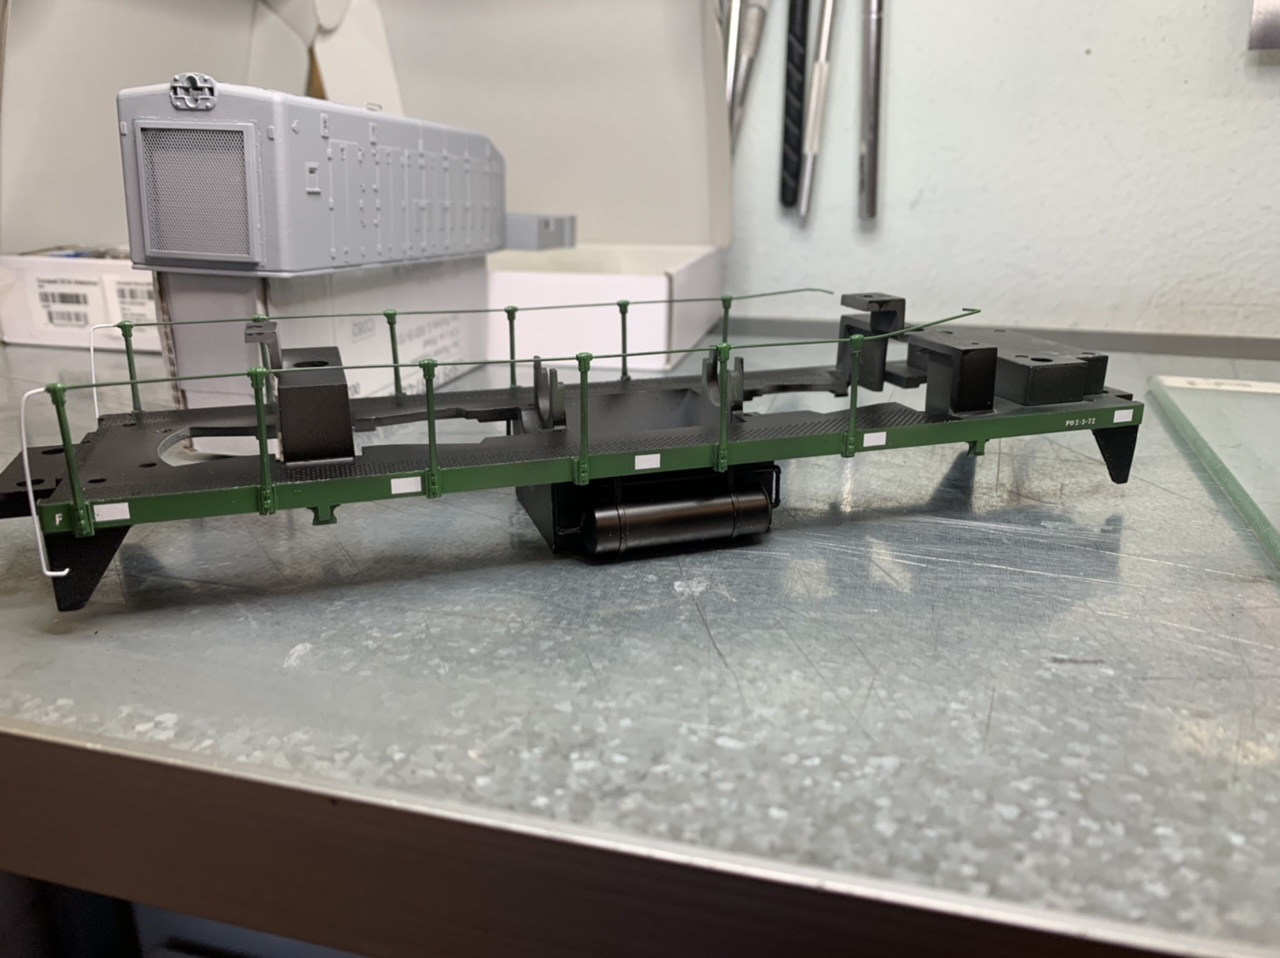
I checked for shorts between the motor terminals, the frame, & power pickups. No shorts but just in case I insulated the motor mount and re-mounted the motor with nylon screws. I also checked the stall current it was around 1.5A.
My plan for this motor was to use Soundtraxx TSU-4400 decoder and a Tang Band 1925S Speaker. But I ran into trouble with my initial install; the decoder would lose control of the motor and the amplifier was fried. I purchased a TSU-2200 super cheap and thought it was going good until it also had the same loss of control issues as the TSU-4400. My friend gave me another TSU-4400 and I had the same loss of control issues. I posted several videos about the process on my YouTube channel.
After a month of testing, installing, uninstalling retesting different configurations, I’m done trying to get Soundtraxx to work with this motor and will use a TCS 501 decoder instead. The TCS 501 has a larger footprint so the Tang Band 1925S speaker will no longer fit.
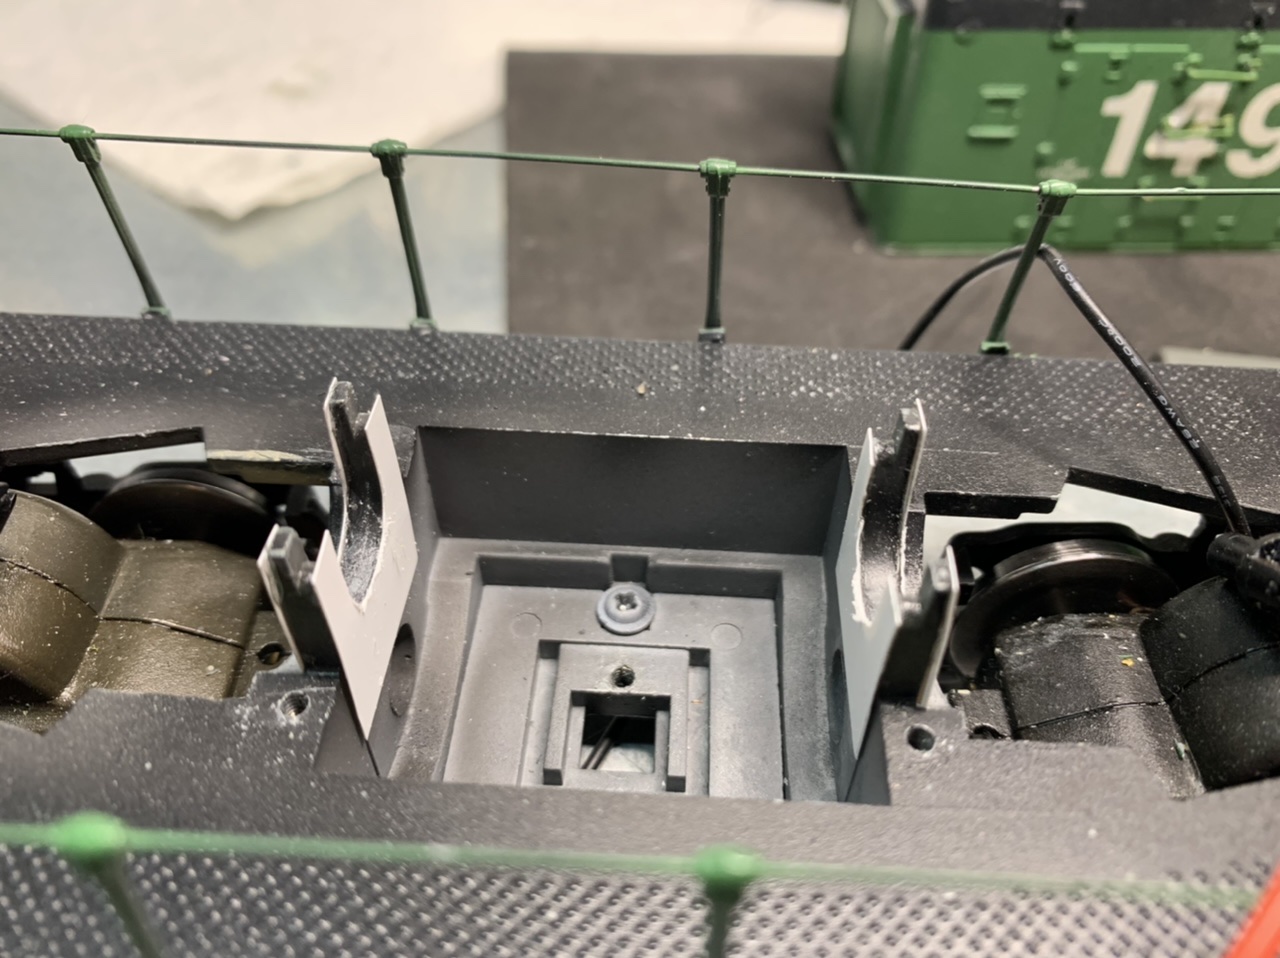
What’s left?
Im nearing completion of this project. I still need to tackle those cut levers, but for now I’m focusing on weathering. Then will install the windows, speaker and decoder and hook up the lights.
2,177
Hi Greg
Do you still have the factory end handrails from the SW9? I have purchased one without the end rails and Atlas does not have any.
Vince