A break from building turnouts
I decided to try something more relaxing: hand laying track.
Why did I think this was going to be a real chore?
Guess what. It’s fun to lay track! And it’s even more fun building track in place on the layout. After spending the last nine or ten months unsuccessfully building what is essentially hand laid sectional track, its nice to have a success. I think I’m going to rebuild my turnouts in place also.
Ties
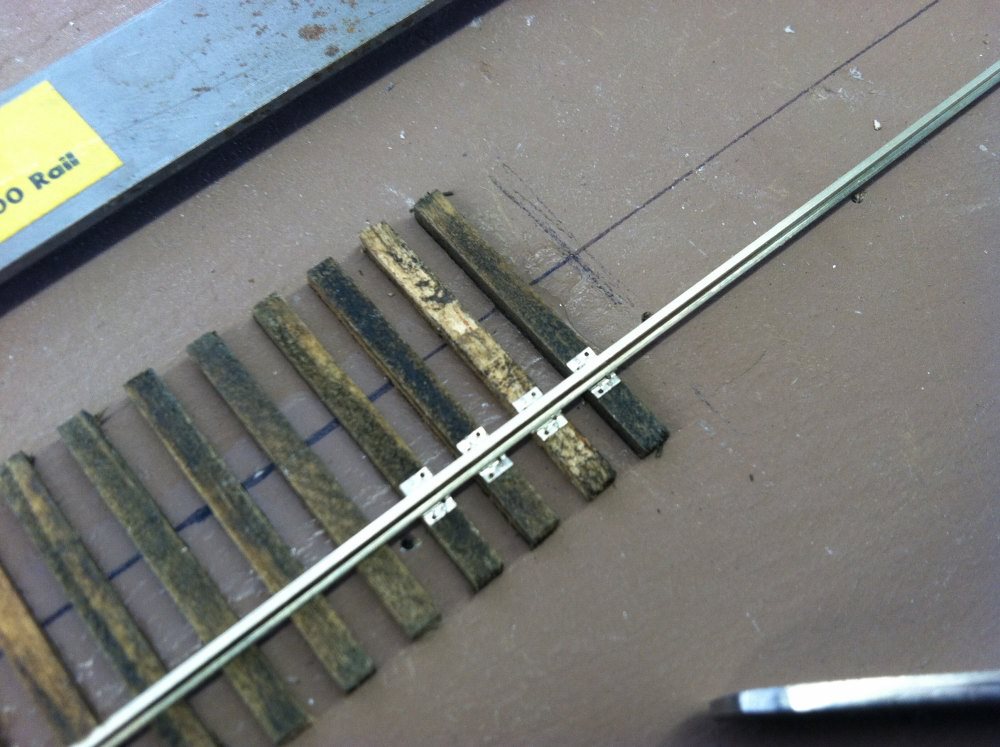
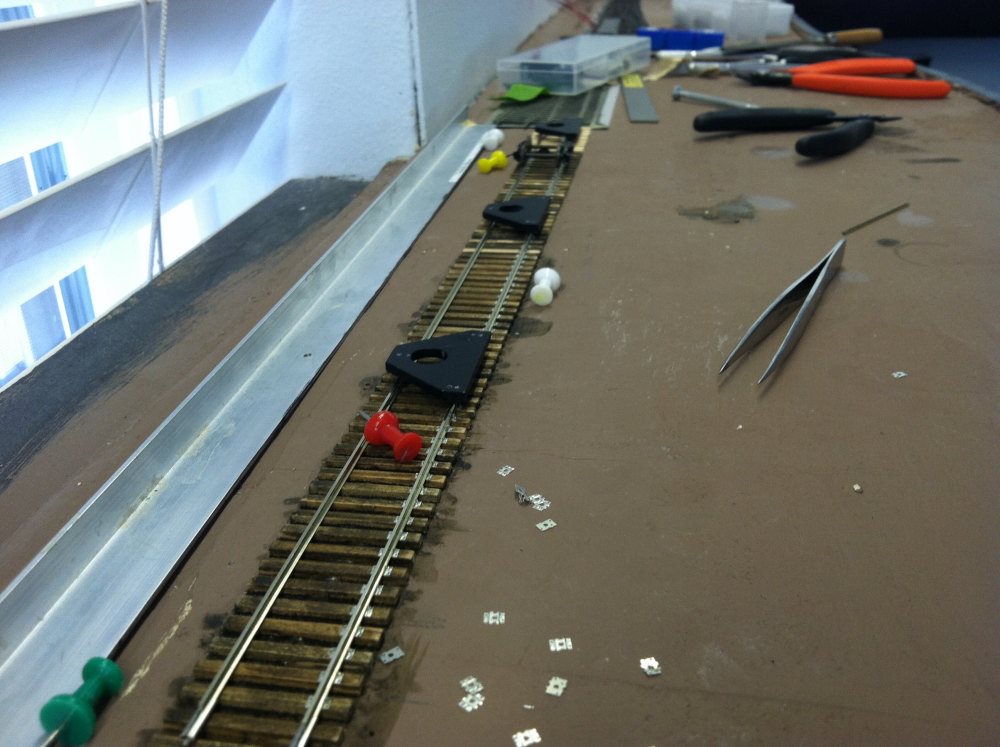
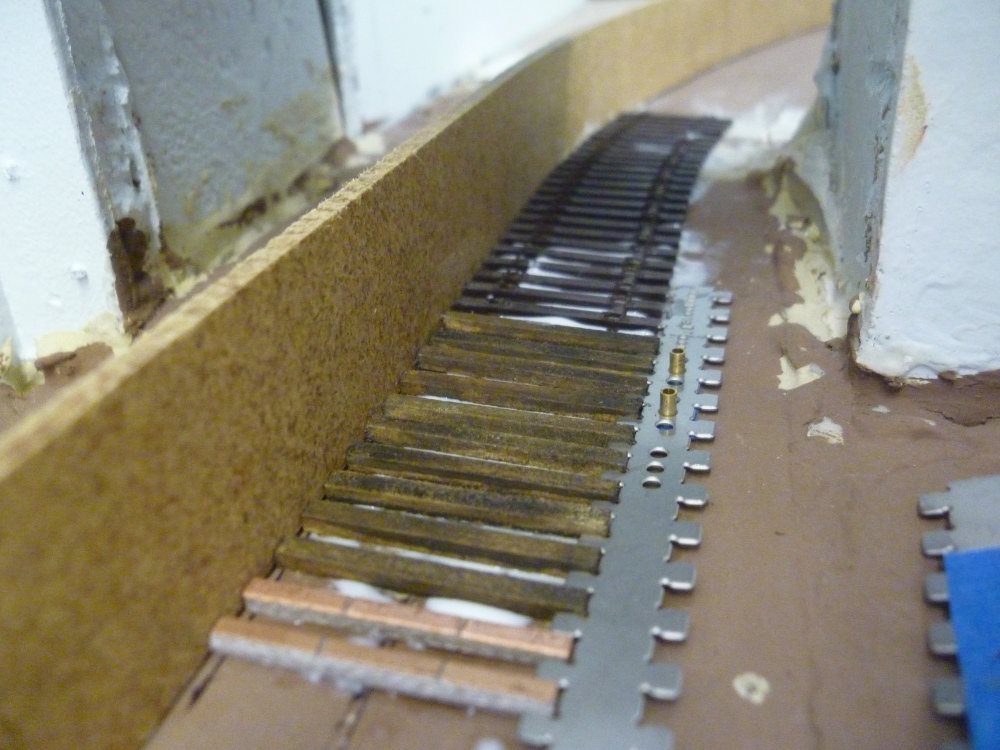
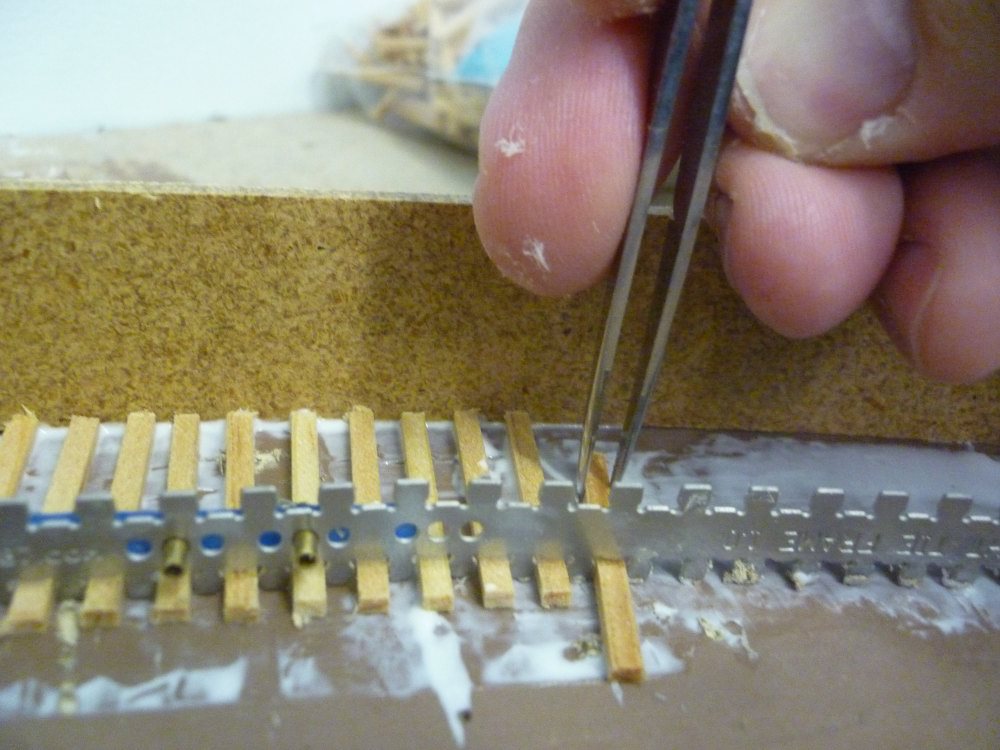
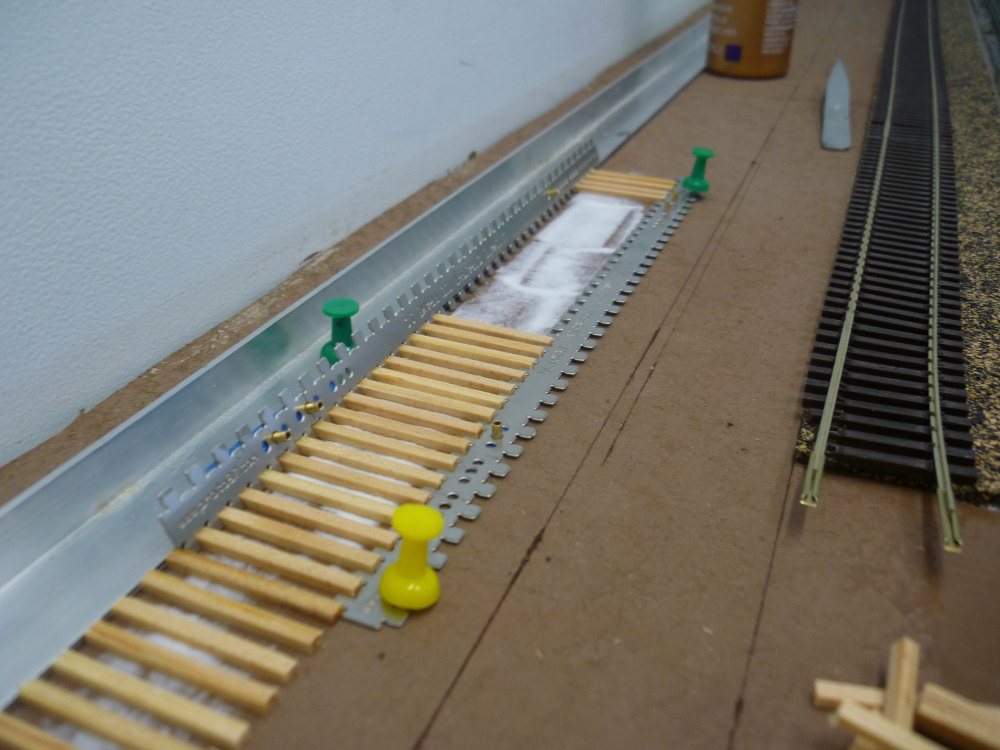
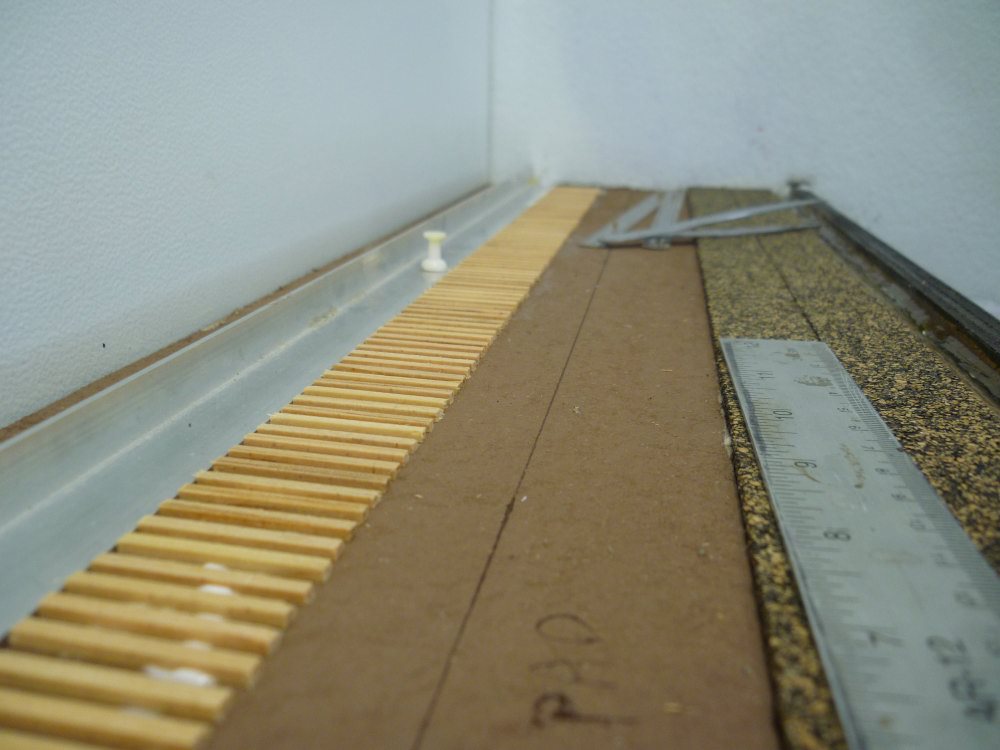
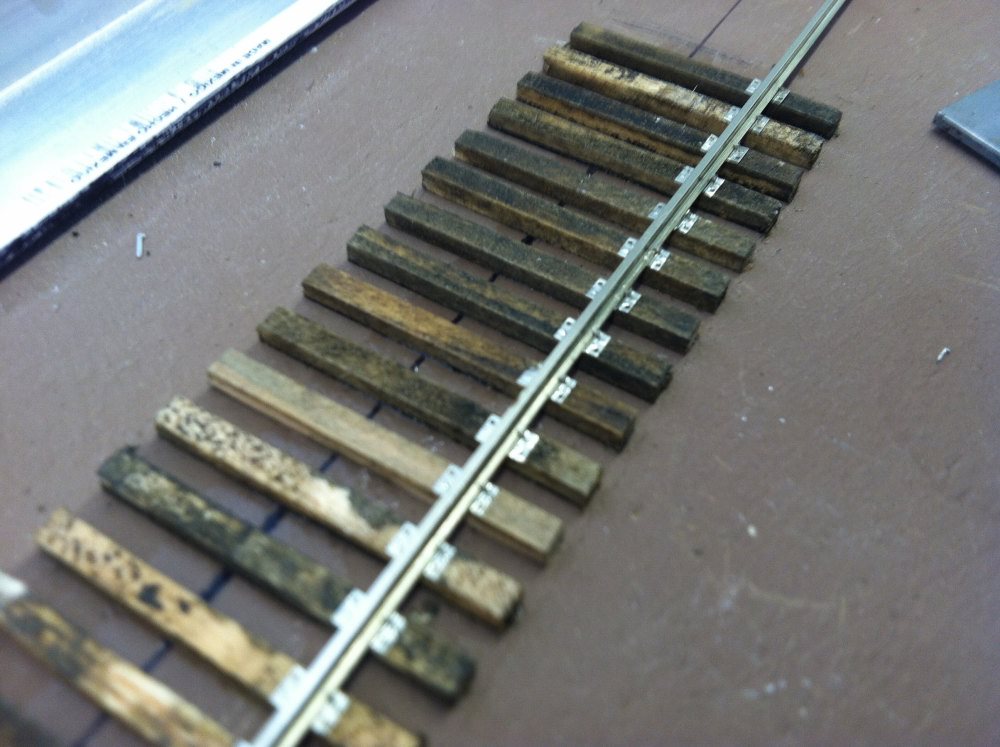
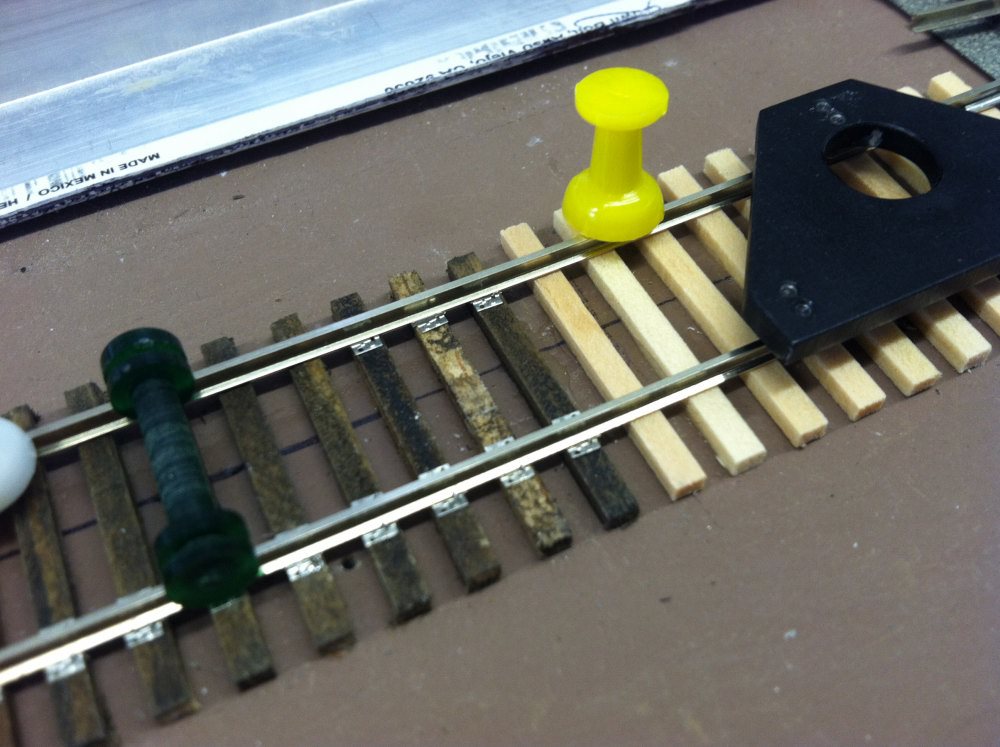
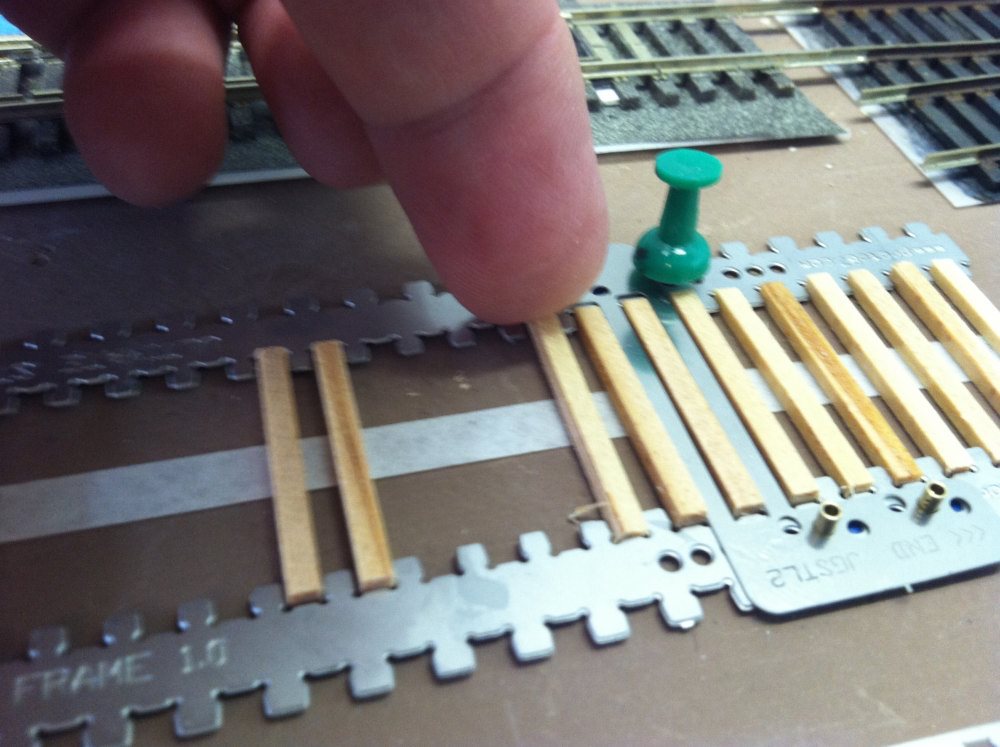
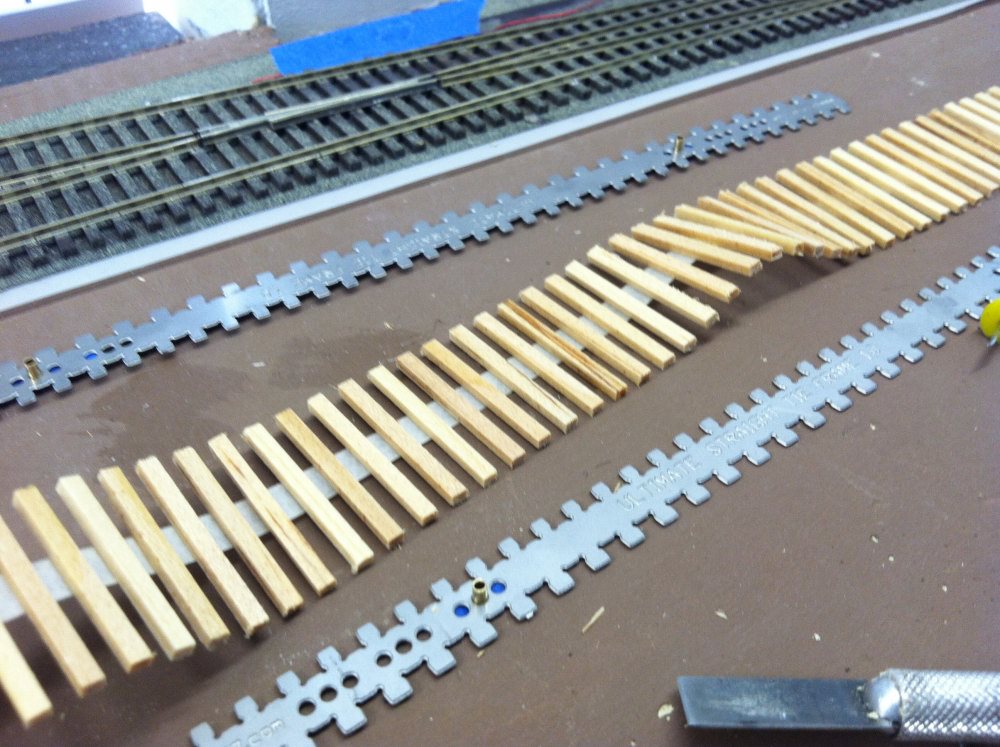
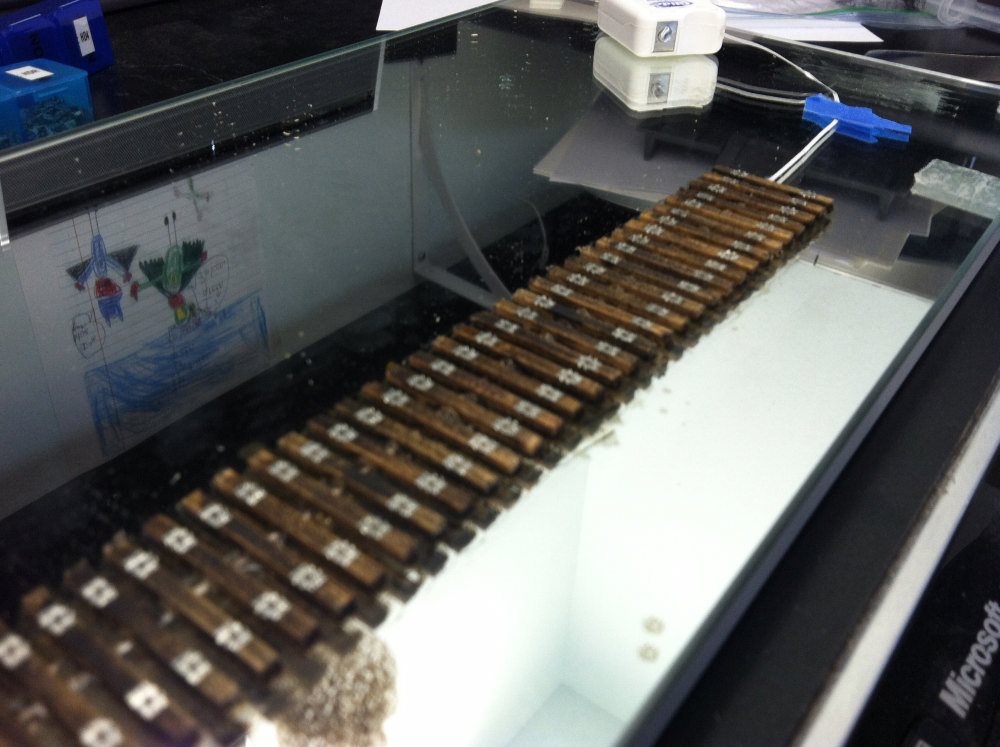
I’m using Kappler HO Scale 8′ 6″ Cross Ties. I glue them to the roadbed with tacky glue, I’ve also had success with matte medium. I’m also gluing in some Fast Tracks PCB Cross Ties at key points. I use the Proto87 Stores Switch-Works Straight Track Fixture to space the ties. I sand them to a uniform height. I distress the ties with a wire brush and an exacto knife. I stain the ties with alcohol and sepia colored India ink (Video – Finishing and Staining Wood Ties).
Spikes
I’ve switched to using Proto:87 Stores longer HO spikes and quickly exhausted my supply. I’ve ordered several more frets. They are awesome, they drive all the way through the tie to the homasote roadbed! They are much easier to handle than the small spikes. I’m not bothered with gluing tie plates in place before laying rail, I simply slide them under the rail and spike! I was previously using the small spikes (because they are so short they do not penetrate through the full thickness of the tie.) and I bought several thousand of them, but the small size makes them difficult to handle.
Tie Plates
I’ve been using the Proto:87 Stores heavy duty tie plates (8 hole), but they are a bit of a pain to deal with, mostly because the fret contains several variations of tie plate. Most of the variation has to do placement with simulated spike heads vs. actual holes that spikes can be driven through. There are a couple of plates per fret that do not have any simulated spike heads, I wish I could order a whole fret of them.
I ordered some Proto:87 Stores cosmetic medium duty (4 hole) tie plates to use on the lighter weight track portions of the layout like the Odom Lead. I haven’t received them yet, but the picture shows they omit any simulated spike head and have a full 4 holes open for spiking. I wish this type of fret were available in a heavy duty 8 hole tie plate.
I plan to use some 8 hole tie plates from Monster Model Works on the SIG Runaround Track. I’ve ordered a package and can’t wait to try them out. They are thicker than the Proto87 Stores tie plates (.003″ at the rail base slot) vs. Monster Model Works tie plates (.008″ at the rail base slot), so they can’t really mix and match with the Proto:87 Stores plates, but I see no reason they can’t be used separately on discrete sections of track.
The advantage I see to the Monster tie plates is that the will be easier to handle. The Proto87 Stores tie plates bend easily, slip easily while spiking & while easier to slide them underneath the rail, the slim profile also makes harder to compensate for any uneven ties.
…..
So now, I’m anxiously awaiting more supplies (spikes and tie plates). In the meantime I may have enough time to lay in some more ties while I wait.
5,003
I also find it quite relaxing and it’s neat to be able to say you built it yourself. I don’t know what the cost is per foot with the tie plates, spikes, and ties. Do you think it is cost competitive with flex track? Not that cost is everything, it certainly looks nicer than flex and the hobby time/dollar/foot ratio is certainly better, but just curious.
Hi Toni,
It is relaxing and inspiring to build it yourself. I have no idea what the cost per foot is, but I know I’m spending significantly more than I would for flex track (especially since I’ve already bought all the commercial flex track and RTR turnouts I’d need to build the layout twice :). I’m also expending some material to meet the learning curve, not that it’s a super steep curve, just you have to break a few eggs in order to make an omelet. Still I don’t mind the expense, as I see it I’m paying for quality and enjoyment. I’m having fun.
Thanks for commenting,
Greg
Craig,
Thanks for the gauge advice, that makes sense. I also use a few roller gauges, but I think the three point gauges may be more accurate. The final track plan is just the hole, with a compressed Ranier Petroleum having only two significantly shorter tracks, a total of four spots instead of the prototype 27. Cargill should fit in total. The Odom Lead is also shorter than the prototype. I’ll also have a dummy SIG 1 track for intermodal cars. I’ll try to post a photo here.
Greg
Two comments Greg. What’s the final track plan? I know you were thinking about modeling just the hole, but you also had an extended version. I’ll point out that you should try and off set the three point gauges, and you’ll get a tighter gauge (and consistent). Set on gauge with the two points on the north rail, then for the next gauge put the two points on the south rail, etc. This is for straight sections only. On curves, do exactly what you did on the straight section and you’ll create a slightly wide gauge on the inside of the curve.
Well done, Greg – great to see progress – and it’s obvious you’re enjoying getting the track down. You’ll be running trains in no time!