

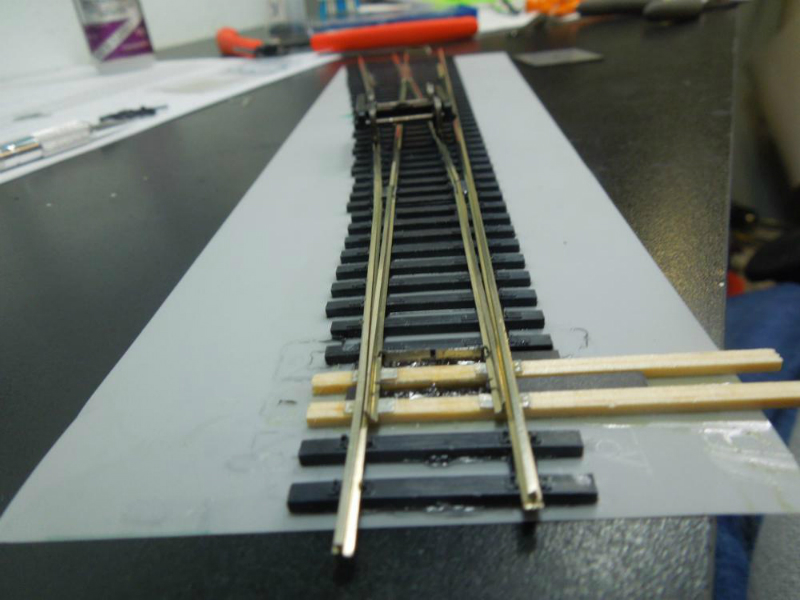

I tried my hand at building a #8 turnout from Proto:87 Stores. The results were less than spectacular. I ran into several problems. I used the instructions from Proto:87 Stores, a #8 Superfine kit, Barge cement, MEK, & some CA.
- I had trouble “printing” solder paste on to the frog assembly. I had several attempts where too much solder was applied and several attempts where not enough solder was applied. I finally settled on a lightly “printed” solder solution & I ended up soldering the frog twice.
- I tried to use the solder paste to solder on the frog bolts, but that didn’t work. So I tried with gap filling CA. That also didn’t work. I finally used liquid CA and that did work.
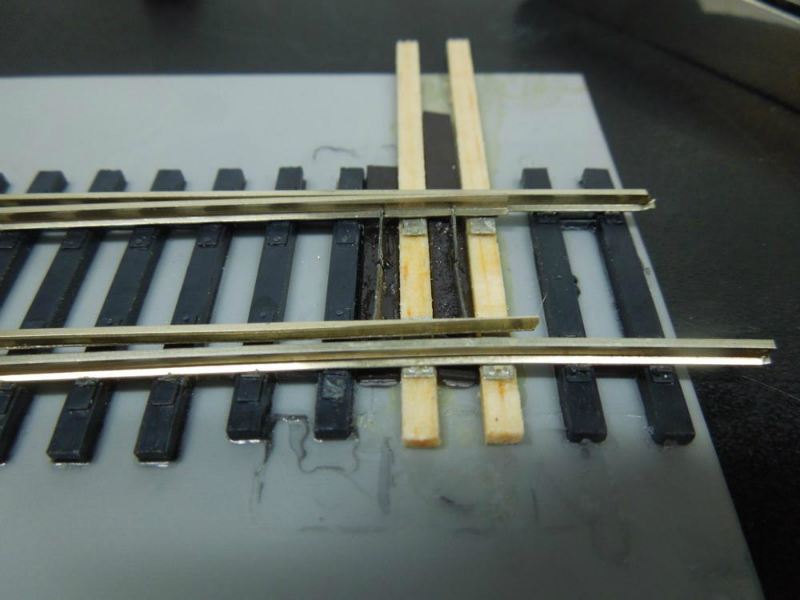
- I had trouble figuring out exactly where the frog was supposed to go. I eventually got it with the help of my proto:87 gauge.
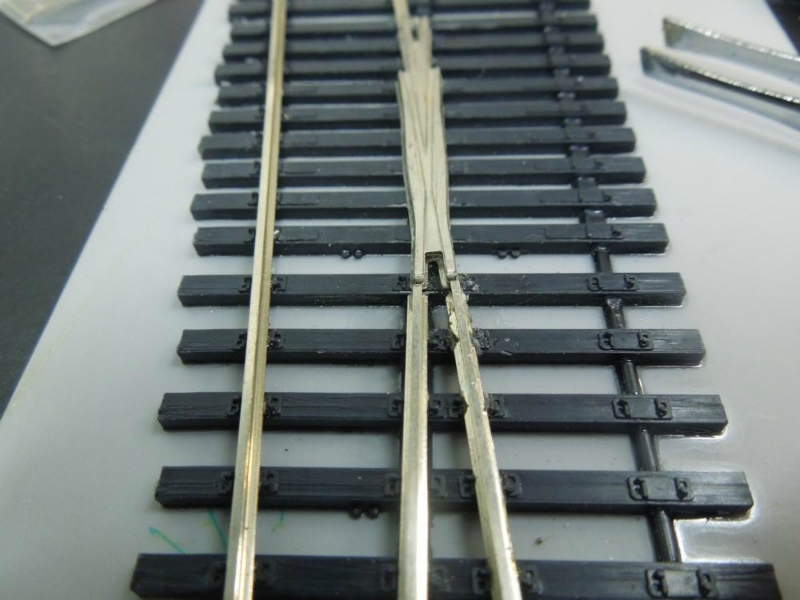
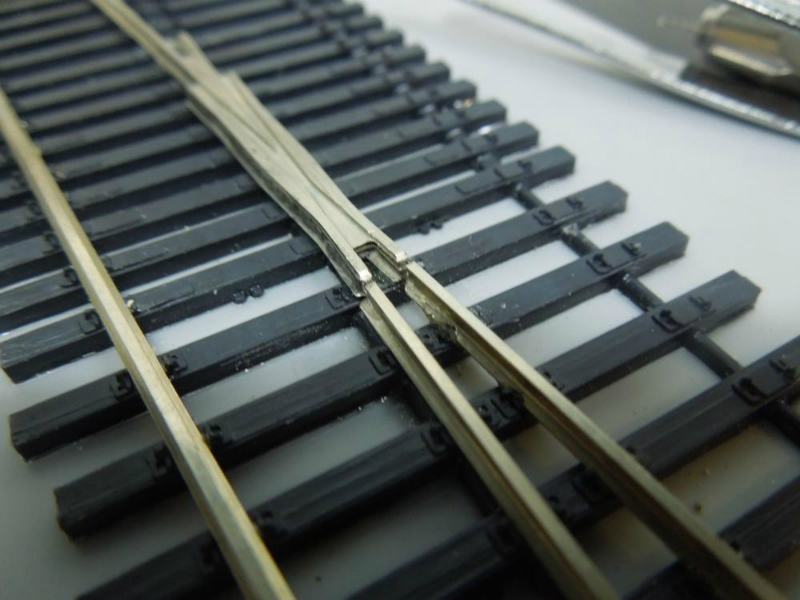
- I had trouble with the curved closure rail. The end closest to the frog doesn’t rest on a tie and it dipped down a bit, causing a vertical alignment problem with the frog. I eventually filed this down, but it doesn’t look very good. I also had a horizontal alignment problem as the barge cement couldn;t firmly hold the rail in proper alignment with the frog; the cast on tie plates also had too much play at this spot to provide any help.
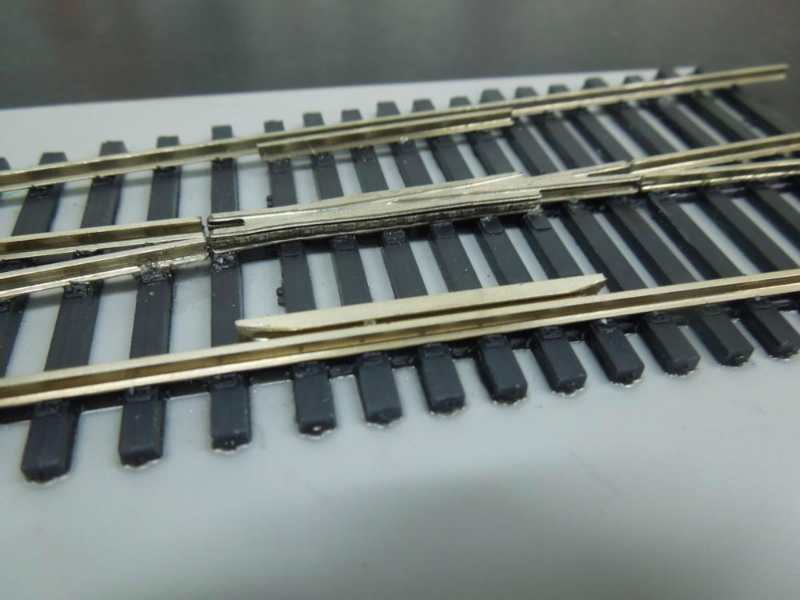
- I messed up and used one of the guard rails for the strait wing rail, which caused me to use regular un-filed rail as one of the guard rails.
- The guard rail that I didn’t mess up wouldn’t push up close enough to the stock rail to provide a tight enough flange way.
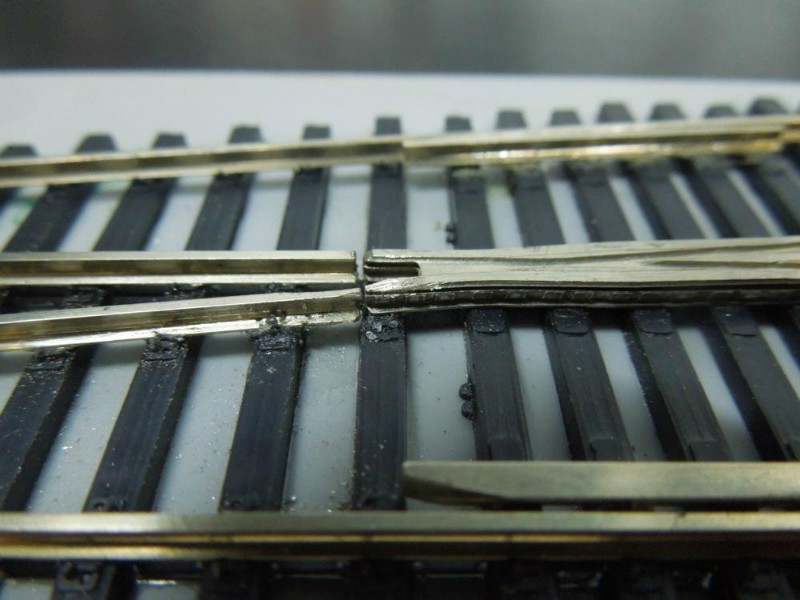
- I messed up point hinges. The kit supplies two sets of hinges; one set for #5/#6 turnouts and one set for #7,#8,#9 turnouts. I used the wrong set. and I couldn’t figure out why I had slop in the hinge, so I soldered the hinges to the stock rails and closure rails, it helped a little bit. I was able to fit the correct hinges in place atop the incorrect ones.
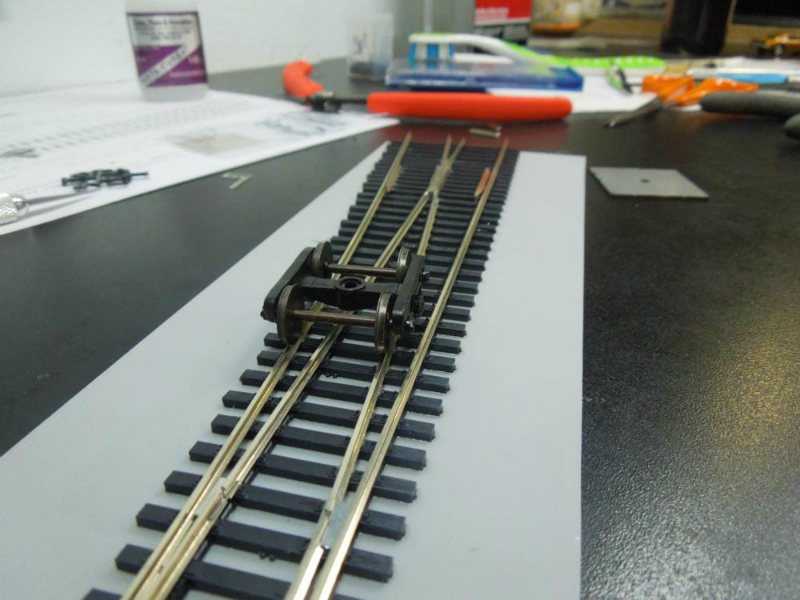
- I couldn’t get the throwbars to work. The wouldn’t snap over and wouldn’t hold the points tight against the stock rails. I tried adding an over-center spring, but that didn’t work because the points are not connected the leading throw bar. So I tried soldering pins of the leading throw bar to the points, but that didn’t work (I think they are stainless steel). I tried adding a shims to the throw bar but that didn’t work. I tried gluing some shims to the throw bars, but accidentally glued the throwbars down to the base. UGHH!!!! I was able to pry them back up, but I have not been able to make them work.
")
4,566
I have built my first superfine turnout and I also ran into several problems. I think building the throw bars and putting the hinges is tricky. Don´t like how the points work. I also had trouble getting the correct sharp bend on the curved stock rail.
The frog is a little bit higher than the closure and frog rails. I glued the rails with Pliobond but don´t like the result. On my second turnout I´ll use some PCB ties with the plastic tie strip. I´m also looking for a good product for gluing the rails.
If at first u dont succeed, pull ur hair out then?
The key with soldering stuff is to make sure it’s clean first, and secondly to have flux to help ‘guide’ the solder.
As for the gauge issues, instead of using the metal gauge, try setting up the turnout with your calipers instead. You should be able to figure out what the correct measurements are. I’ve had better luck checking and rechecking with calipers instead of track gauge. Turnouts are tricky, but for a reason! If you have the frog and stock rails at the correct spacing you shouldn’t need guard rails either. If everything is in gauge (including the trucks your using) the wheels should just click right over the point of the frog, and not drop down. Try measuring with calipers the correct place to place the frog but using the stock rails. Or lay one stock rail, lay the frog, and then lay the outer stock rail.
Thanks Craig. I’ve been trying to figure out what I did wrong. The big problem with the frog was using solder paste (which I have no experience with). I’ll try another frog, but I can also order them assembled. I think I know what I did wrong with the throw bars. I’ll be ordering more kits.
First off don’t give up! Second did you make sure the frog castings were clean before you applied flux? Clean with rubbing alcohol, apply a thin layer of flux, and then try soldering. That should help the solder flow better. My first couple of turnouts I tried to make took me a while to work all the bugs out. It’s a learning curve.
Have you tried Fast Tracks.com?
Thank Bill,
Nice product, but I prefer more detailed turnouts. Still use some Fast Tracks tools, I use sweep sticks and plan to order a Rail Roller.
Greg
Wow, sounds like you had a lot of problems here. I have not tried either proto:87 or proto:48 I just have to must of either to change over, but the proto:48 does interest me.