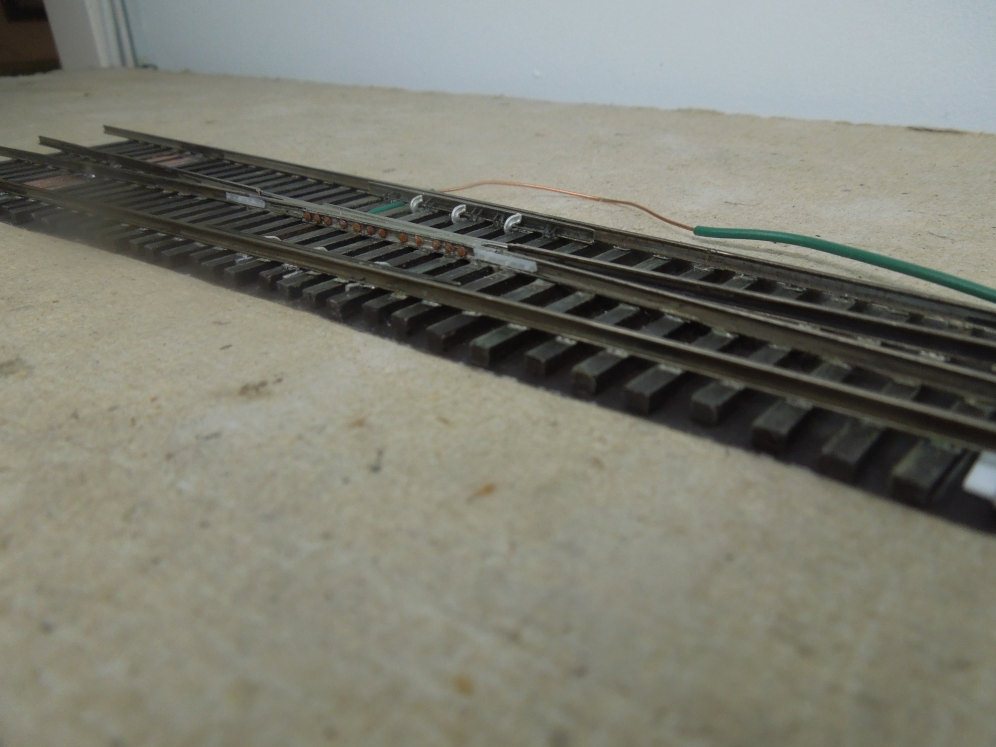
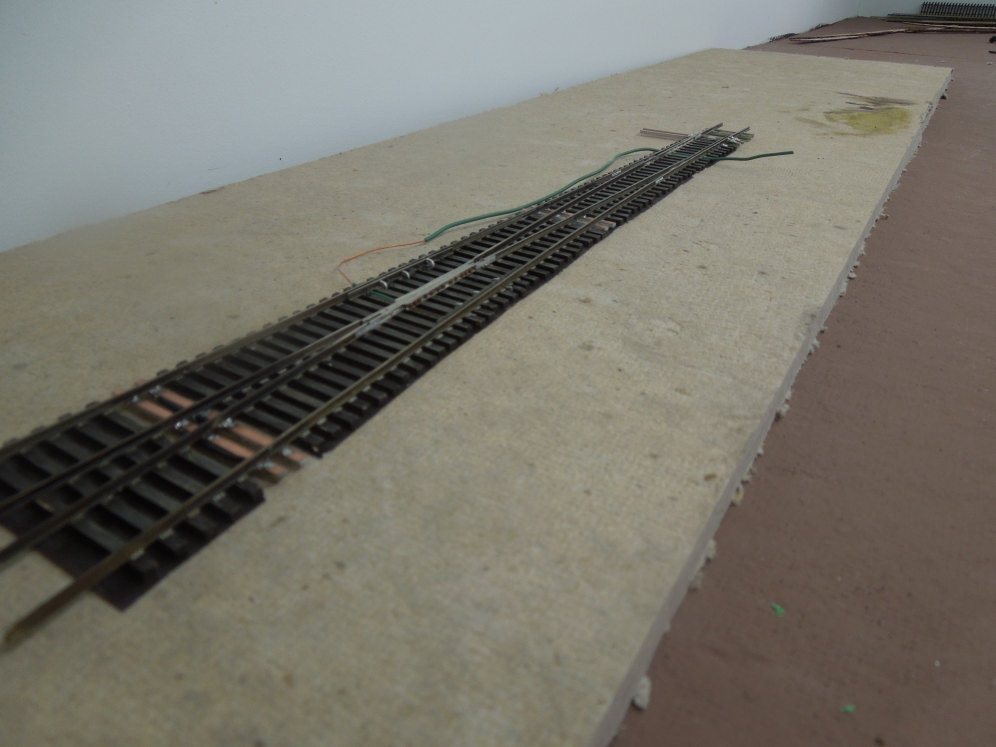
I’ve finished assembling my first Proto:87 turnout using the Switch-Works Turnout Building fixture. It took about a month and I made many mistakes along the way. So I wanted to share what I learned.
- Fix the ties down to the plastic backing strip using barge cement. I first tried to just Press-N-Seal plastic wrap, but they don’t hold the ties firmly in position and you end up with a lot of play in the ties.
- Paint your ties before installing the tie plates. This allowed me to get the ends and and sides pretty thoroughly, which would be more difficult to do after the rails and ties were installed.
- Do not pre-weather the tie plates. It makes it impossible to tell which side is the top side, because you can’t see the raised detail.
- Make a pointy tool out of an old piece of rail to place the tie plates. Steel tools don’t work well with all the magnets around the workpiece.
- Super glue the tie plates. I started by affixing each tie plate with a dab of 15 minute epoxy to each tie. Epoxy doesn’t set up quick enough to prevent the tie plates from sliding out of position.
- An 80W soldering iron doesn’t do a good job soldering frogs together. I’ve made three frogs and all needed some after work, because they weren’t completely soldered. I think I’ll order my frogs pre-soldered from Andy from now on.
- Install both stock rails before installing the frog. I installed just the curved one (as the instructions indicate) and therefore only had one reference for installing the frog. I ended up having to pull the frog off and push it backward because it didn’t line up well with the straight stock rail after I installed that. Since this is basically a jig and the position of the curved and stock rails are set, it makes best sense to use both as a reference when installing the frog.
- Get some gauges. I only have the Proto:87 stores flat gauge. I ordered some Rollee Holders from Railway Engineering, and I am also considering getting some gauges from DD Wheelwrights.
- Buy some nut bolt washer (NBW) casting for the frog. The frog details from Proto:87 Stores are a little too uniform and low relief for my tastes. I bought some plastic NBW from Tichy #8144.
- Don’t bother using PCB ties. I thought that maybe the turnout would need the extra rigidity some select PCB ties would add, but I don’t think they made much of a difference, my future turnouts will use just wood ties.
- Don’t install the bolt head detail to the points prior to installation. It makes it impossible to find the hole drilled for the point bar.
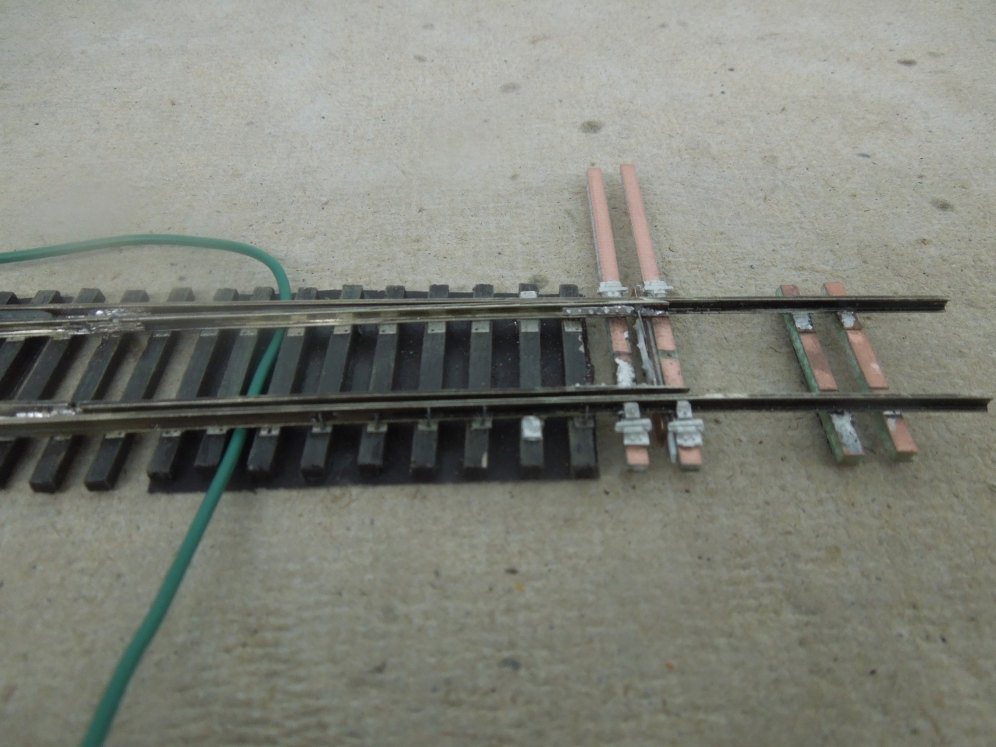
- I have no idea how to Proto:87 make the throw-bars work. I couldn’t get them to work with the Superfine turnout I built either. I opted to solder the points to a throw-bar, but it cannot be soldered directly, as it will not allow the points to fully set in place. Instead soldered point bars to the points, held the points in place, then soldered the point bars to a to a PC board. I’m still trying to find a long term solution, maybe I can get the next set to work as designed.
- Add jewelry. I already mentioned the NBW castings, but I also ordered joint bars / fishplates from Details West in plastic and pewter (Don’t try to solder the pewter ones, they melt immediately into sticky goo). I also ordered adjustable and rigid rail braces from Details West, I’m not sure I like how they look though. Proto:87 makes rail braces, and they look really good, just not so much how my prototype looks.
Making so many mistakes is discouraging. But overall, it’s been a very rewarding experience. I’m still determined to get it right. I’ve already started on my second turnout.
2,998
Greg,
Great to read your comments. I’ve not had any luck either, no end of assembly problems. I also can;t figure out how to make the throws work. Currently I’m planning to dispense with the hinges and have a continuous switch rail soldered to Z scale crossover pcb ties, as I couldn’t get the switch blades to close up against the stock rails at all.
Then caboose industries throw for had thrown turnouts and cobalt slow action motors for mainline turnouts.
Thinking of going back to HO clearances too, mainly to save cash on the wheelsets.
Thanks for the comments. I’m looking forward to building more turnouts, it’s actually really fun.
Nice work and I think it’s great that you’ve shared the lessons via your blog. Not only will it help others, it’ll also serve as a handy reminder for you when you go to build the next one!
Looks good Greg. Sorry to have lead you down the wrong path… 😉
Like anything else, it gets easier with practice.
Looks good nice job