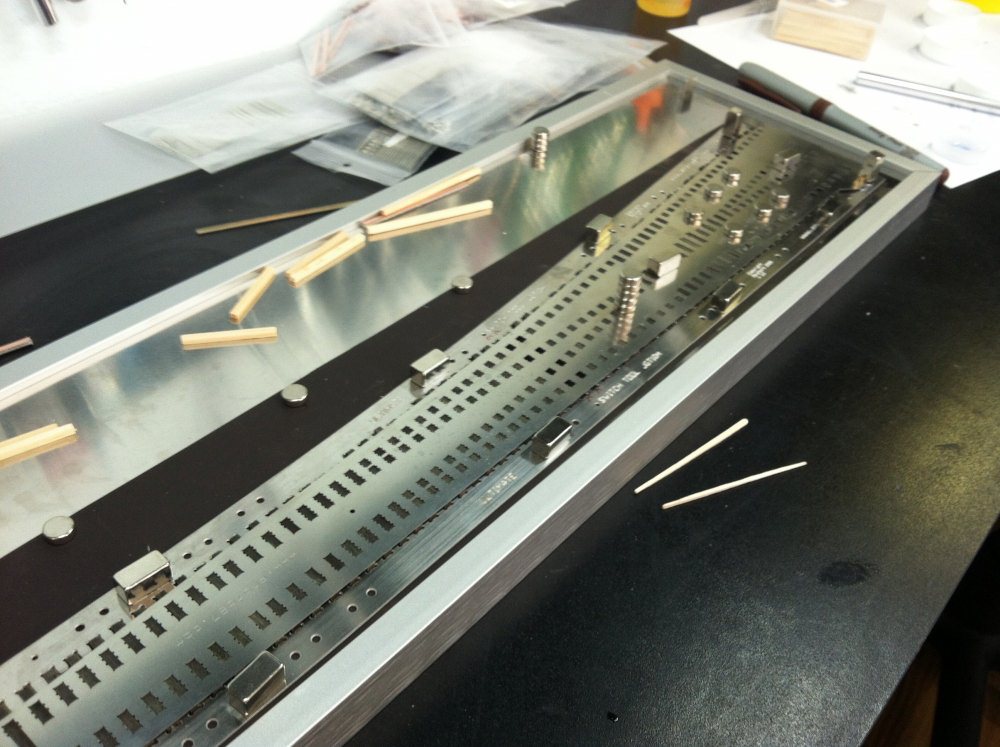
I am building a #10 turnout with Proto:87 Stores Switch-Works assembly fixture. I thought I’d be clever and use Press-N-Seal to hold down my ties instead of cementing them to a plastic strip (see my previous Blog entry – Switch-Works Arrives). Bad idea! After installing about a hundred tie plates, I determined that the Press-N-Seal doesn’t hold the ties in position, which is imperative since the tie plates serve as a guide to lay the rail in correct gauge. With the ties flopping around, I couldn’t ensure my tie plates were lining up correctly from tie to tie. So I stripped the ties and started over.
Take 2
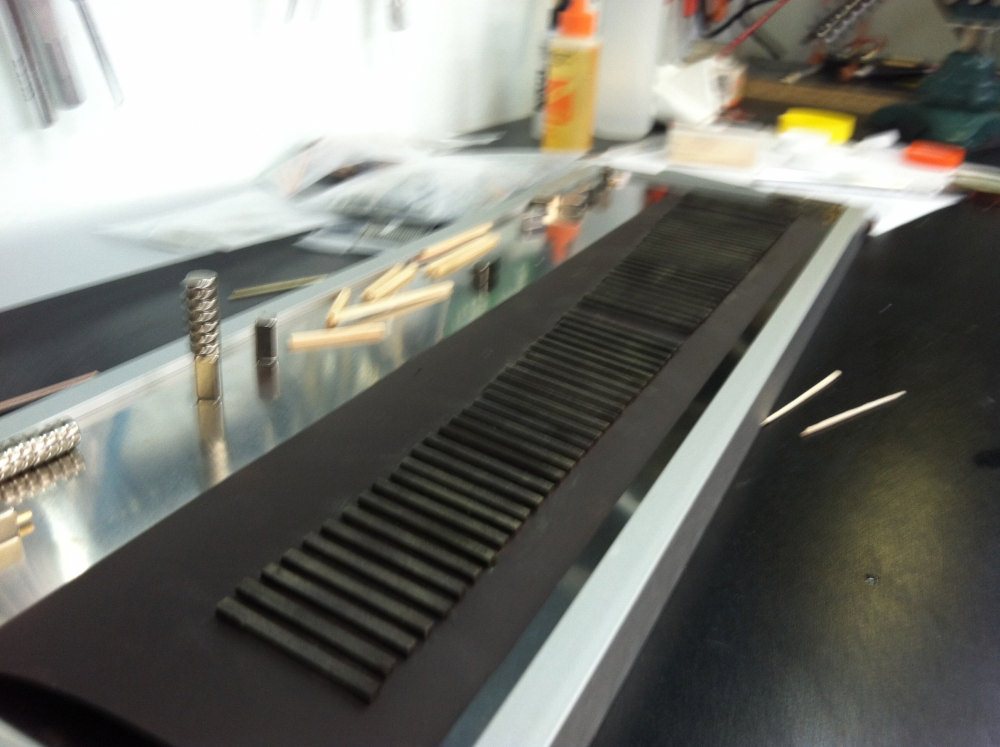
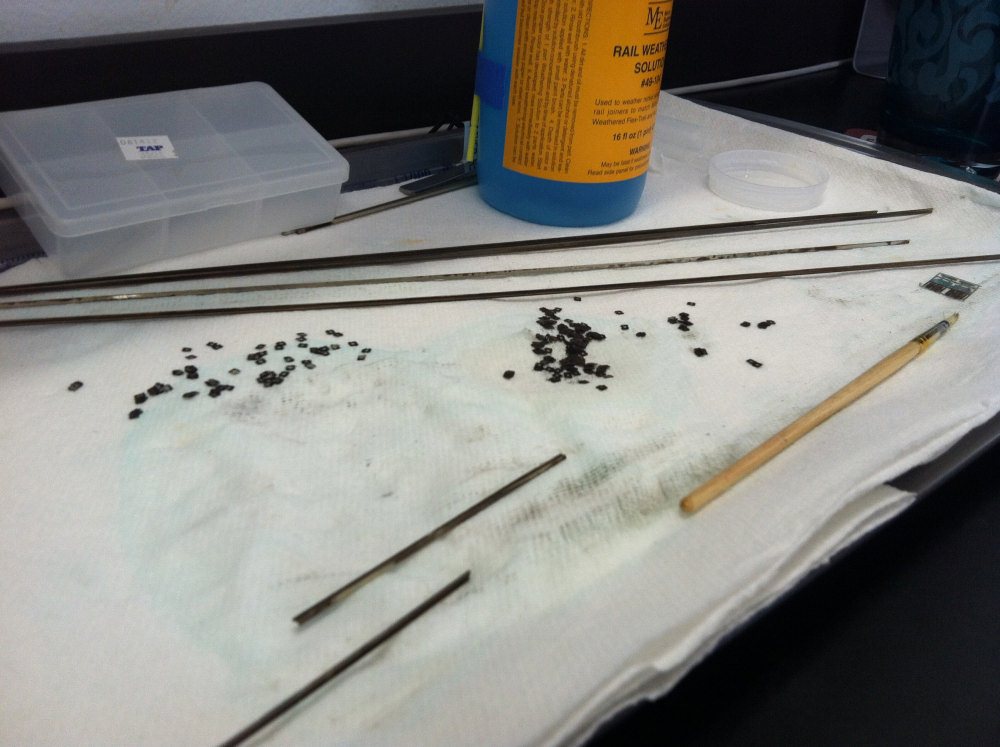
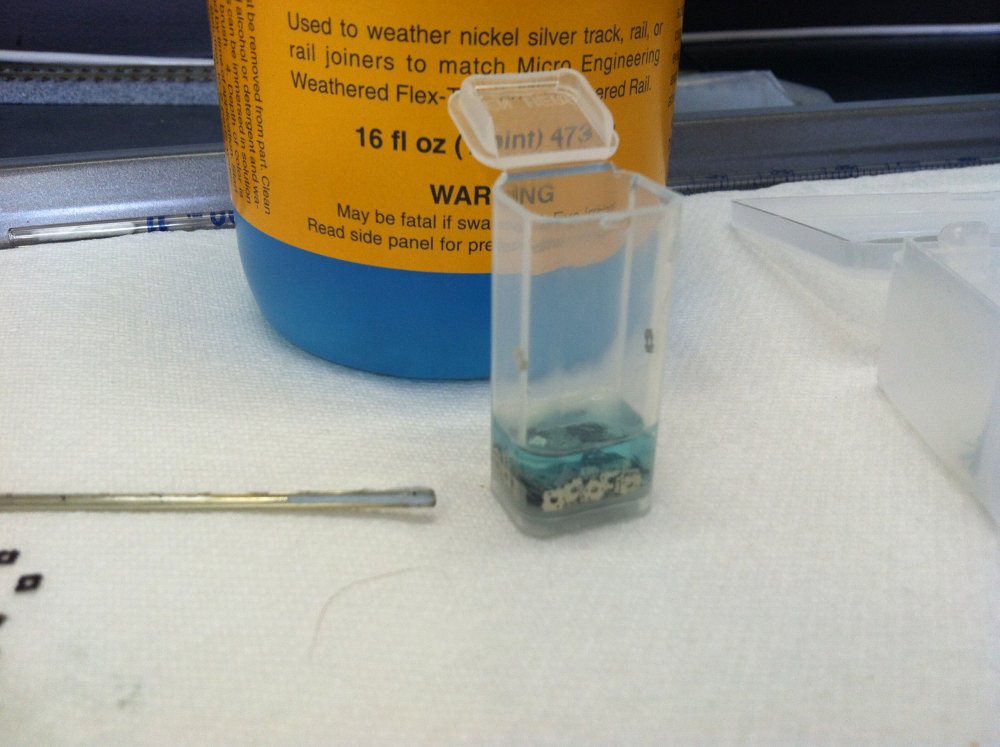
For this try I used Barge Cement to glue the ties to the supplied plastic base. I also decided to paint the ties before installing tie plates and pre-weather the tie plates. I painted the ties with Rust-O-Leum Camouflage Brown, then dry brushed them with Railroad Tie Brown and a little Depot Buff. I soaked the already cut tie plates in Micro Engineering weathering solution and painted the solution on to the rails. I’ll do more painting once everything is assembled, but I thought it’d be a good idea to get rid of the bare wood and bright silver before I assembled the turnout.
1,081
Pre-weathering the tie plates turns out to be a bad idea. The weathering makes it very difficult to determine which direction the tie plates should face. Even with magnification I keep having trouble which is top or bottom and which is inside or outside rail. I’m abandoning the pre-weathering of tie plates.